Installing a smoke detector might seem like a small task, but doing it correctly is critical for keeping your home and family safe. In the UK, where fire safety regulations and housing layouts (think Victorian terraces, modern apartments, and semi-detached homes) vary widely, following the right steps ensures your detector works as intended. Whether you’re fitting a basic battery-powered model, a hardwired unit, or a wireless interlinked system, this guide breaks down the process simply—no electrician required (for most models!). We’ll also share pro tips to avoid common mistakes and highlight how Wisualarm detectors make installation even easier.
First: Know the UK Rules for Smoke Detector Placement
Before you pick up a drill, it’s essential to get the location right—this is just as important as proper installation. The UK’s Fire and Rescue Services recommend:
- Smoke detectors: Install at least one in every hallway and landing (on each floor of your home). Avoid placing them within 30cm of light fixtures, vents, or windows (drafts can interfere with sensors) or near kitchens/bathrooms (steam and cooking fumes cause false alarms).
- Heat detectors: Must be fitted in kitchens (since smoke from cooking triggers false alarms). Install them 1–2 meters away from cookers, but still in the kitchen area.
- Height: All smoke/heat detectors should be mounted on the ceiling (smoke rises, so ceiling placement ensures fastest detection). If you can’t mount on the ceiling (e.g., sloped roofs), install on a wall 15–30cm below the ceiling.
- Interlinked systems: For wireless interlinked detectors, ensure units are within range (most work up to 100–150 meters in open space; walls/floors reduce this slightly). For larger homes, test connectivity before final installation.
What You’ll Need (Tools & Materials)
Gather these items before you start—most are things you’ll already have at home:
- Your smoke/heat detector (with all included parts: mounting bracket, screws, adhesive pads, batteries).
- A pencil (to mark drill holes).
- A drill (with a small drill bit for wood/plasterboard—check your detector’s screw size first).
- A screwdriver (crosshead, usually).
- A ladder or step stool (to reach ceilings safely).
- A spirit level (optional, but helps keep the detector straight).
- Masking tape (to catch dust when drilling, if needed).
Step 1: Choose the Right Installation Method
Most UK smoke detectors offer two installation options—pick the one that fits your home:
- Screwed mounting: Best for homeowners (permanent, secure). Use the included screws and mounting bracket.
- Adhesive pad mounting: Ideal for renters (no drilling, no damage). Use the strong adhesive pads included with your detector (most hold up to 5kg, so they’re secure for small detectors).
Note: Hardwired detectors require wiring to your home’s mains—we recommend hiring a qualified electrician for this (it’s not a DIY job unless you’re experienced with electrical work). This guide focuses on battery-powered and wireless interlinked models (the most popular for UK homes).
Step 2: Install a Battery-Powered Standalone Smoke Detector (DIY-Friendly)
Battery-powered models are the easiest to install—follow these 5 steps:
- Prepare the detector: Open the detector’s battery compartment (usually on the back) and insert the included batteries (check the manual for polarity—+ and – symbols). For Wisualarm models, the 10-year lithium battery is pre-installed (just remove the plastic tab to activate it—no fumbling with batteries!).
- Mark the mounting spot: Hold the detector (or its mounting bracket) against the ceiling/wall in your chosen location. Use a pencil to mark the positions of the screw holes (or the edge of the adhesive pad, if using). Use a spirit level to ensure the detector is straight—crooked detectors work fine, but they look neater when aligned!
- Mount the bracket (if using screws): If screwing in, drill small pilot holes at your pencil marks (this prevents the ceiling/wall from splitting). Then, line up the mounting bracket with the holes and screw it in tightly (don’t over-tighten—you could damage the bracket). For adhesive mounting, peel the backing off the adhesive pad, stick it to the back of the detector (or bracket), and press firmly against the ceiling/wall for 30 seconds to set.
- Attach the detector to the bracket: Most detectors twist onto the mounting bracket (turn clockwise until it clicks) or snap into place. Check the manual—Wisualarm detectors use a “twist-lock” design that’s quick and secure (no tools needed here!).
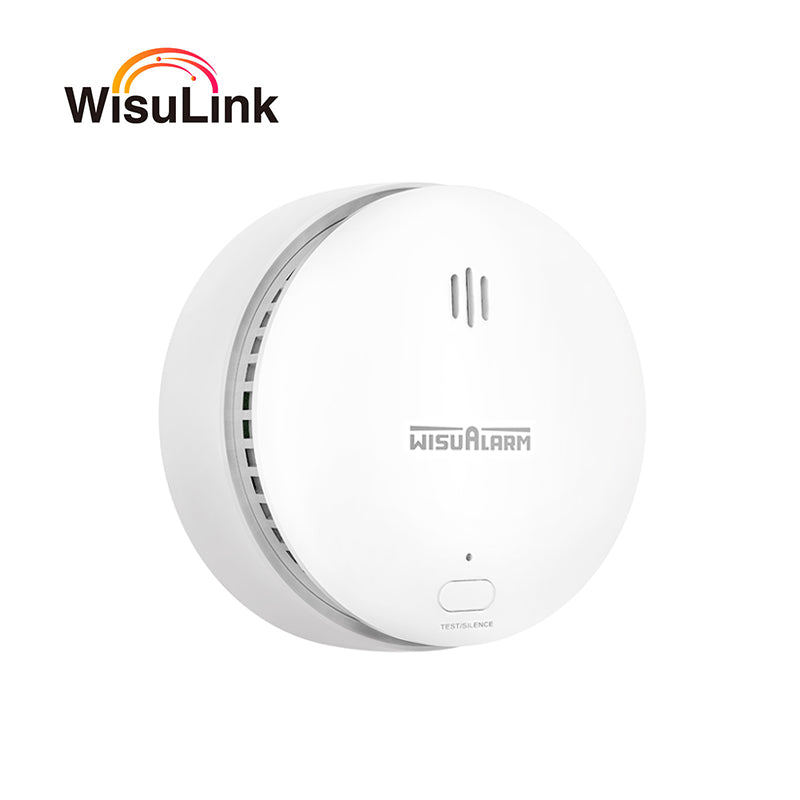
- Test the detector: Press the “test” button on the front of the detector. It should emit a loud, continuous beep (this confirms the battery is working and the sensor is active). If it doesn’t beep, check the battery (or contact the brand—Wisualarm offers a 5-year warranty for faulty units).
Step 3: Install a Wireless Interlinked Smoke Detector System
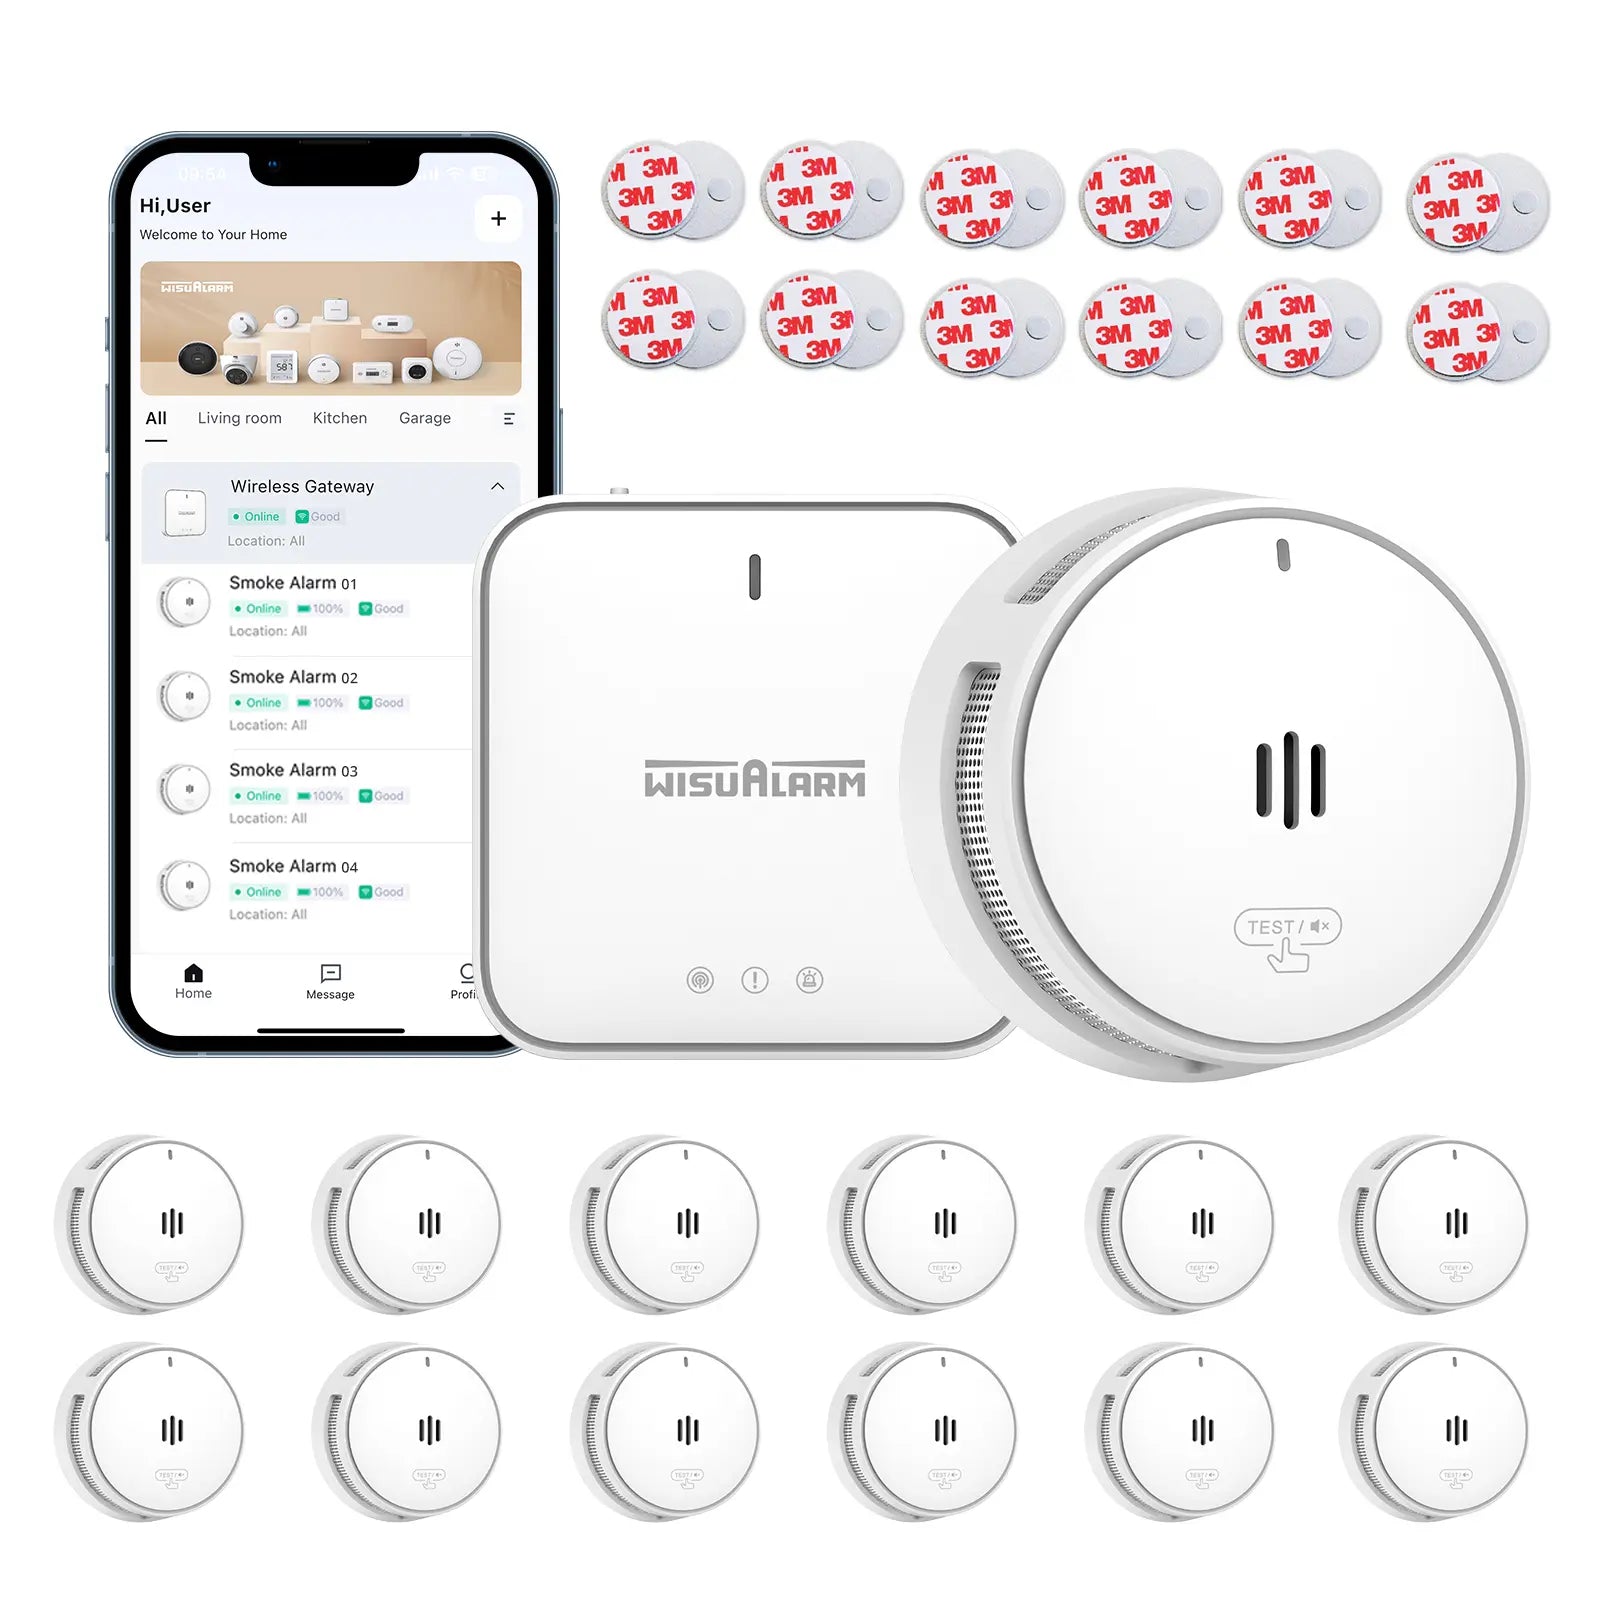
Wireless interlinked systems (like Wisualarm’s range) let multiple detectors communicate—when one sounds, all sound. Installation is similar to standalone models, but you’ll need to “pair” the detectors first:
- Activate and pair the detectors:
- For Wisualarm, remove the plastic battery tab from the first detector (this is your “master” unit). It will beep once to confirm it’s on.
- Take the second detector, remove its battery tab, and press and hold the “link” button (usually on the back) for 3 seconds. It will beep twice to confirm it’s paired with the master unit.
- Repeat for all additional detectors (most systems support up to 24 units). Test pairing by pressing the test button on one detector—all linked units should beep.
- Install each detector: Follow Steps 2–4 from the standalone guide for each detector, placing them in hallways, landings, and kitchens (heat detector) as per UK rules.
- Test the entire system: Press the test button on any detector—every linked unit should sound. If one doesn’t, check its placement (it may be out of range) or re-pair it. For Wisualarm, the 150-meter range means most UK homes (even 4-bed detached) won’t have range issues.
Step 4: Post-Installation Checks (Don’t Skip These!)
Once installed, do these final checks to ensure your detector works long-term:
- Test weekly: Press the test button every week—this only takes 2 seconds and confirms the battery and sensor are working.
- Clean every 6 months: Dust can block the sensor (causing false alarms or missed detections). Gently vacuum the detector’s vents with a soft brush attachment—don’t use water or cleaning products.
- Replace batteries (if needed): For non-long-life models, replace batteries every 6–12 months (set a reminder in your phone!). Wisualarm’s 10-year lithium batteries mean you won’t need to do this until the detector’s end of life.
- Replace the detector every 10 years: Even the best detectors wear out—check the manufacturer’s date (usually on the back) and replace after a decade.
Common Installation Mistakes to Avoid (UK-Specific)
- Putting smoke detectors in kitchens: Steam from kettles or smoke from frying will trigger false alarms—use a heat detector here instead.
- Installing near fireplaces: Open fires can send soot or drafts to the detector—place it at least 1 meter away from the fireplace.
- Ignoring sloped ceilings: For attic bedrooms or homes with sloped roofs, mount detectors on the highest point of the ceiling (or 15–30cm below it on a wall)—smoke collects here first.
- Over-tightening screws: This can crack the detector’s casing or damage the bracket—screw until tight, but stop if you feel resistance.
- Forgetting to pair interlinked units: If you don’t pair them, they’ll work as standalone detectors (defeating the purpose!). Always test the link before finishing.
Why Wisualarm Detectors Are Easiest for UK Homes
Wisualarm designs its detectors with UK consumers (and DIY skills) in mind—here’s how they simplify installation:
- Pre-installed 10-year batteries: No need to buy or insert batteries—just remove the plastic tab and go.
- Dual mounting options: Every detector includes both screws and strong adhesive pads (renters love this!).
- One-button pairing: No complicated apps or codes—press the link button once to pair interlinked units.
- Clear UK-focused instructions: The manual uses plain English (no jargon) and includes diagrams for common UK home layouts (e.g., terraced houses, apartments).
- Lightweight design: At just 170g, Wisualarm detectors are easy to hold up to the ceiling—no sore arms mid-installation.
Final Thoughts
Installing a smoke detector is one of the most important DIY jobs you’ll do for your home. By following these steps (and sticking to UK placement rules), you’ll ensure your detector alerts you to fires as early as possible. With Wisualarm’s easy-to-install, long-lasting models, you can set up a whole-home safety system in under an hour—no electrician, no stress.
Remember: A correctly installed smoke detector can cut your risk of dying in a home fire by half (according to the UK’s Fire Kills campaign). Don’t wait—install yours today, and test it weekly. Your family’s safety depends on it.










Hinterlasse einen Kommentar