When it comes to home safety, few devices are as critical as smoke alarms. And in today’s market, interlinked smoke alarms stand out as a game-changer—they communicate with one another, so if one detects smoke, all alarms sound simultaneously, giving you and your family precious extra seconds to evacuate. But a common question lingers: Can you fit these life-saving devices yourself, or do you need to call a professional? The short answer is yes, many homeowners can install interlinked smoke alarms independently—provided you follow the right steps, understand the regulations, and choose the right products. Let’s break down everything you need to know.
First: Understand What Interlinked Smoke Alarms Are
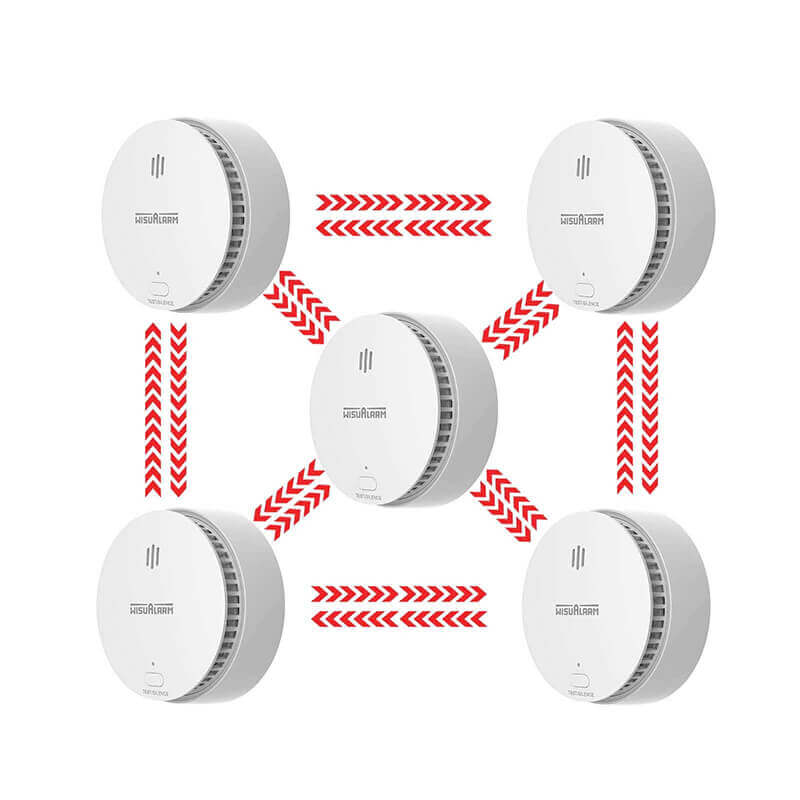
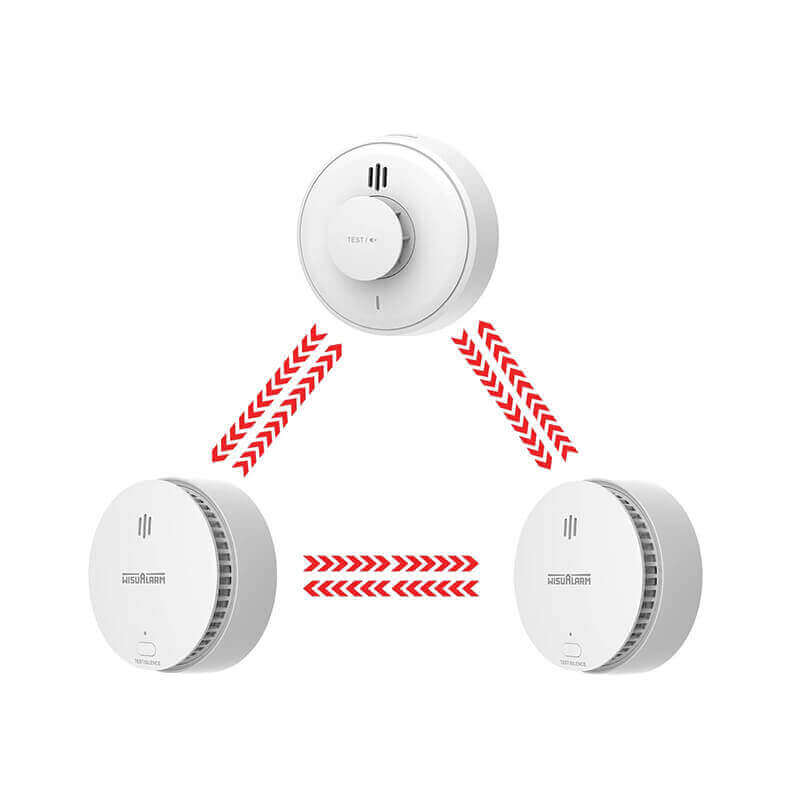
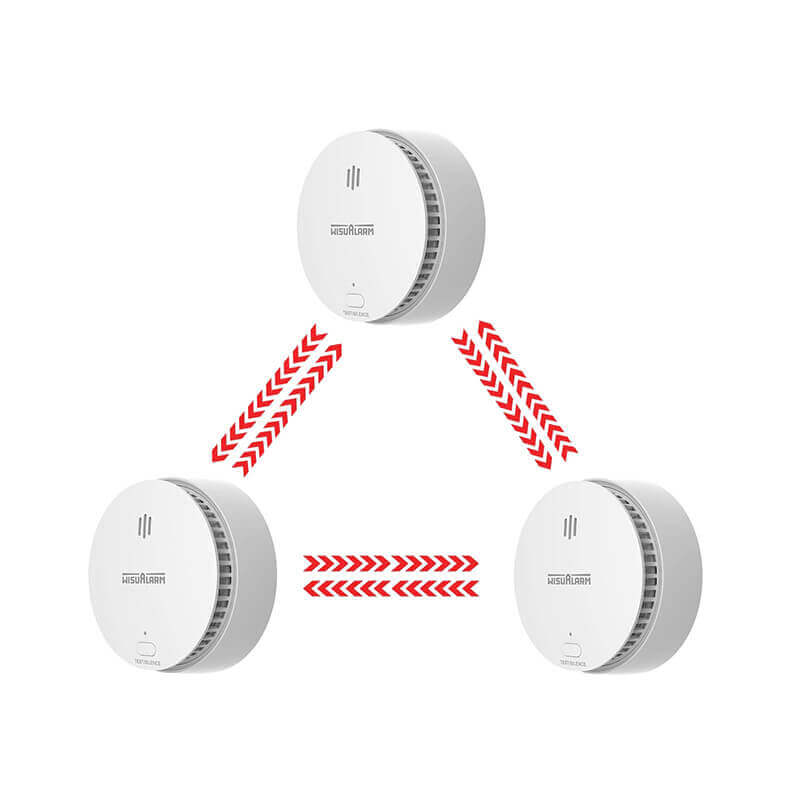
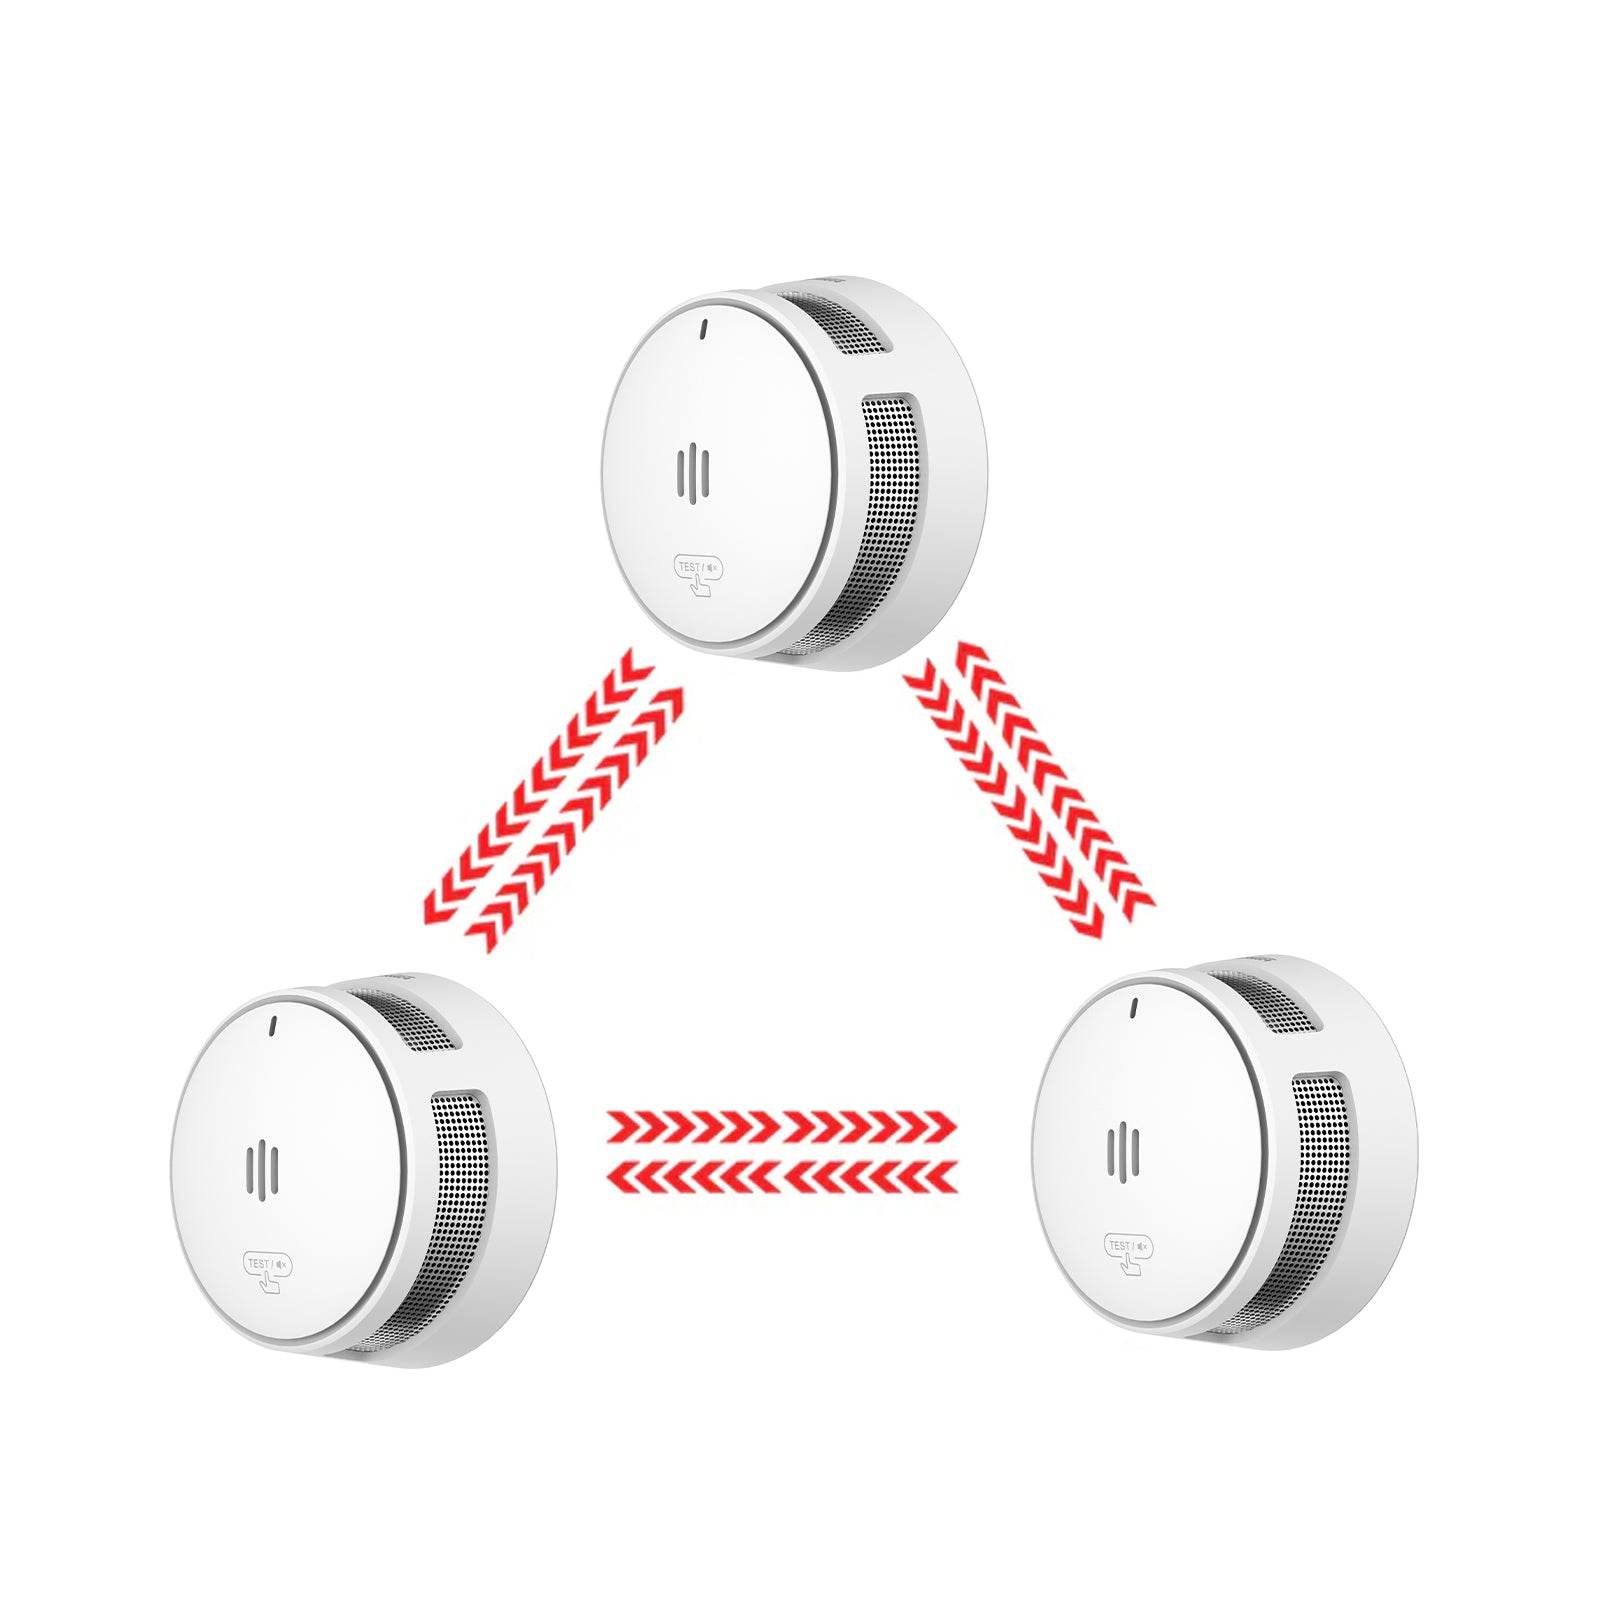
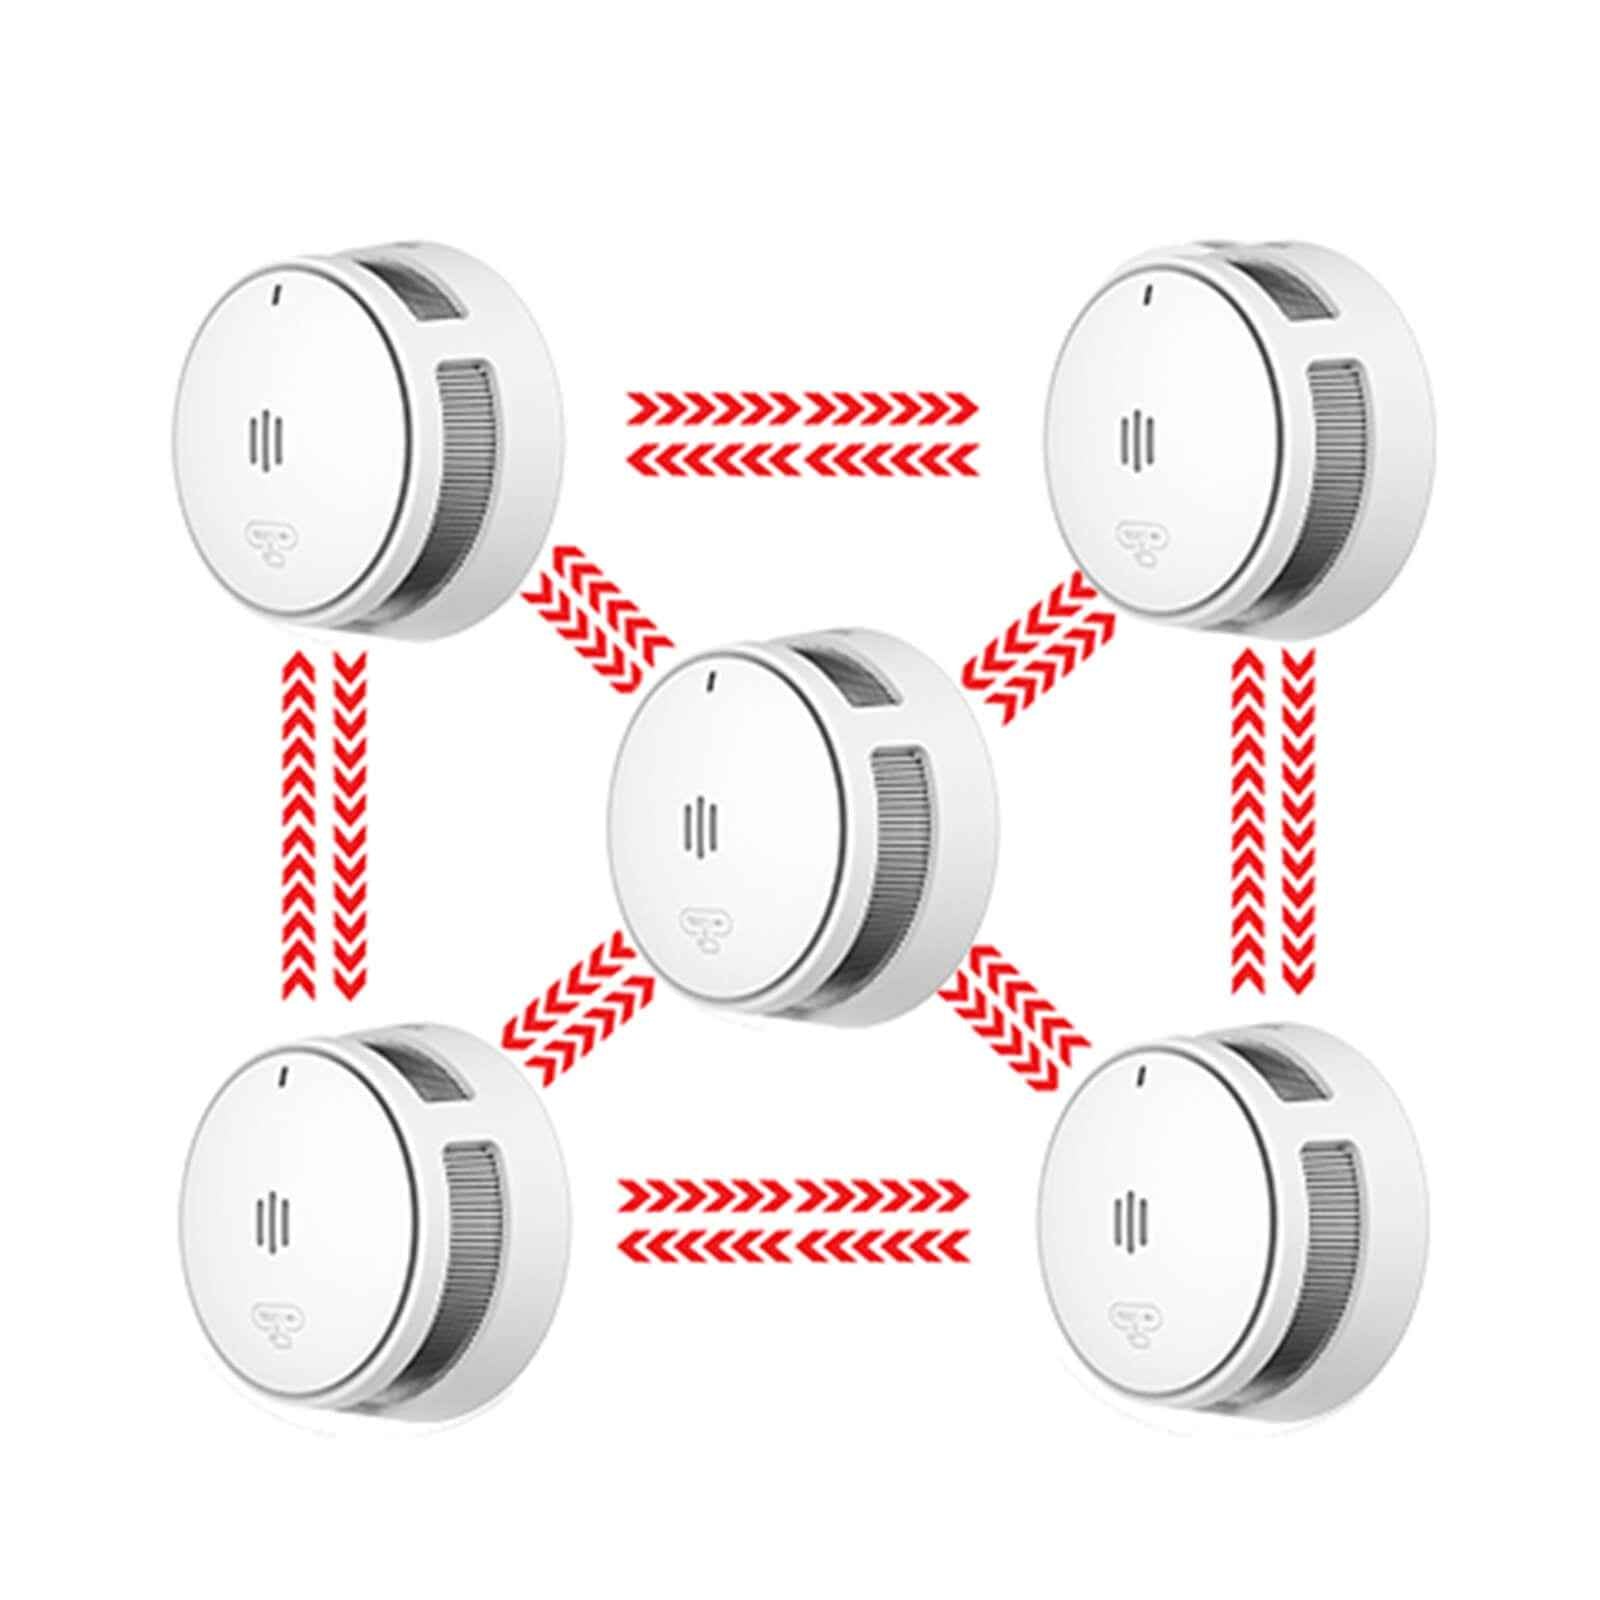
Before diving into installation, it’s essential to grasp how interlinked systems work. Unlike standalone alarms, which only sound when smoke reaches their sensors, interlinked models create a network. This network typically operates in two ways: hardwired (connected via your home’s electrical system, often with battery backups) or wireless (powered by batteries or mains, communicating via radio frequency). Wireless systems are particularly popular for DIY installation, as they eliminate the need for complex wiring and are easier to adapt to existing homes.
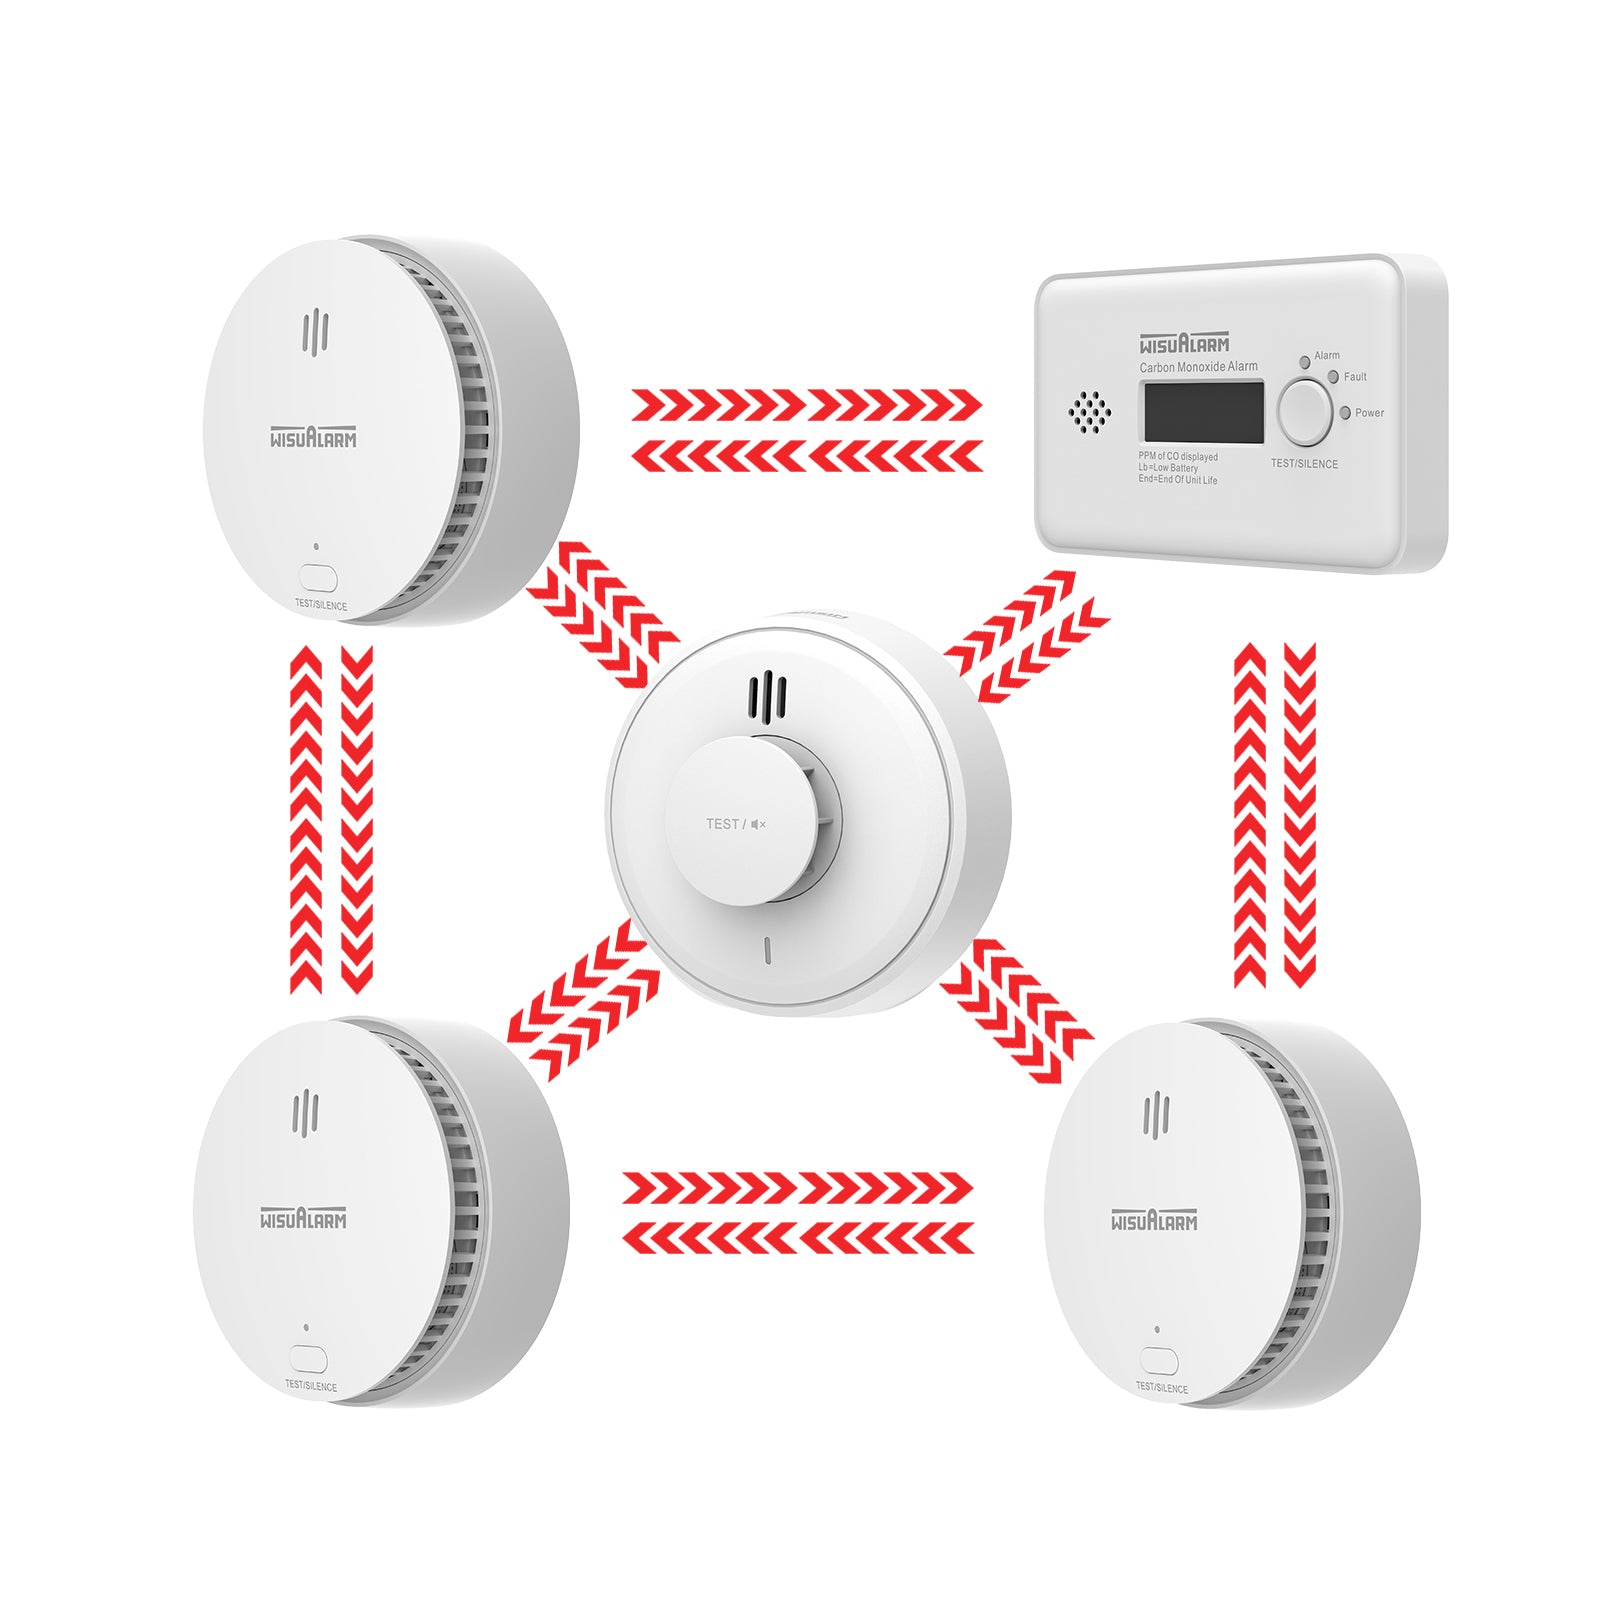
The key benefit of this interconnection cannot be overstated. If a fire starts in the basement, an alarm there will trigger every alarm on the upper floors—alerting someone asleep in a bedroom before smoke or fumes reach them. This is why many building codes now mandate interlinked systems in new constructions, and retrofitting them is a smart move for older homes.
DIY Installation: What You Need to Know
Installing interlinked smoke alarms yourself is feasible, but it requires careful planning, the right tools, and adherence to safety standards. Here’s a step-by-step breakdown of the process and critical considerations:
1. Check Local Regulations and Standards
Before picking up a drill, familiarize yourself with local fire codes and regulations. Requirements vary by region—for example, some areas specify the number of alarms needed (e.g., one per floor, one in each bedroom), their placement (e.g., 30cm from ceilings or walls), and whether hardwired or wireless systems are acceptable. In the UK, for instance, the Smoke and Carbon Monoxide Alarm (England) Regulations 2022 require all rented properties to have interlinked alarms, and similar standards exist in parts of the US, Australia, and Canada. Ignoring these rules could lead to safety risks or legal issues, so verify with your local fire department or building authority first.
2. Choose the Right Interlinked System for DIY
Not all interlinked systems are equal when it comes to DIY friendliness. Wireless systems are the best choice for most homeowners, as they:
-
Don’t require electrical wiring (ideal for renters or older homes without existing alarm circuits).
-
Are easy to pair—most models connect automatically with a press of a button.
-
Offer flexible placement (no need to align with electrical outlets).
Hardwired systems, while reliable, are better left to professionals if you’re not experienced with electrical work. They involve connecting to your home’s mains, which carries the risk of electric shock or fire if done incorrectly. For DIY, stick to wireless interlinked alarms with long-lasting batteries (lithium-ion batteries are preferable, as they last 5–10 years vs. 6–12 months for alkaline).
3. Gather the Necessary Tools
DIY installation requires minimal tools, most of which you probably already own:
-
Drill and drill bits (for mounting brackets).
-
Screwdriver (Phillips or flathead, depending on the alarm).
-
Pencil (for marking drill holes).
-
Tape measure (to ensure proper placement).
-
Ladder (for reaching high ceilings).
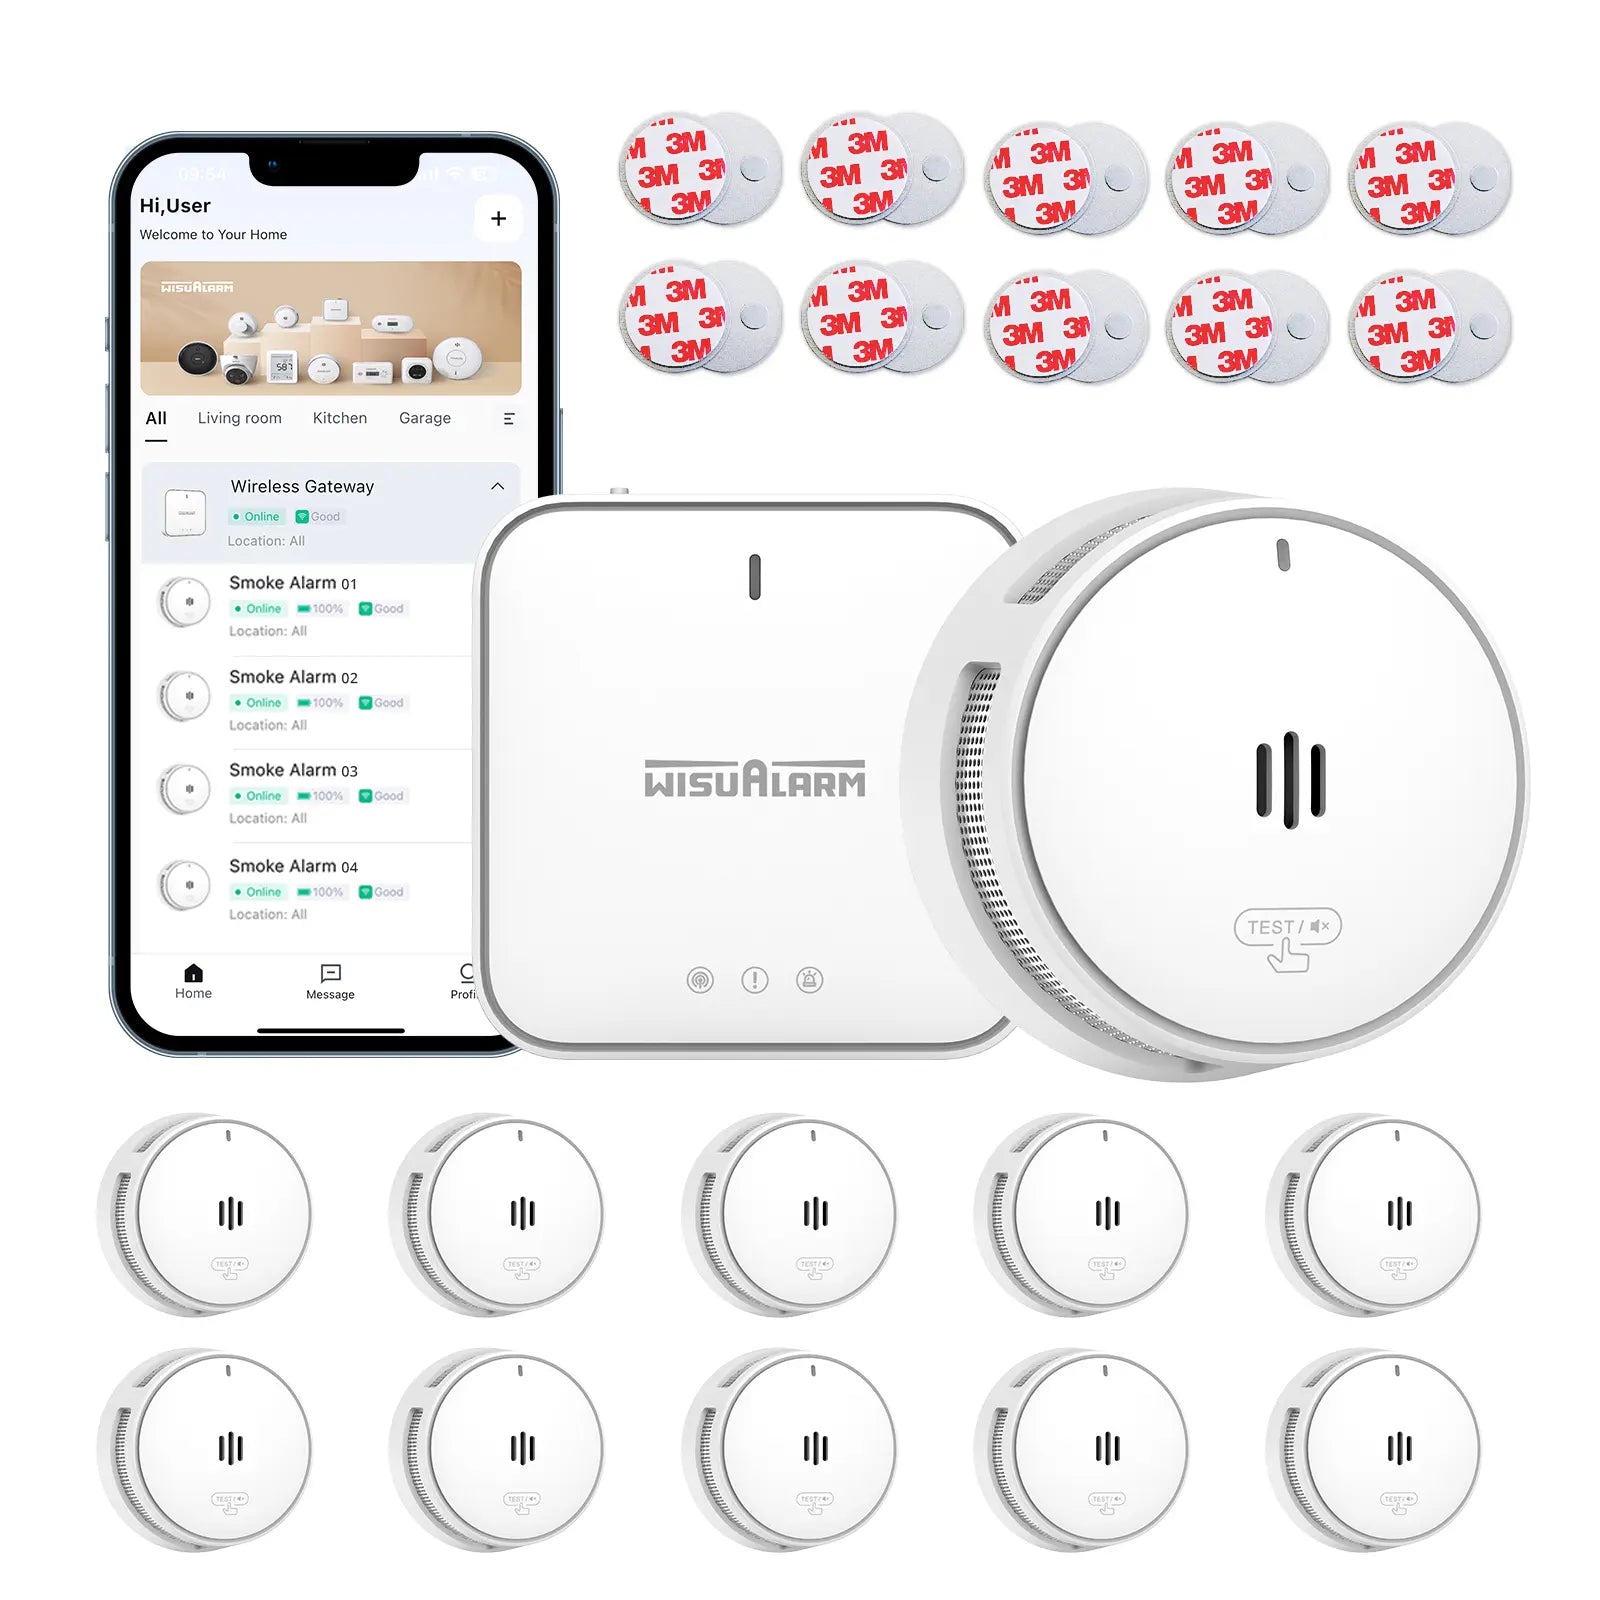
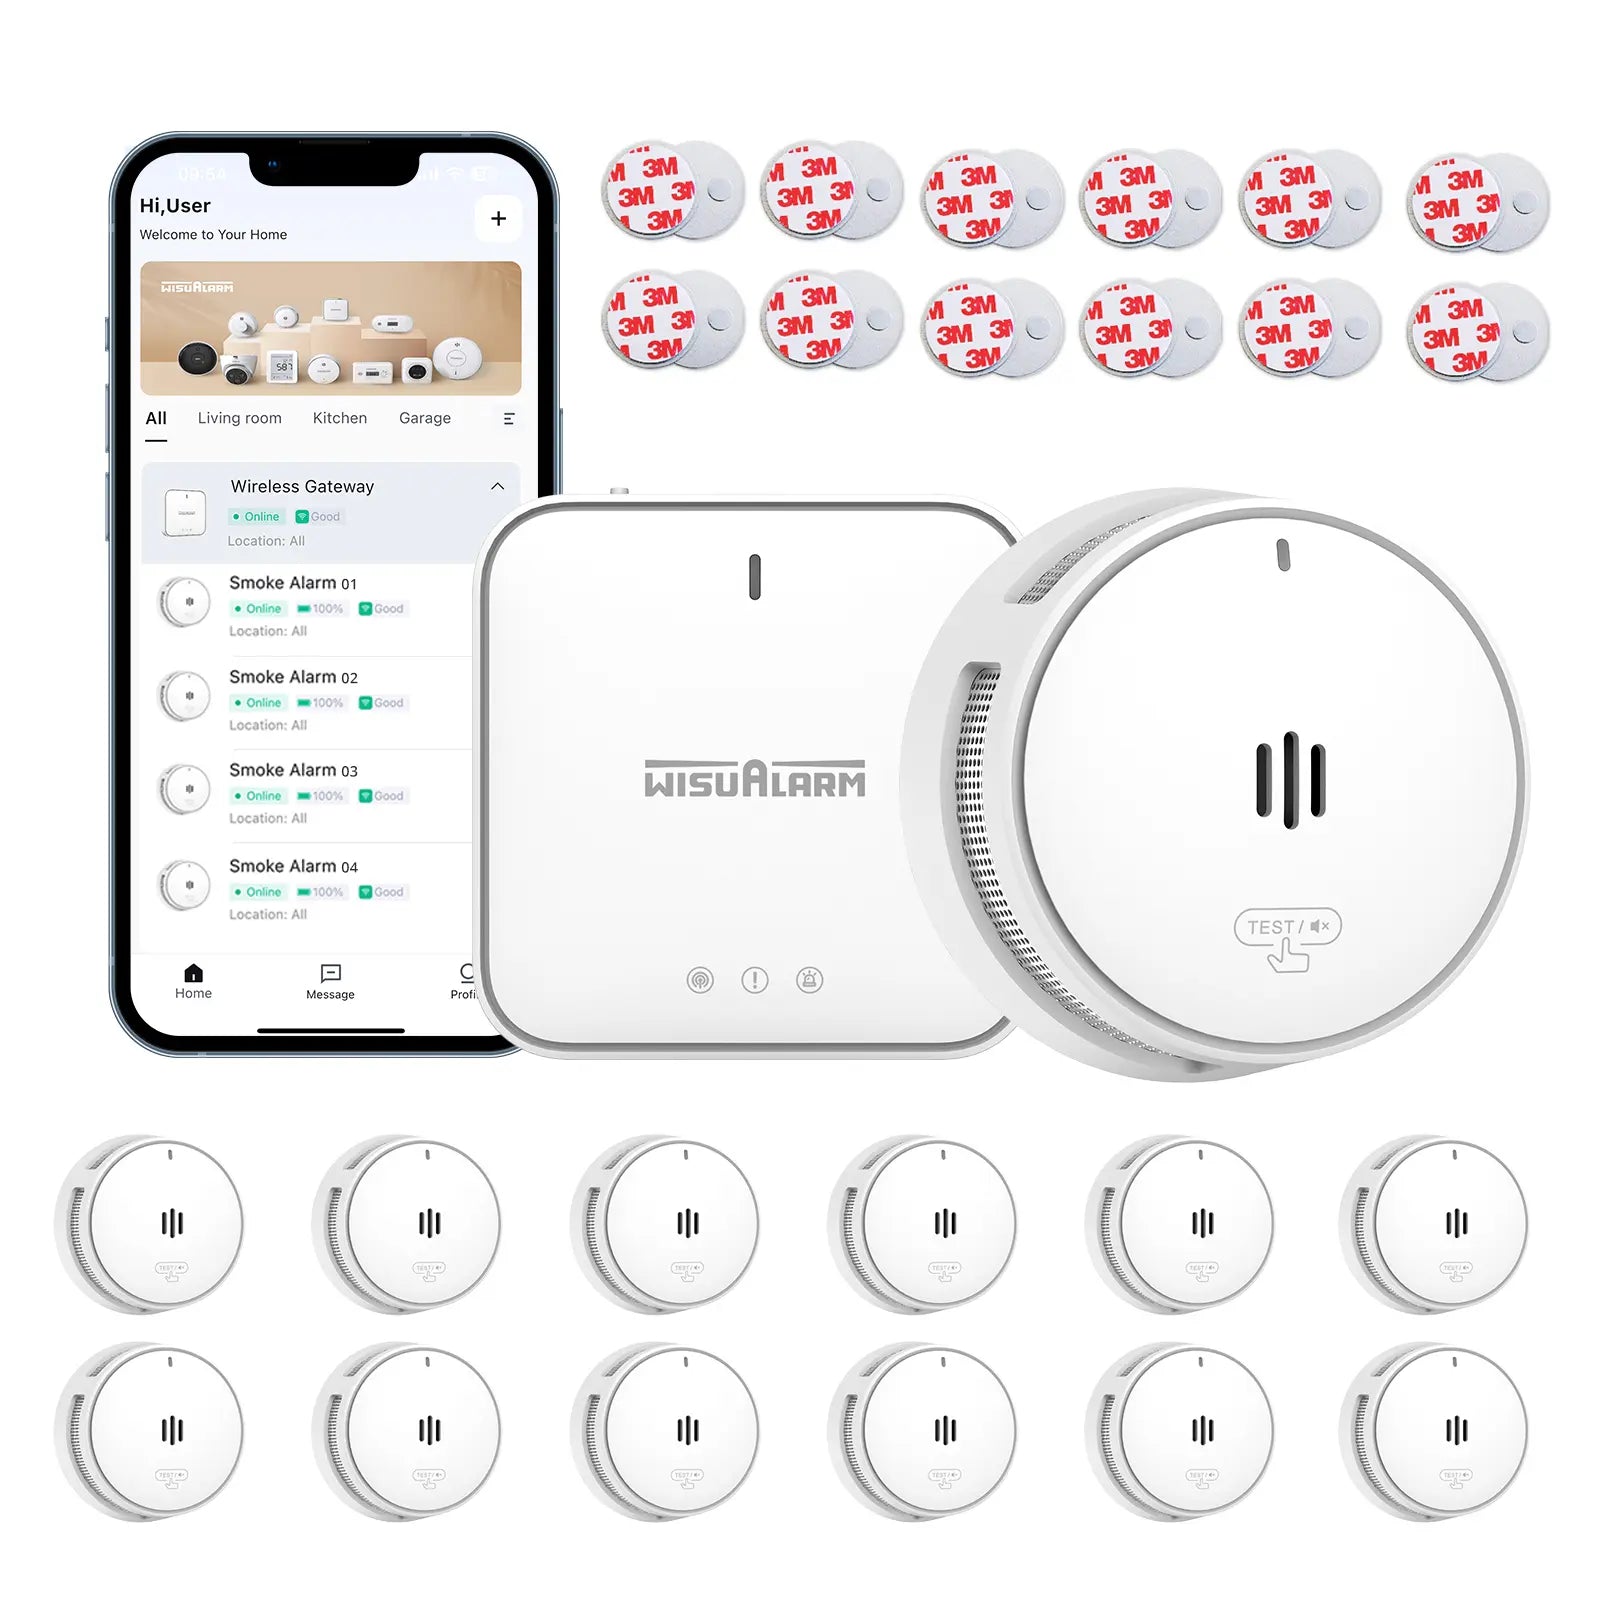
Some alarms come with adhesive pads for no-drill installation, which is perfect for renters or anyone who wants to avoid damaging walls/ceilings.
4. Follow Proper Placement Guidelines
Even the best alarm won’t work if it’s placed incorrectly. Follow these placement rules for maximum effectiveness:
-
Install at least one alarm per floor, including the basement and attic (if used for storage or living space).
-
Place alarms inside every bedroom and outside sleeping areas (e.g., in hallways leading to bedrooms).
-
Mount alarms on ceilings (preferred) or high on walls (at least 10cm below the ceiling). Smoke rises, so this ensures quick detection.
-
Avoid dead zones: Keep alarms away from kitchens (cooking fumes can cause false alarms—use a heat alarm here instead), bathrooms (steam), air vents, and fans (which can disperse smoke).
-
Ensure alarms are within range of each other (wireless systems typically have a range of 30–100 meters, but walls/floors may reduce this—check the product specs).
5. Install and Test the System
Once you’ve mapped out placement, the installation process is straightforward:
-
Mount the bracket: Use the drill to attach the included bracket to the ceiling/wall. If using adhesive, clean the surface first for a secure hold.
-
Insert batteries (if needed): For battery-powered models, install the batteries as directed (note the polarity).
-
Attach the alarm: Twist or snap the alarm onto the bracket—most models lock into place with a simple turn.
-
Pair the alarms: Follow the manufacturer’s instructions to link the alarms. For wireless systems, this usually involves pressing a “link” button on one alarm, then pressing the same button on the others within 60 seconds. The alarms will beep or flash to confirm they’re connected.
-
Test thoroughly: Press the test button on one alarm—all alarms in the network should sound. If not, recheck the pairing or placement. Test the system monthly to ensure it’s working, and replace batteries (or the entire alarm, for sealed units) as recommended.
When to Call a Professional
While DIY is possible for most wireless systems, there are cases where professional help is wise:
-
You’re installing a hardwired interlinked system (electrical work requires expertise).
-
Your home has complex architecture (e.g., thick walls, multiple levels) that may interfere with wireless signals.
-
You’re unsure about local regulations or placement.
-
You have mobility issues that make climbing ladders unsafe.
Introducing Wisualarm: Your Trusted Partner for Interlinked Smoke Alarms

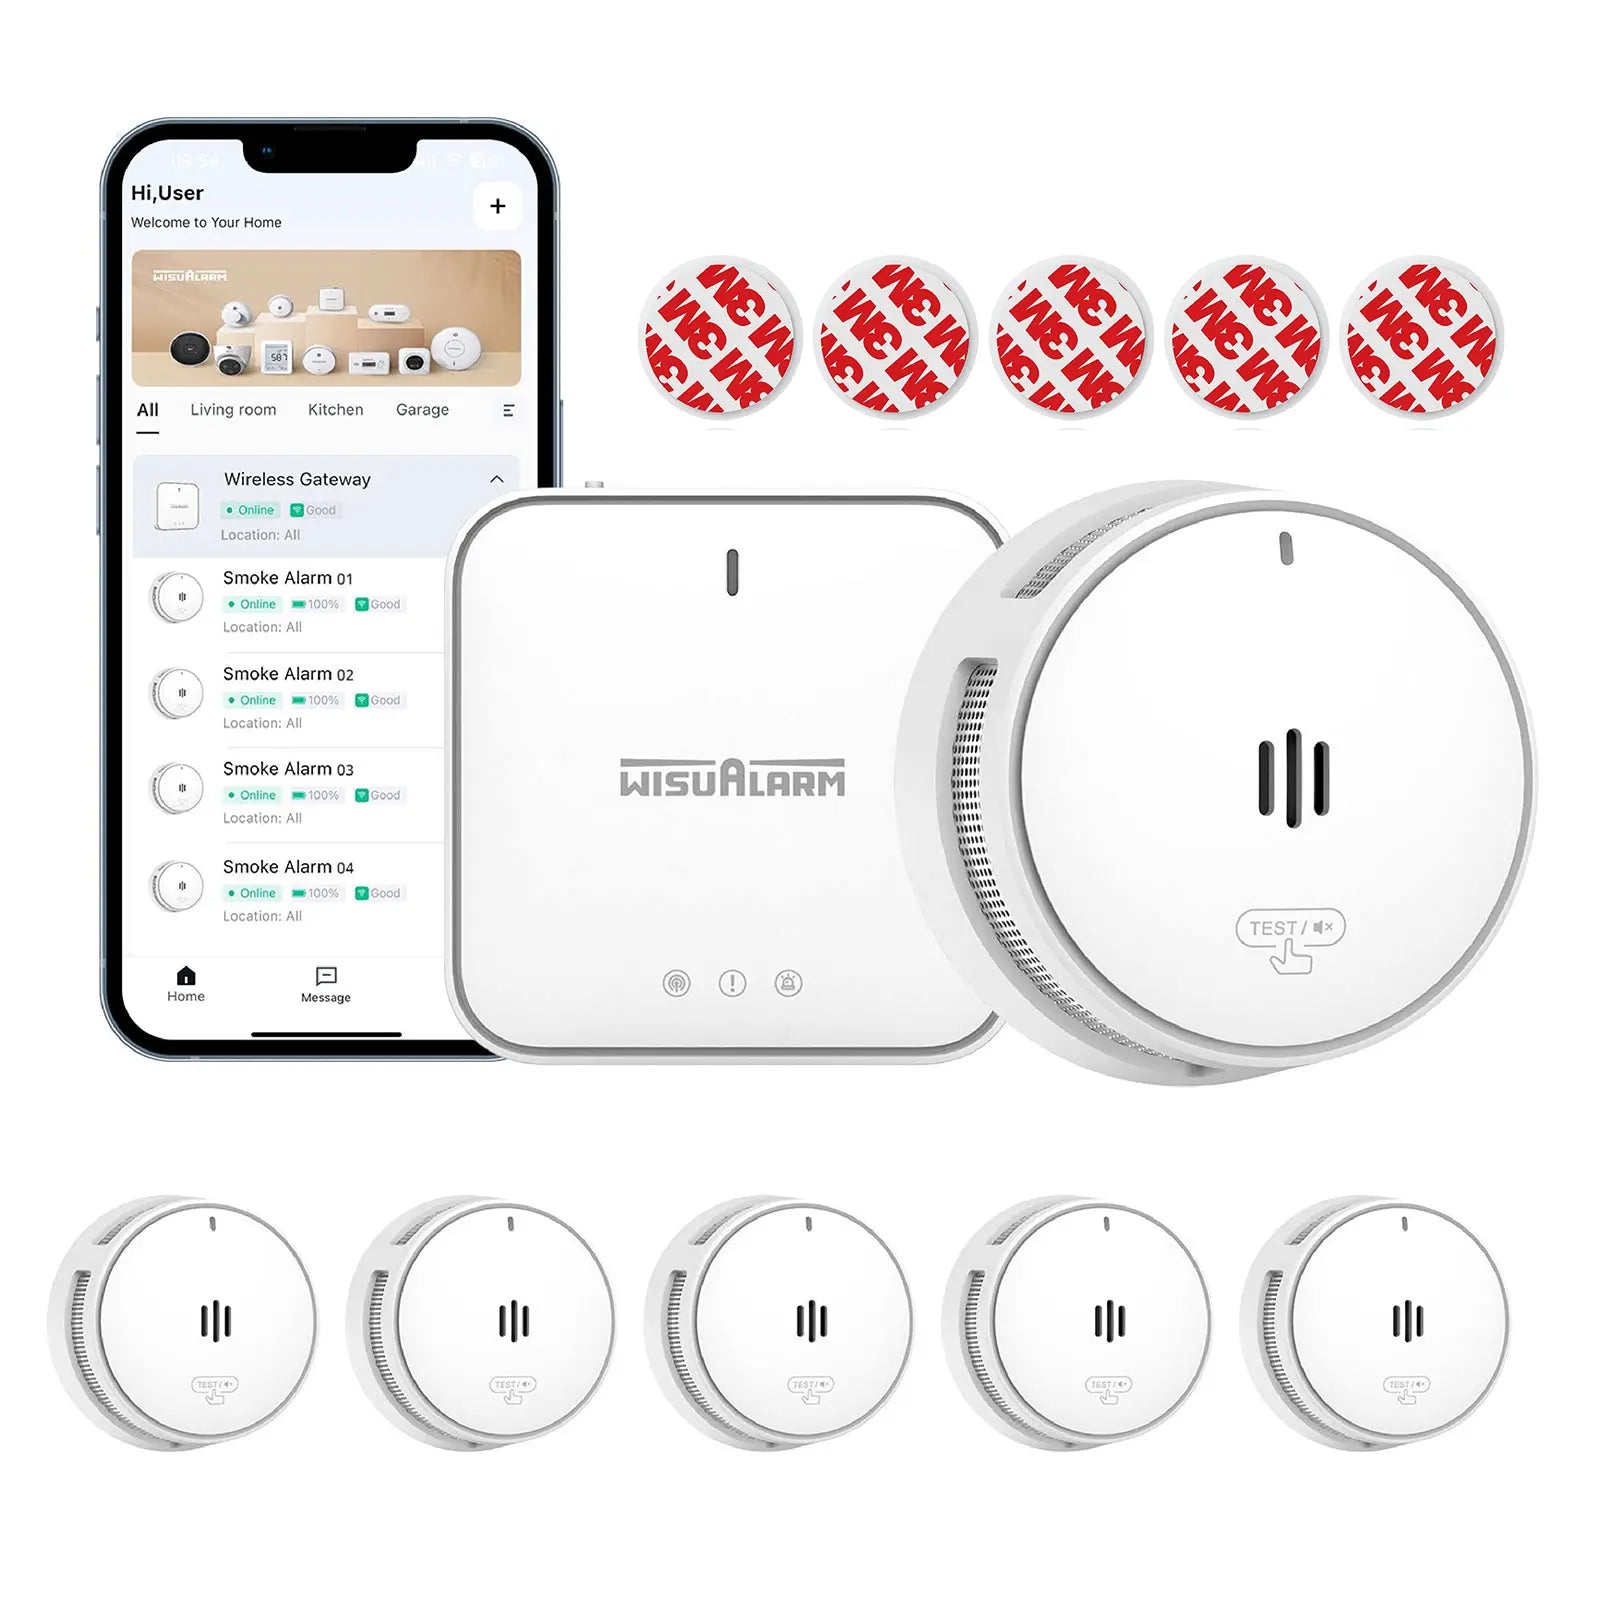
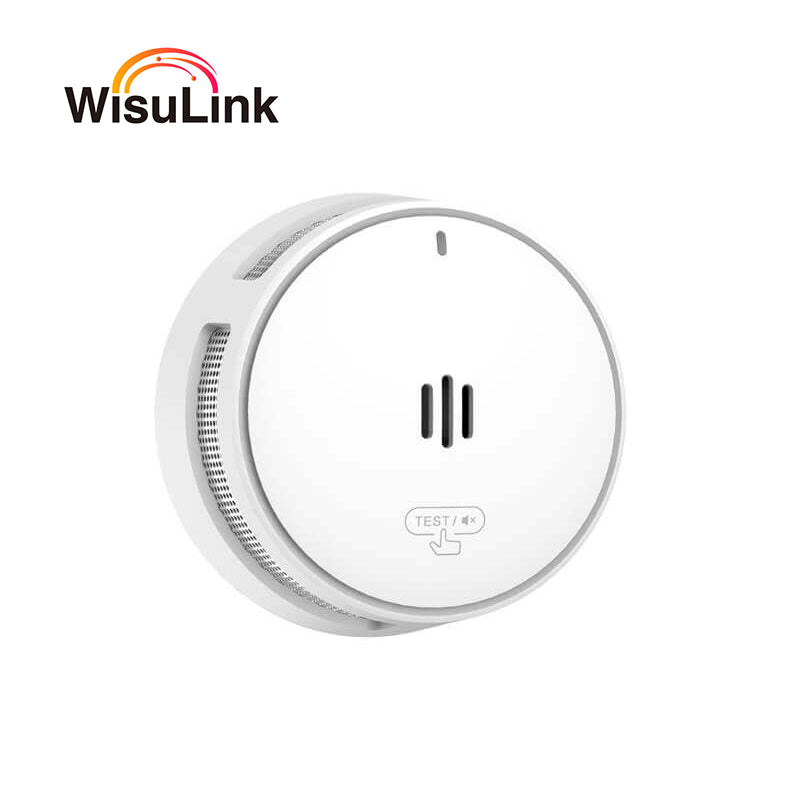
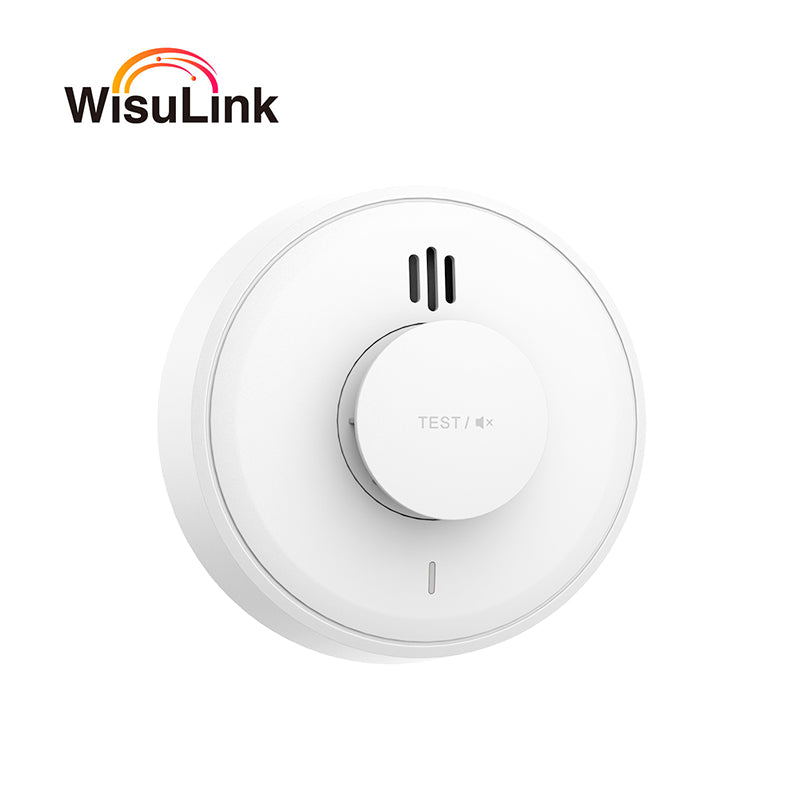
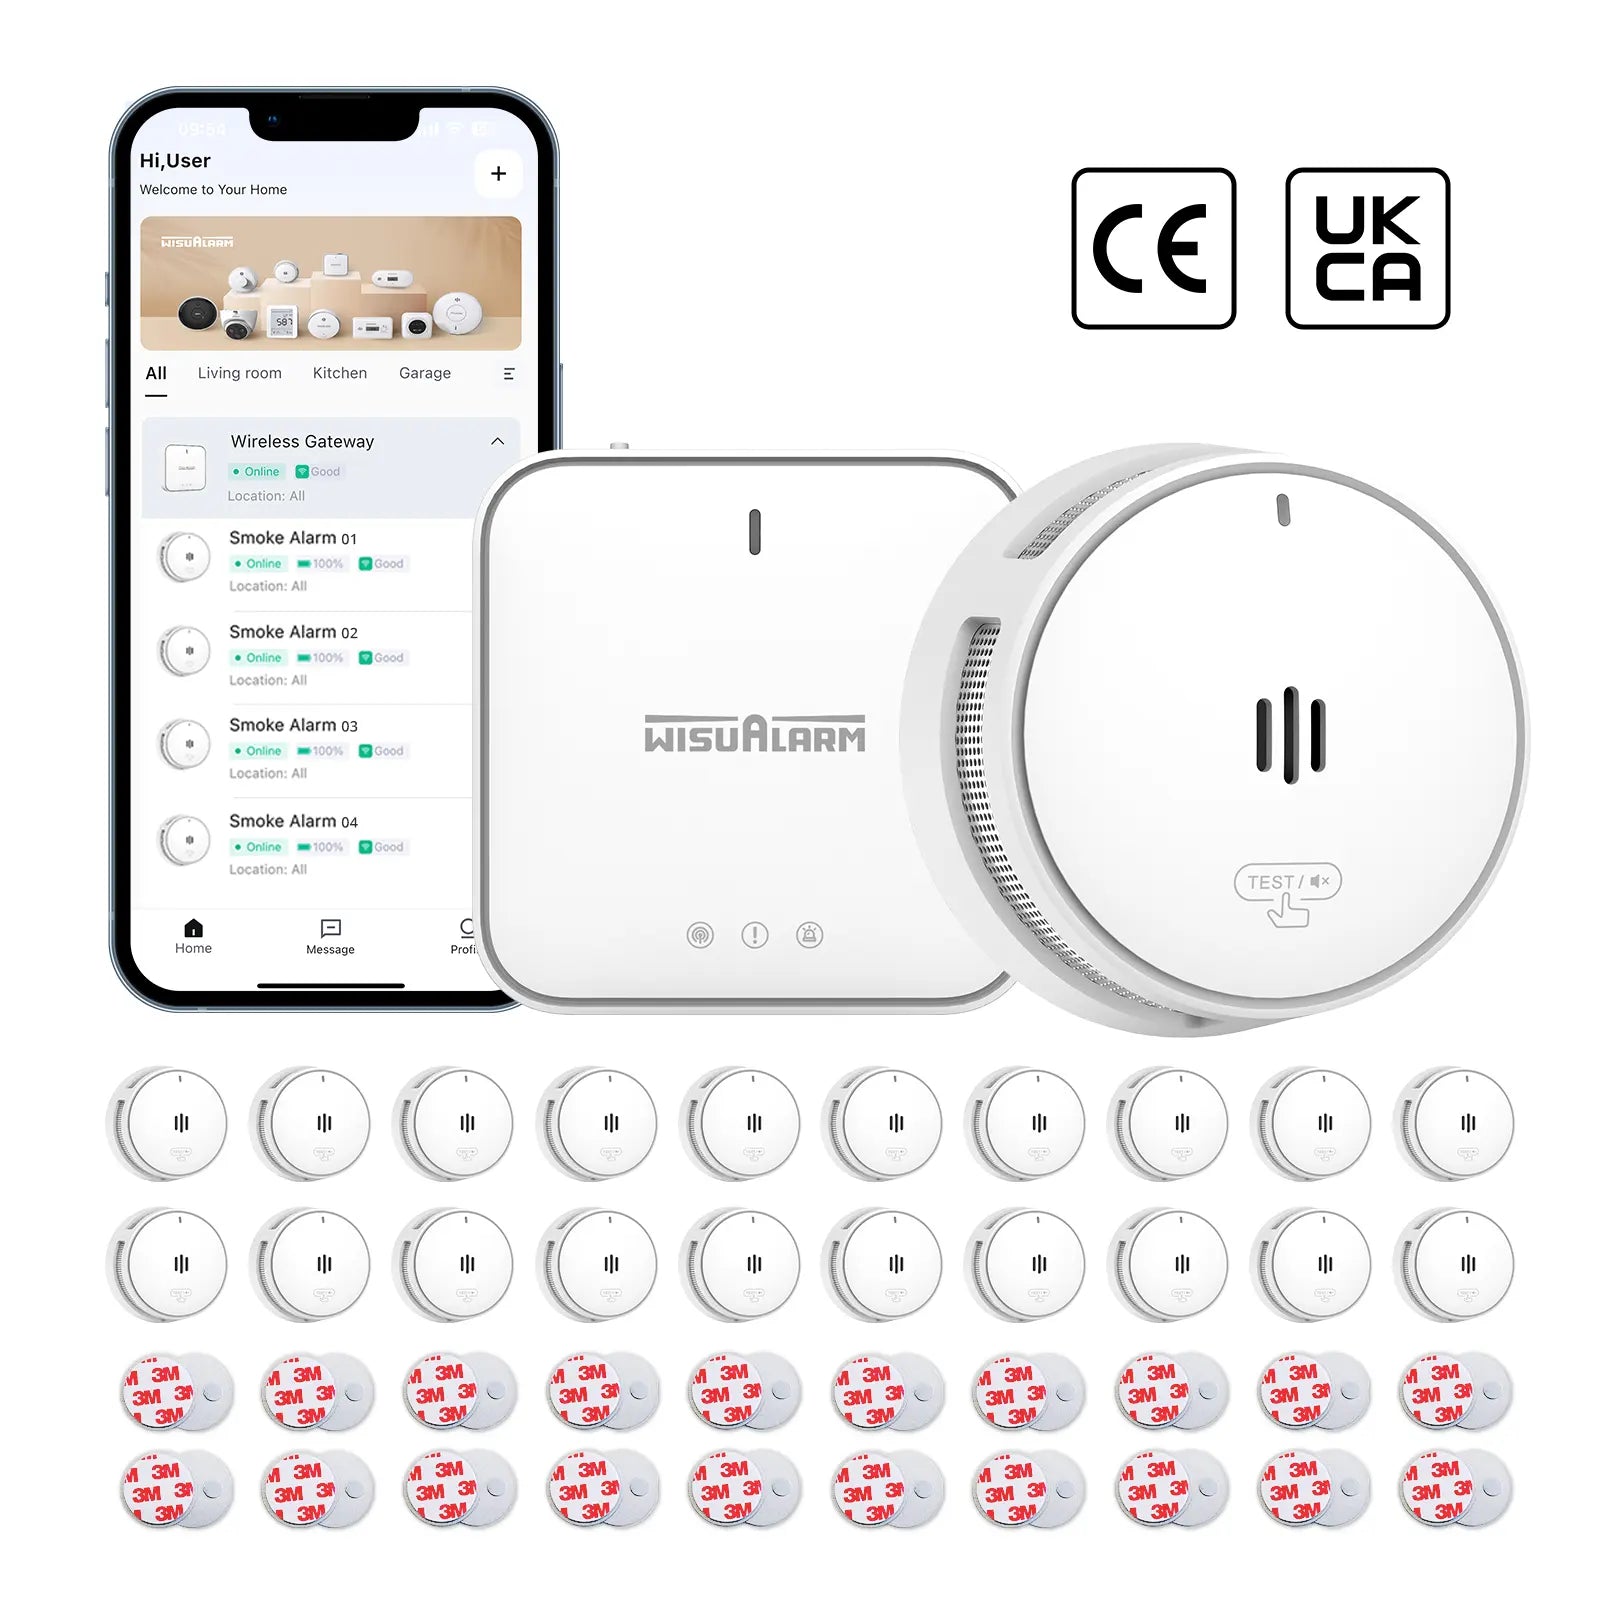
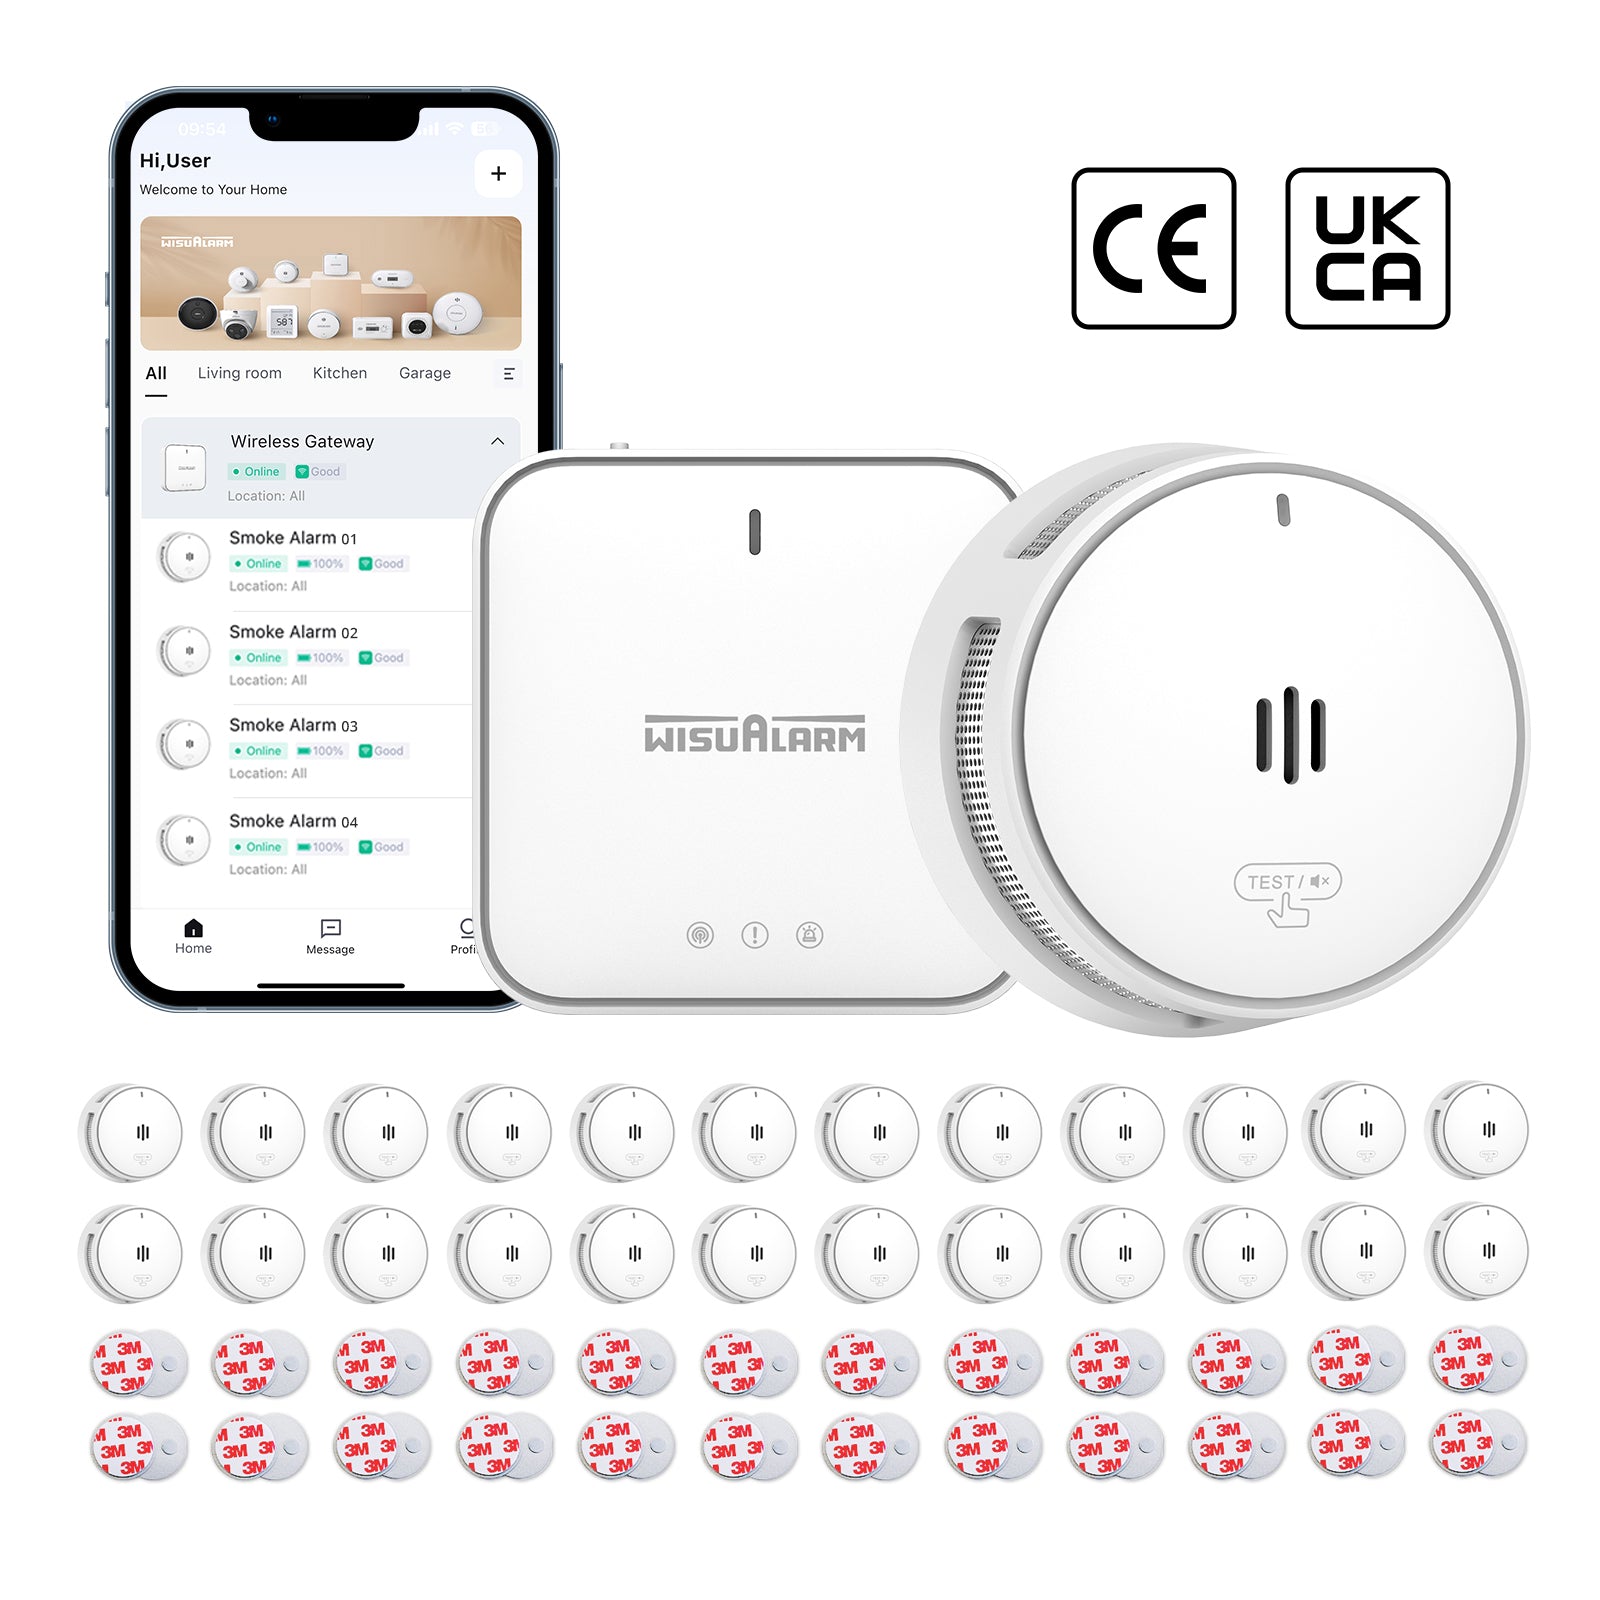
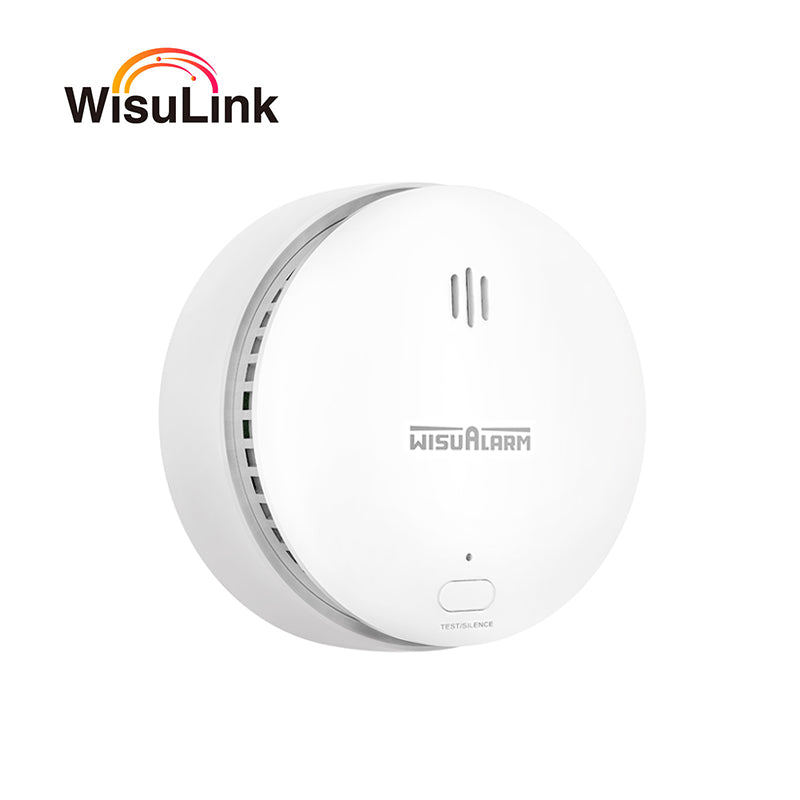
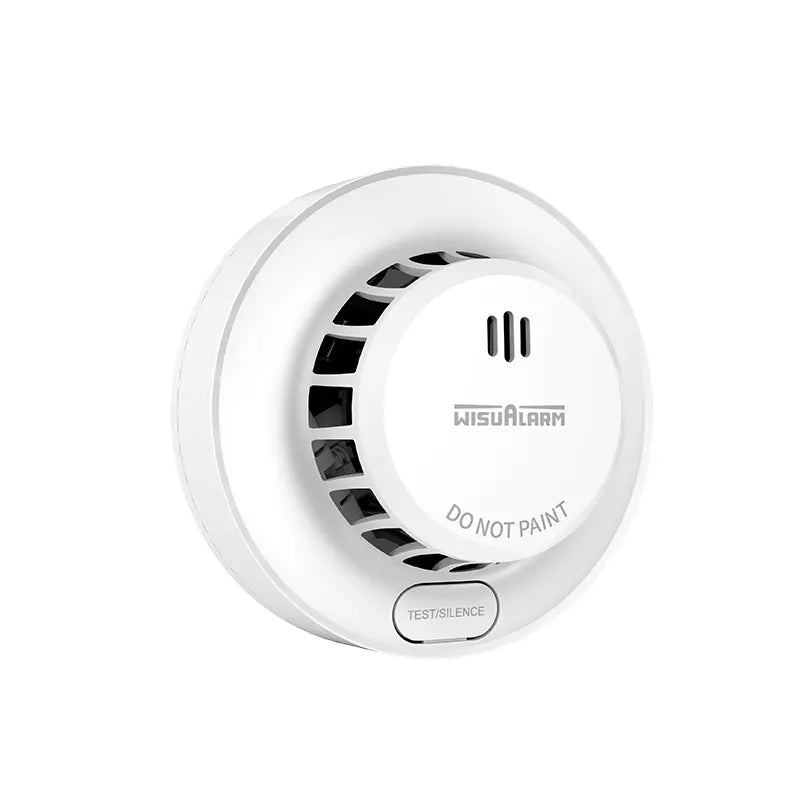
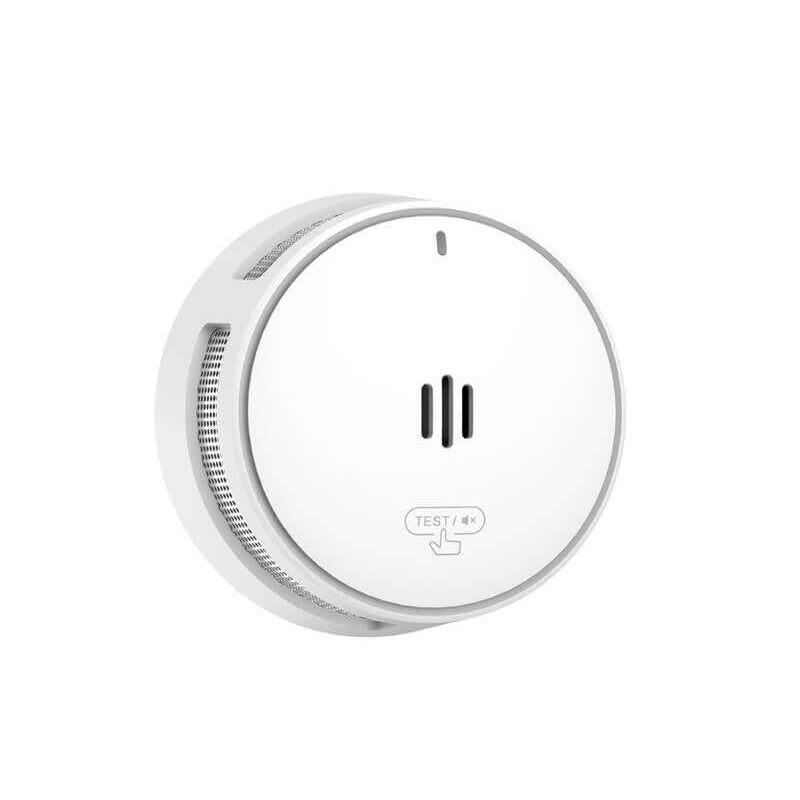
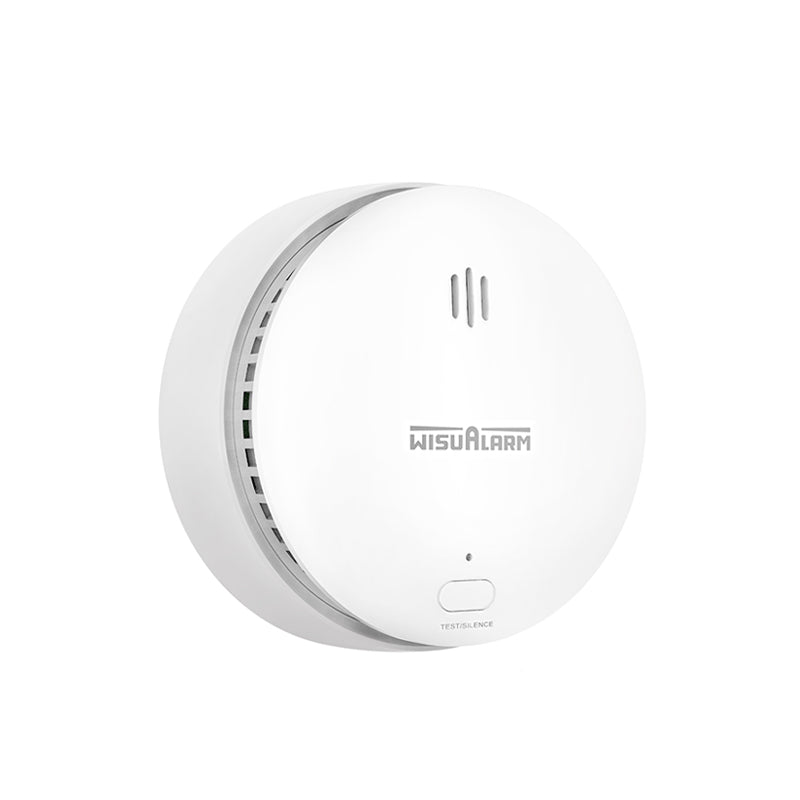
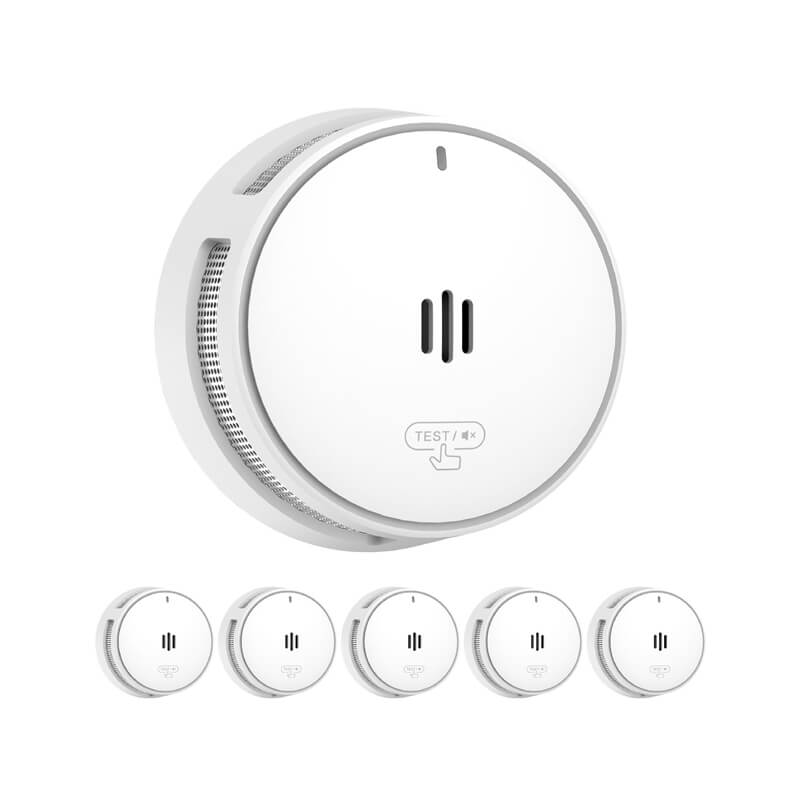
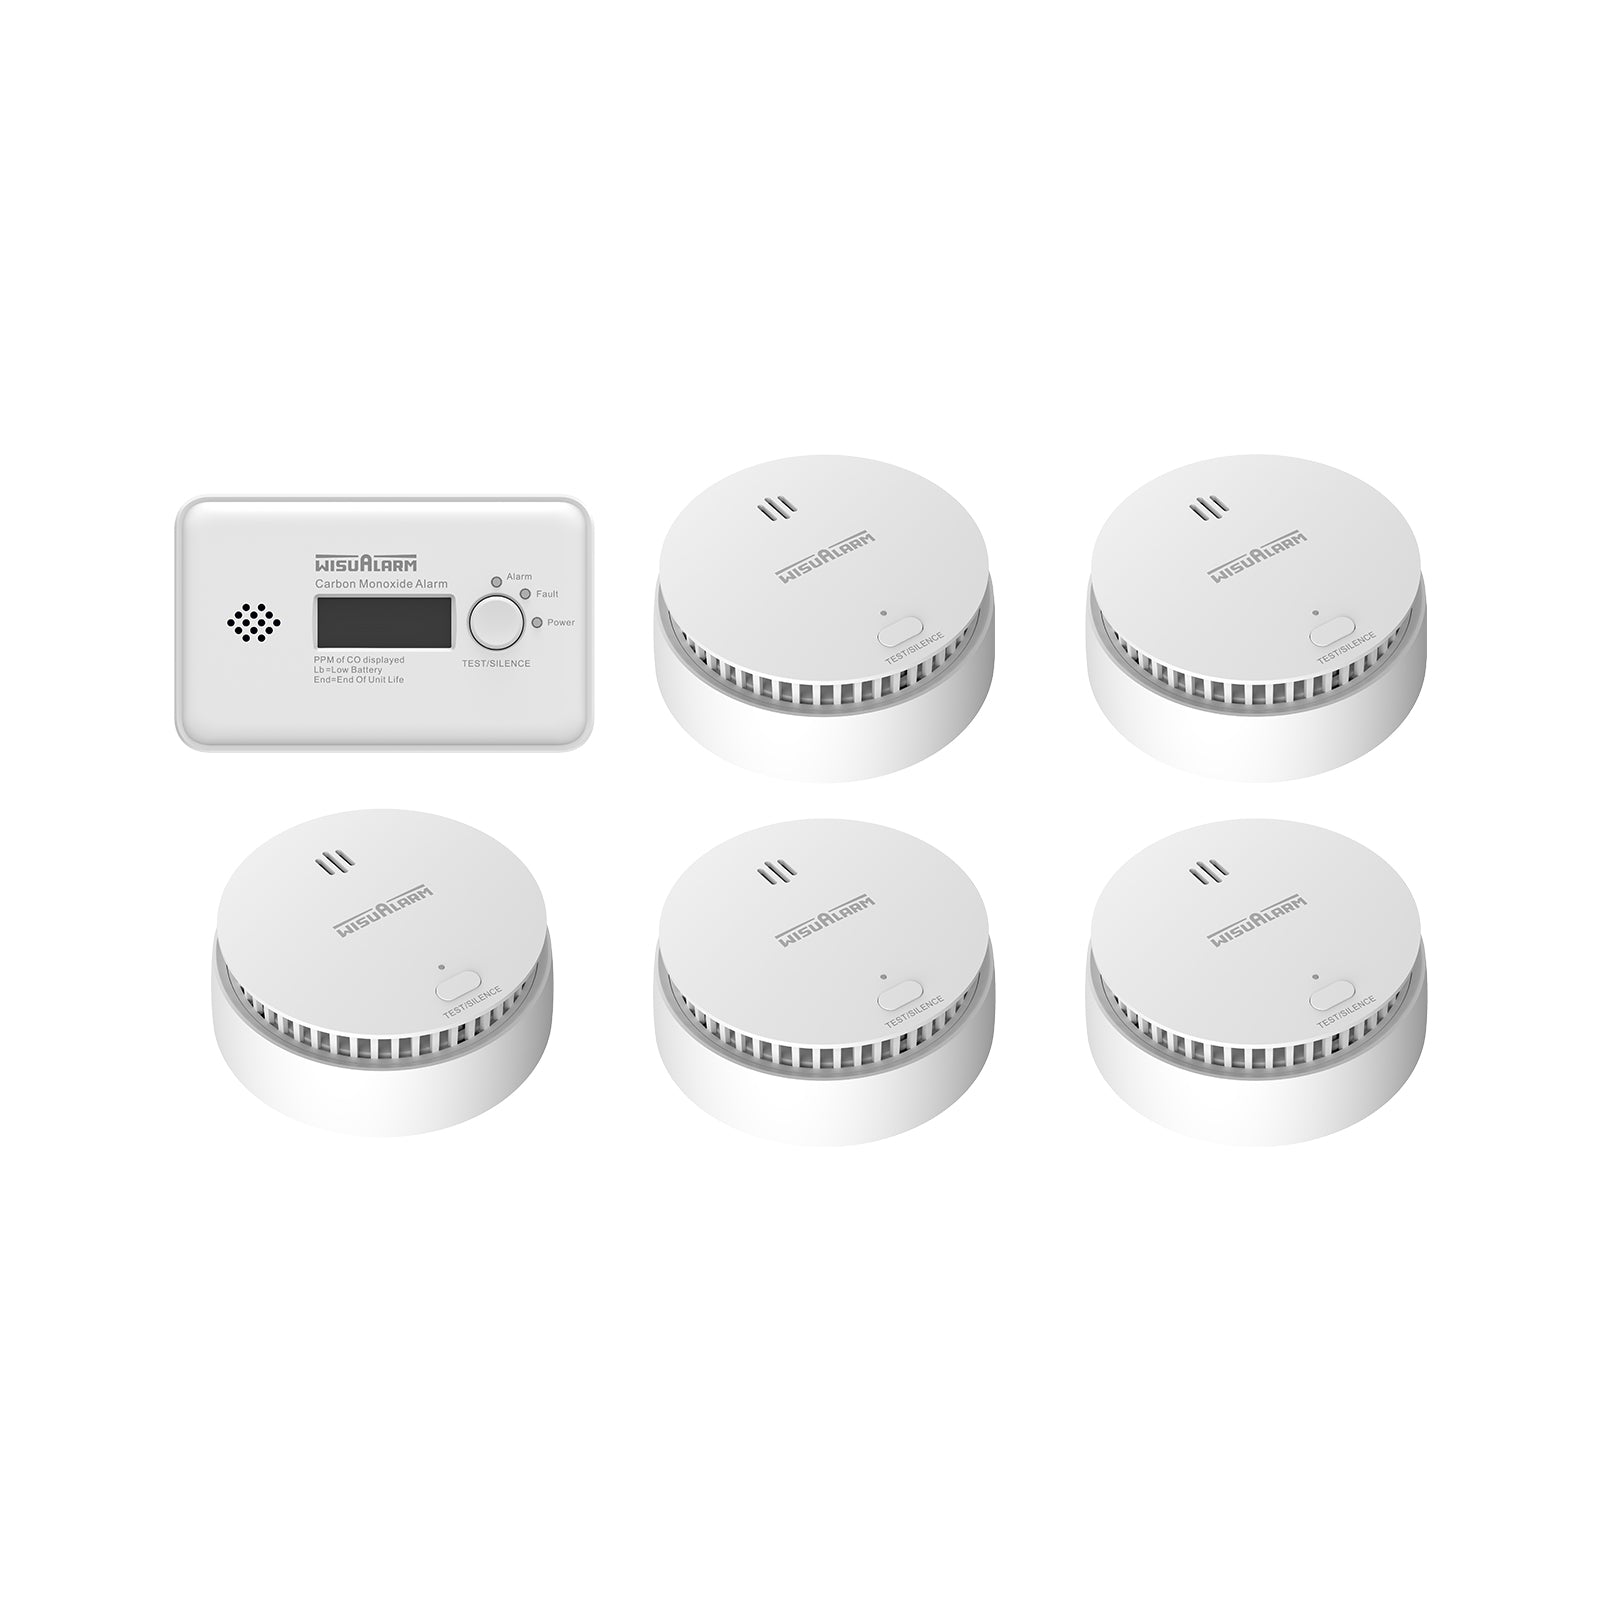
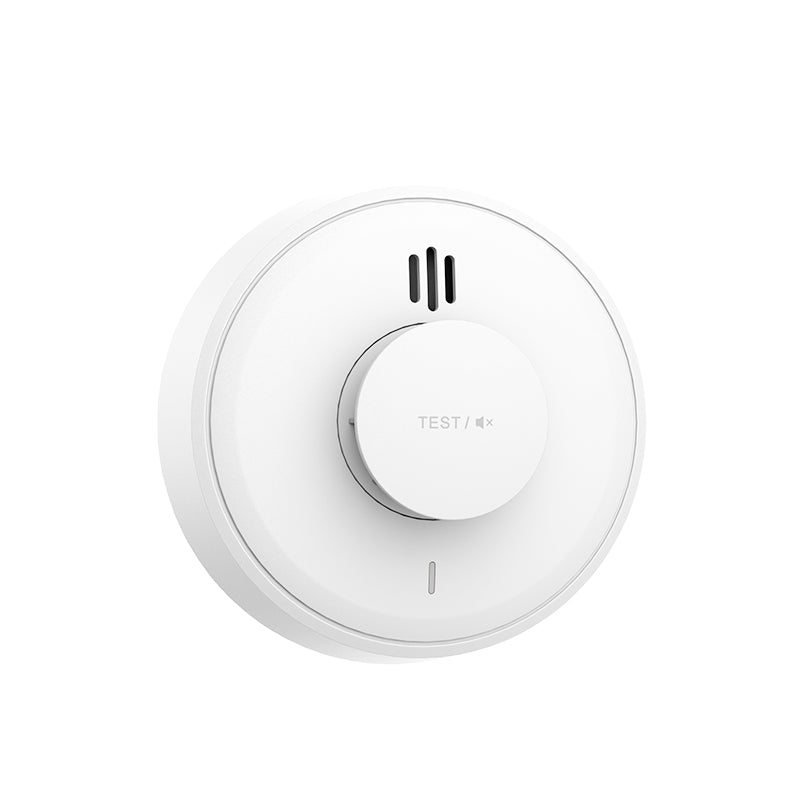
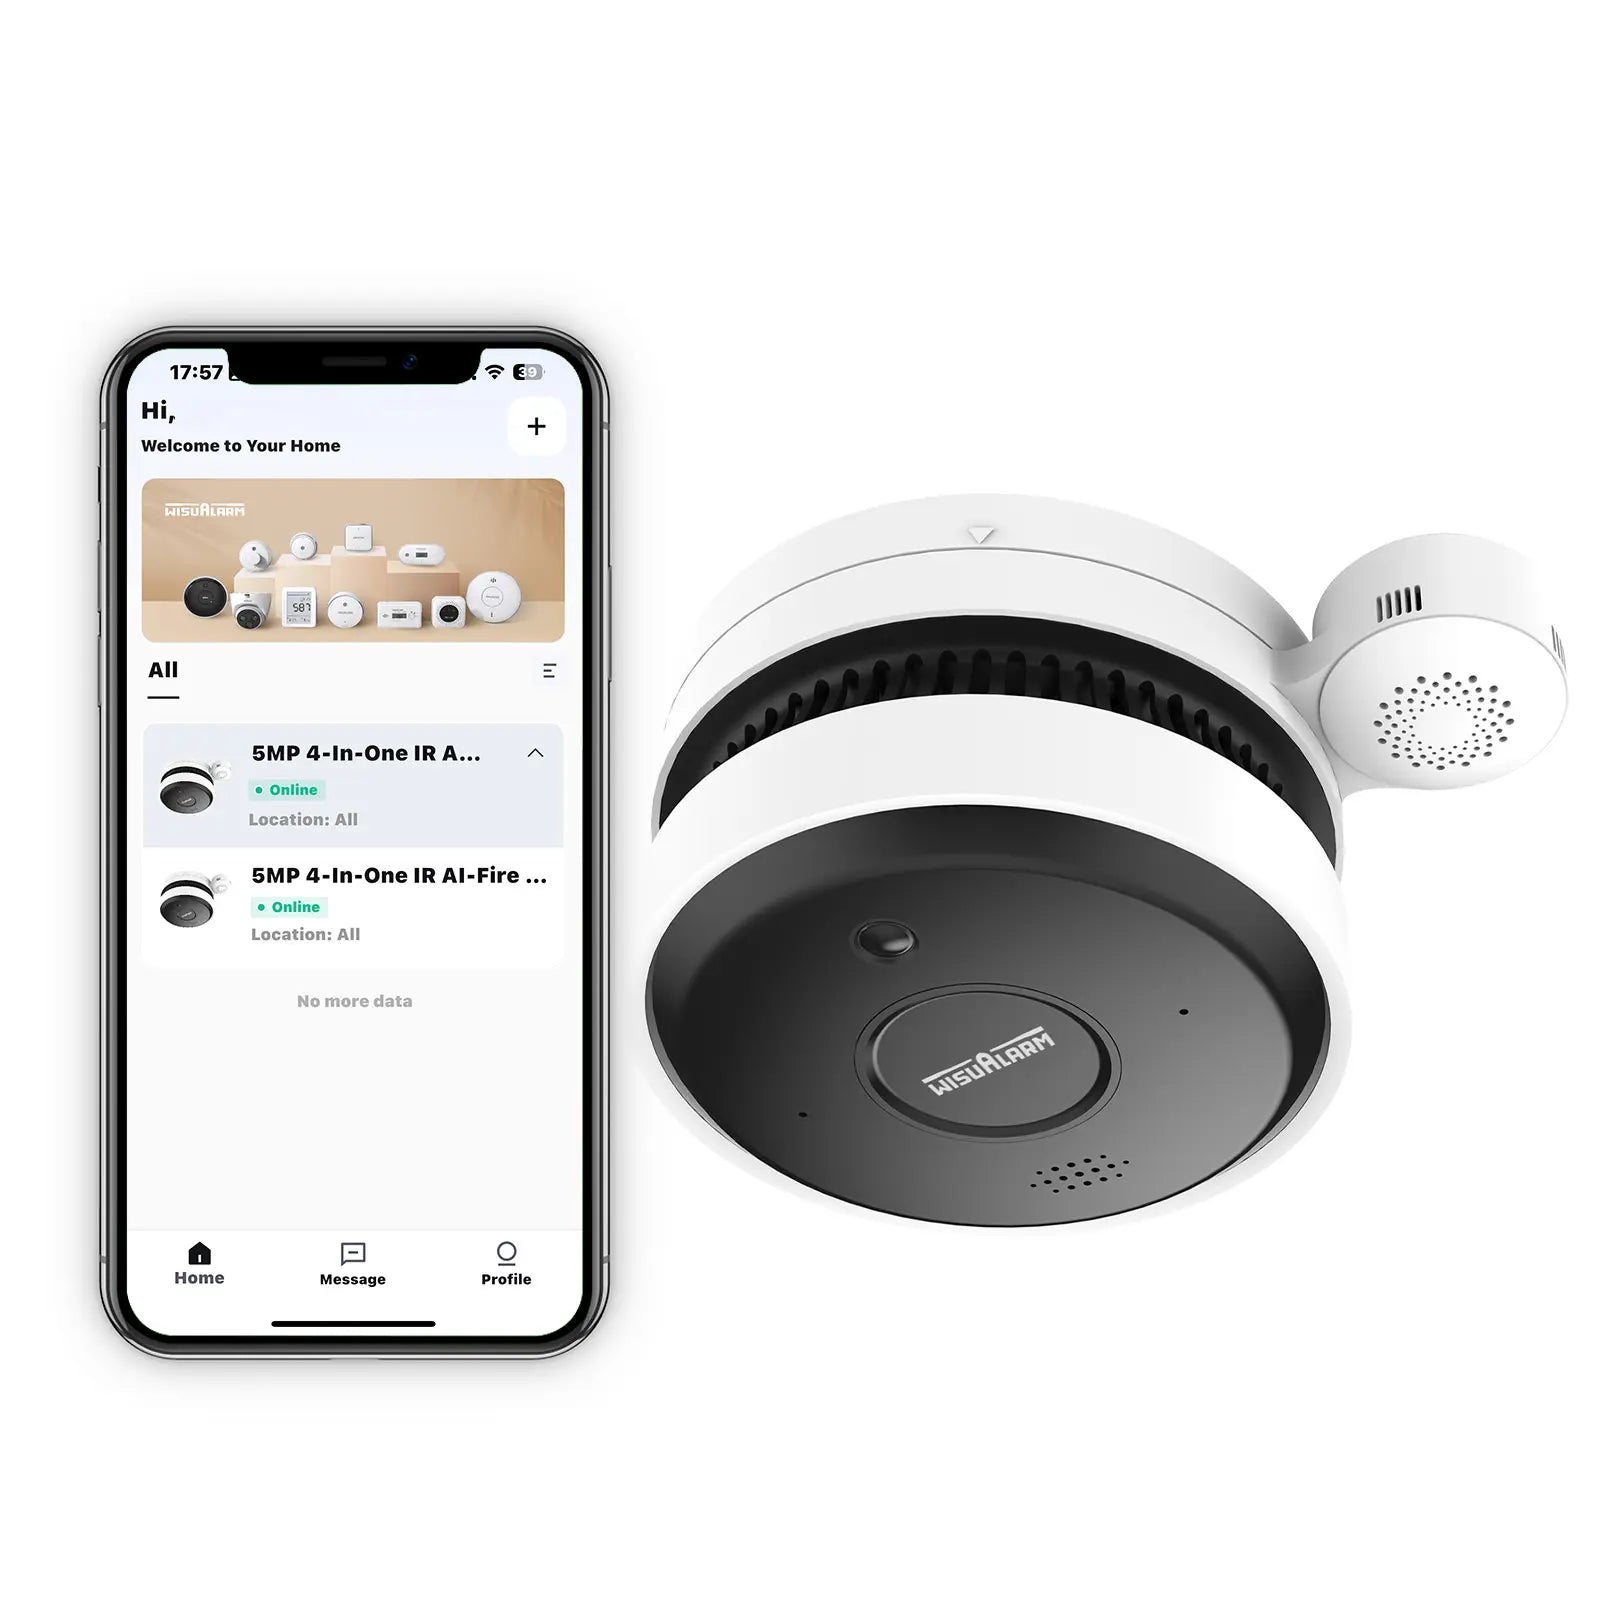
If you’re ready to upgrade to an interlinked smoke alarm system, Wisualarm offers the perfect blend of reliability, ease of installation, and cutting-edge technology—designed specifically for DIY homeowners. Here’s why Wisualarm stands out:
1. Hassle-Free Wireless Interconnection
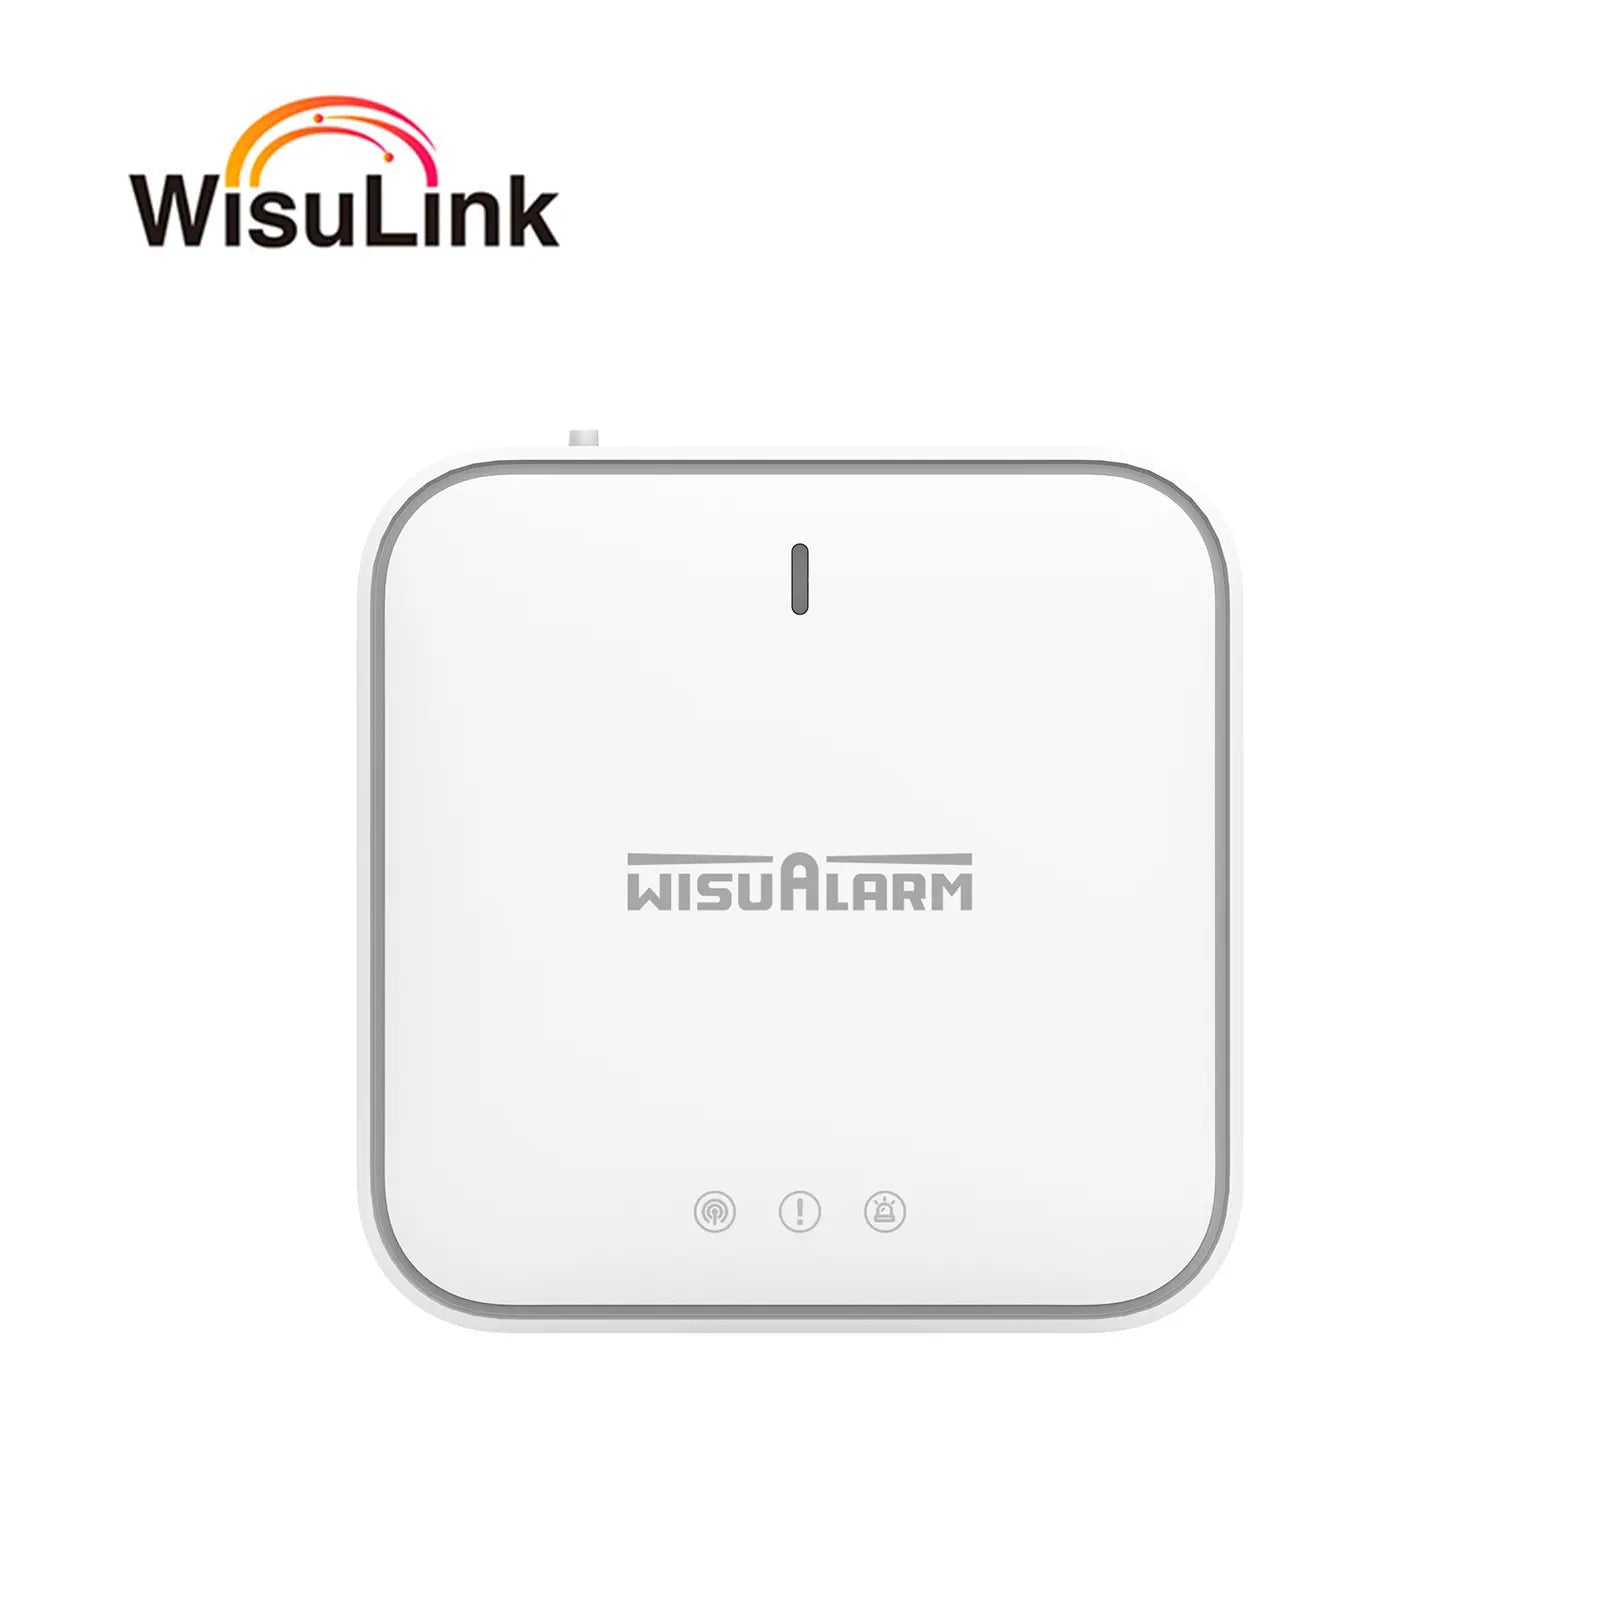
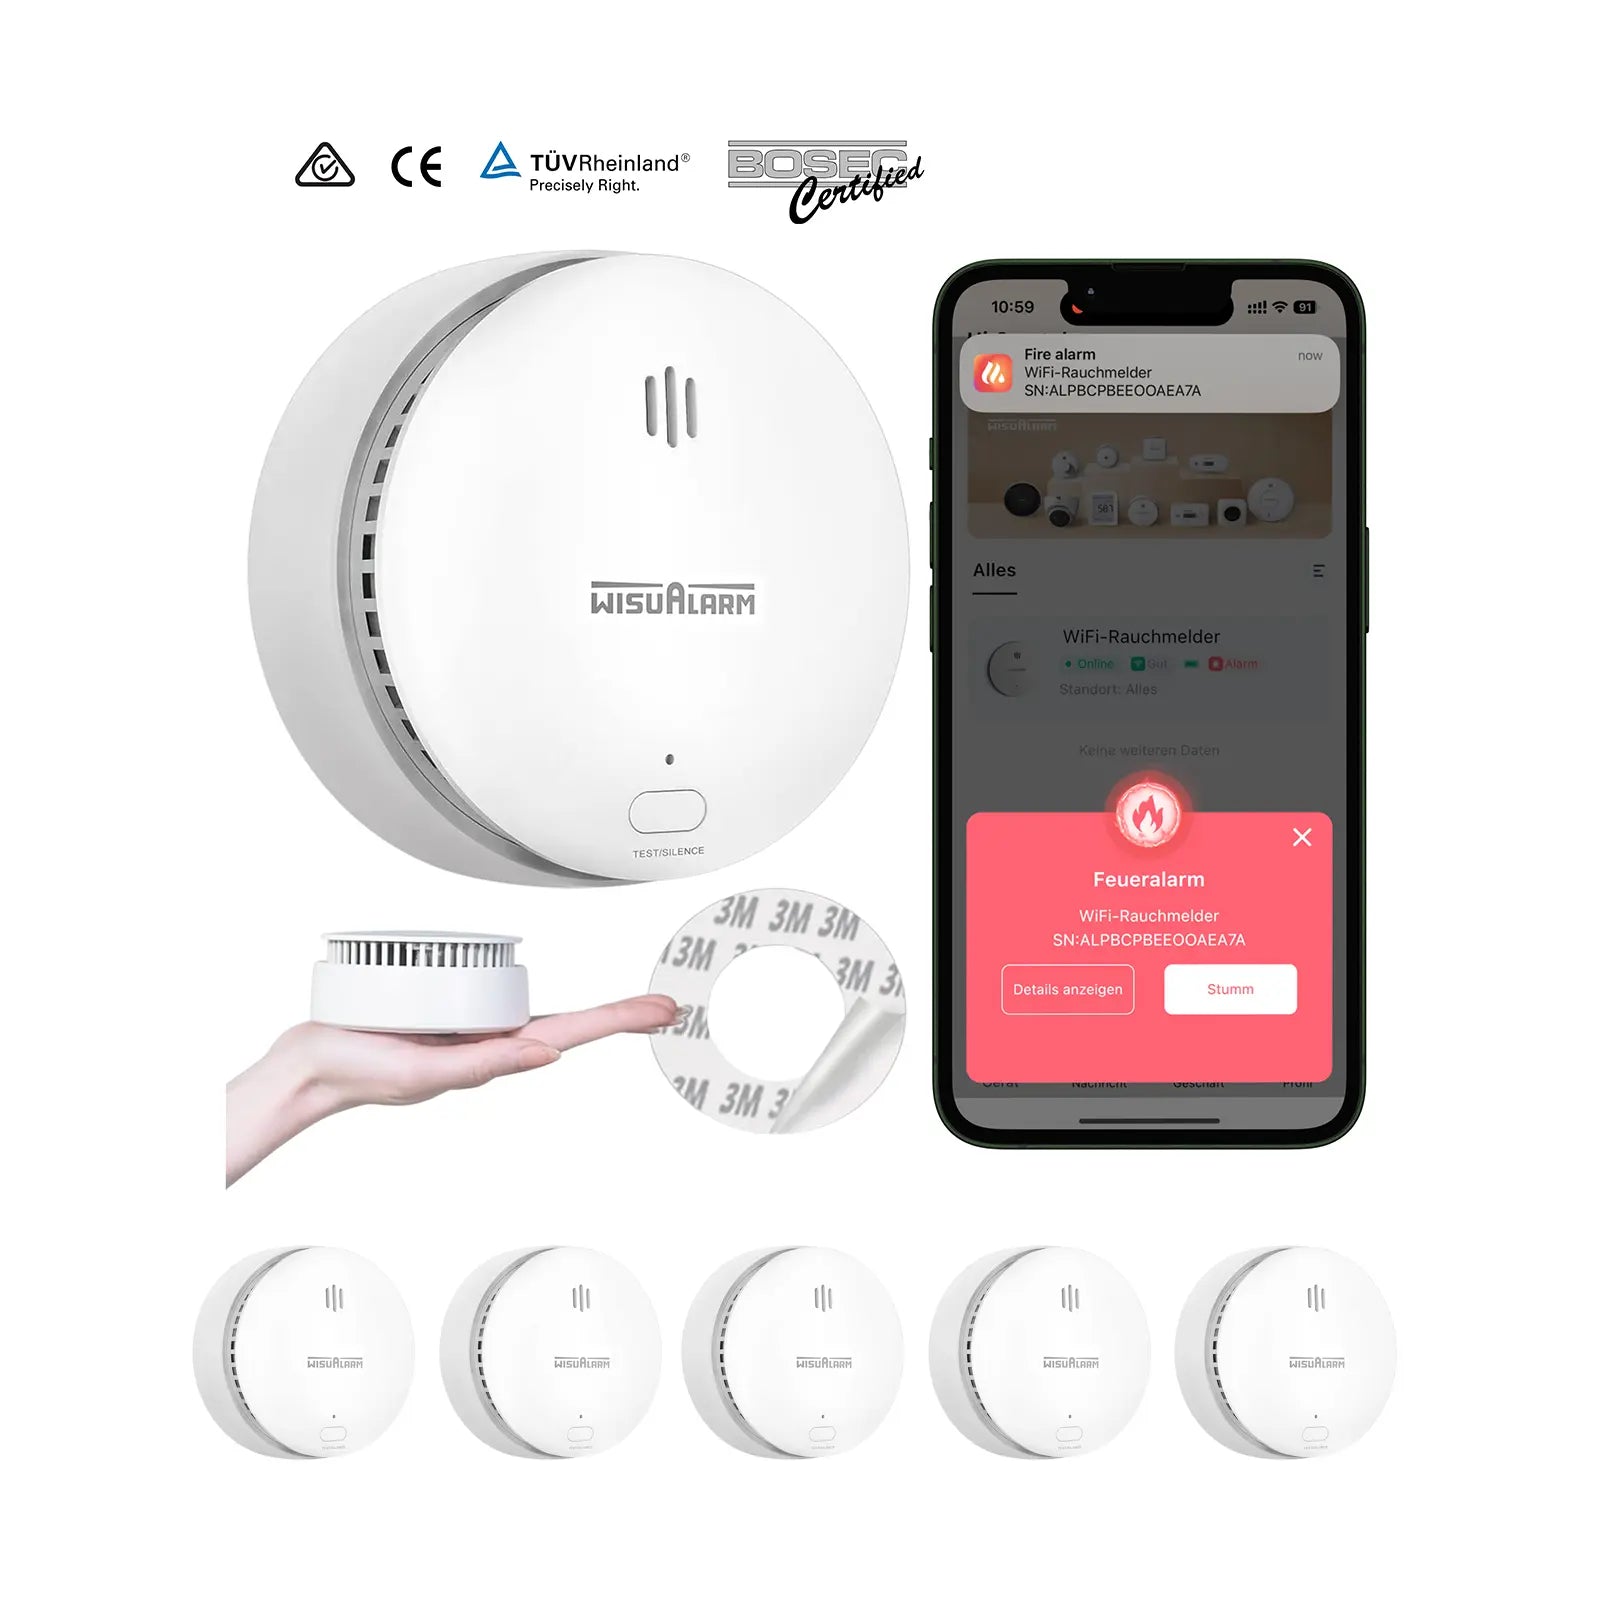
Wisualarm’s interlinked smoke alarms use advanced radio frequency technology to connect seamlessly. No wiring, no complicated setup—just press the “Sync” button on the master alarm, then pair additional units in seconds. The system works even if the power goes out, thanks to long-lasting lithium-ion batteries that provide 10 years of backup (no more monthly battery checks!).
2. Meets Global Safety Standards
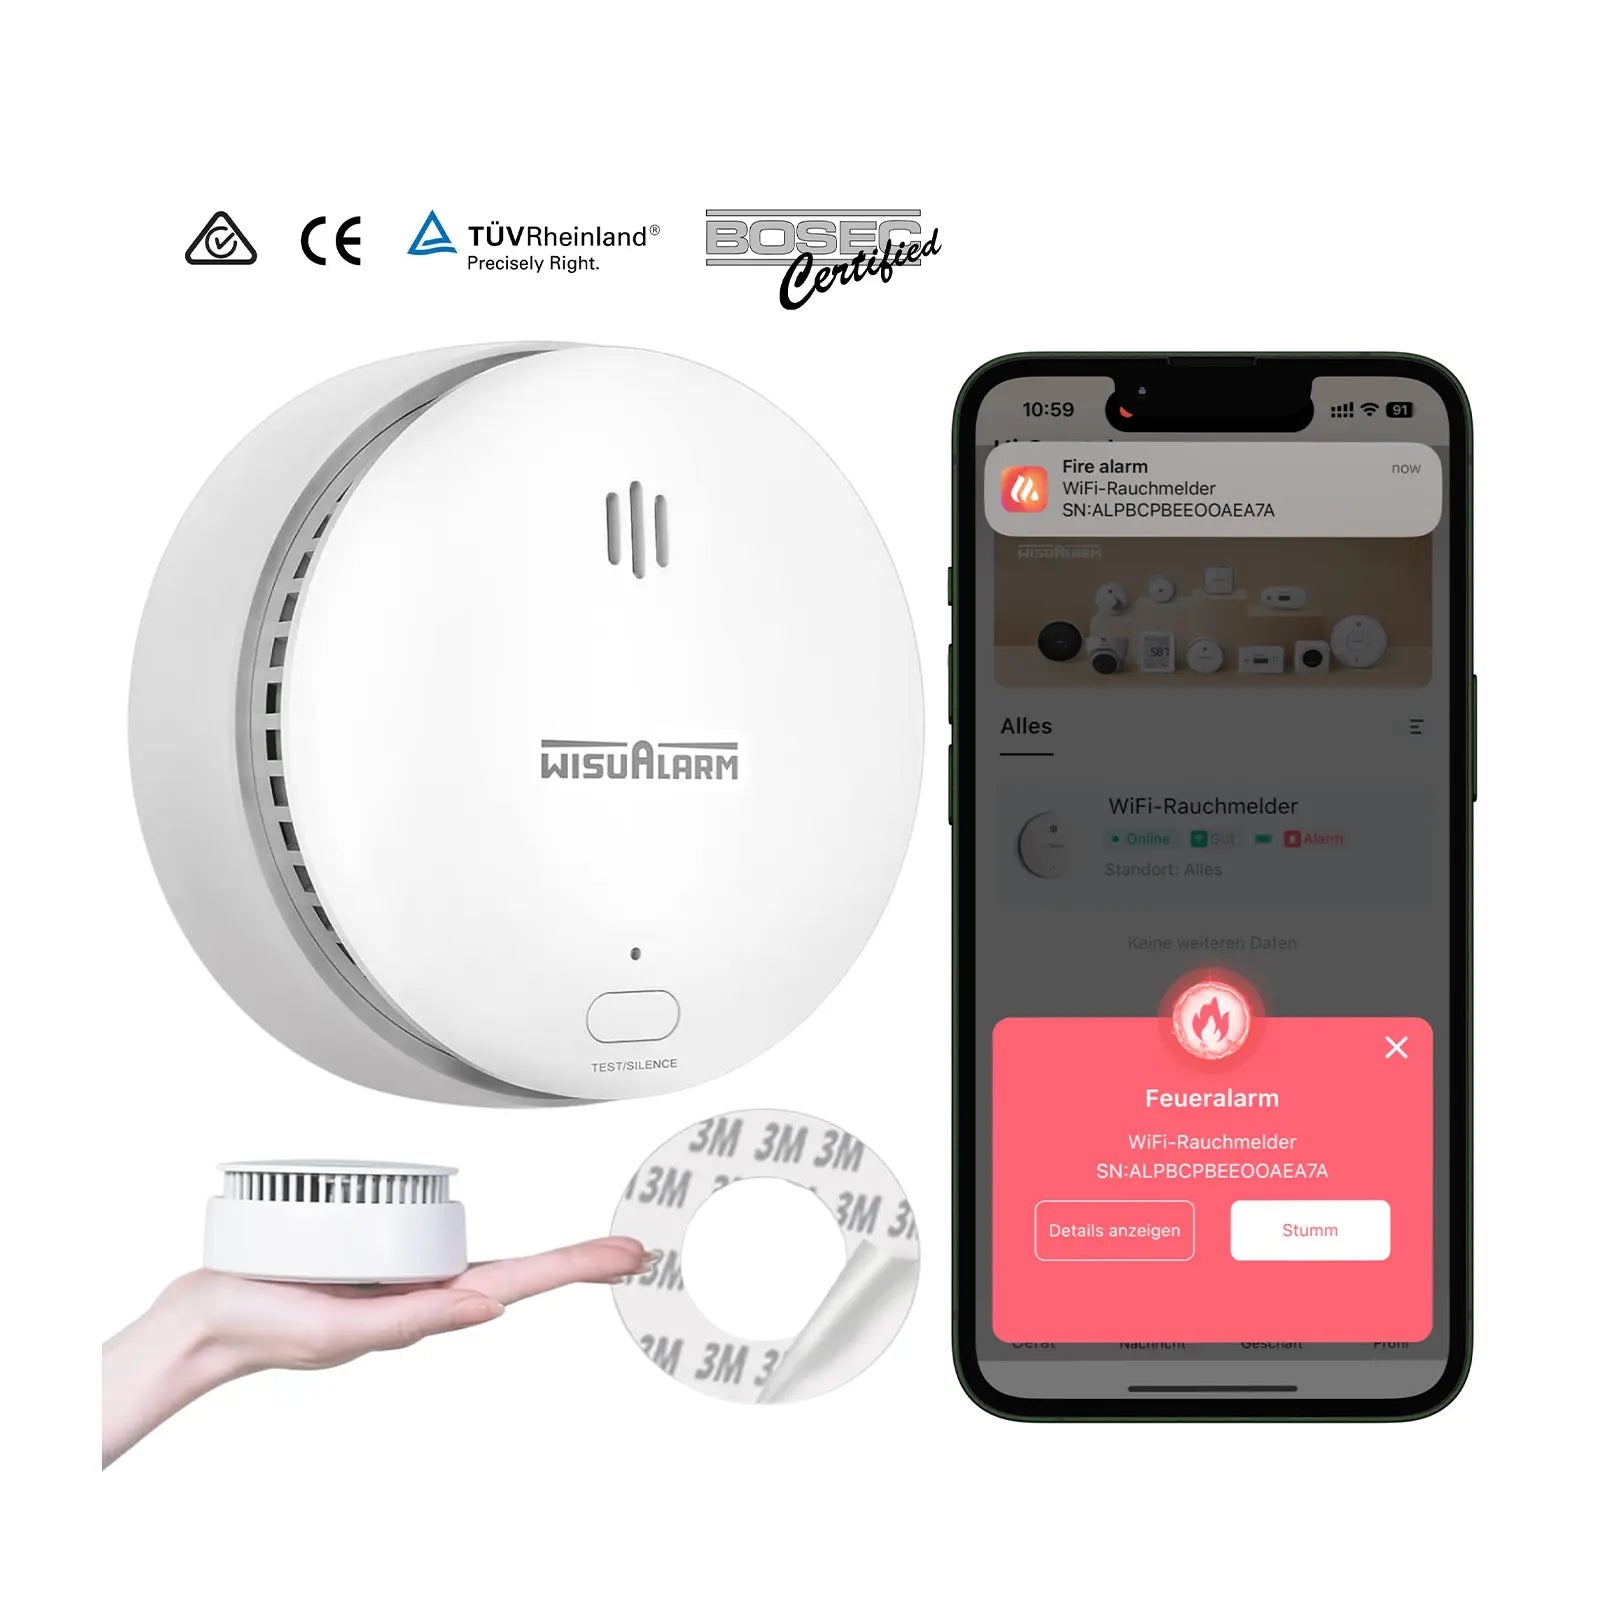
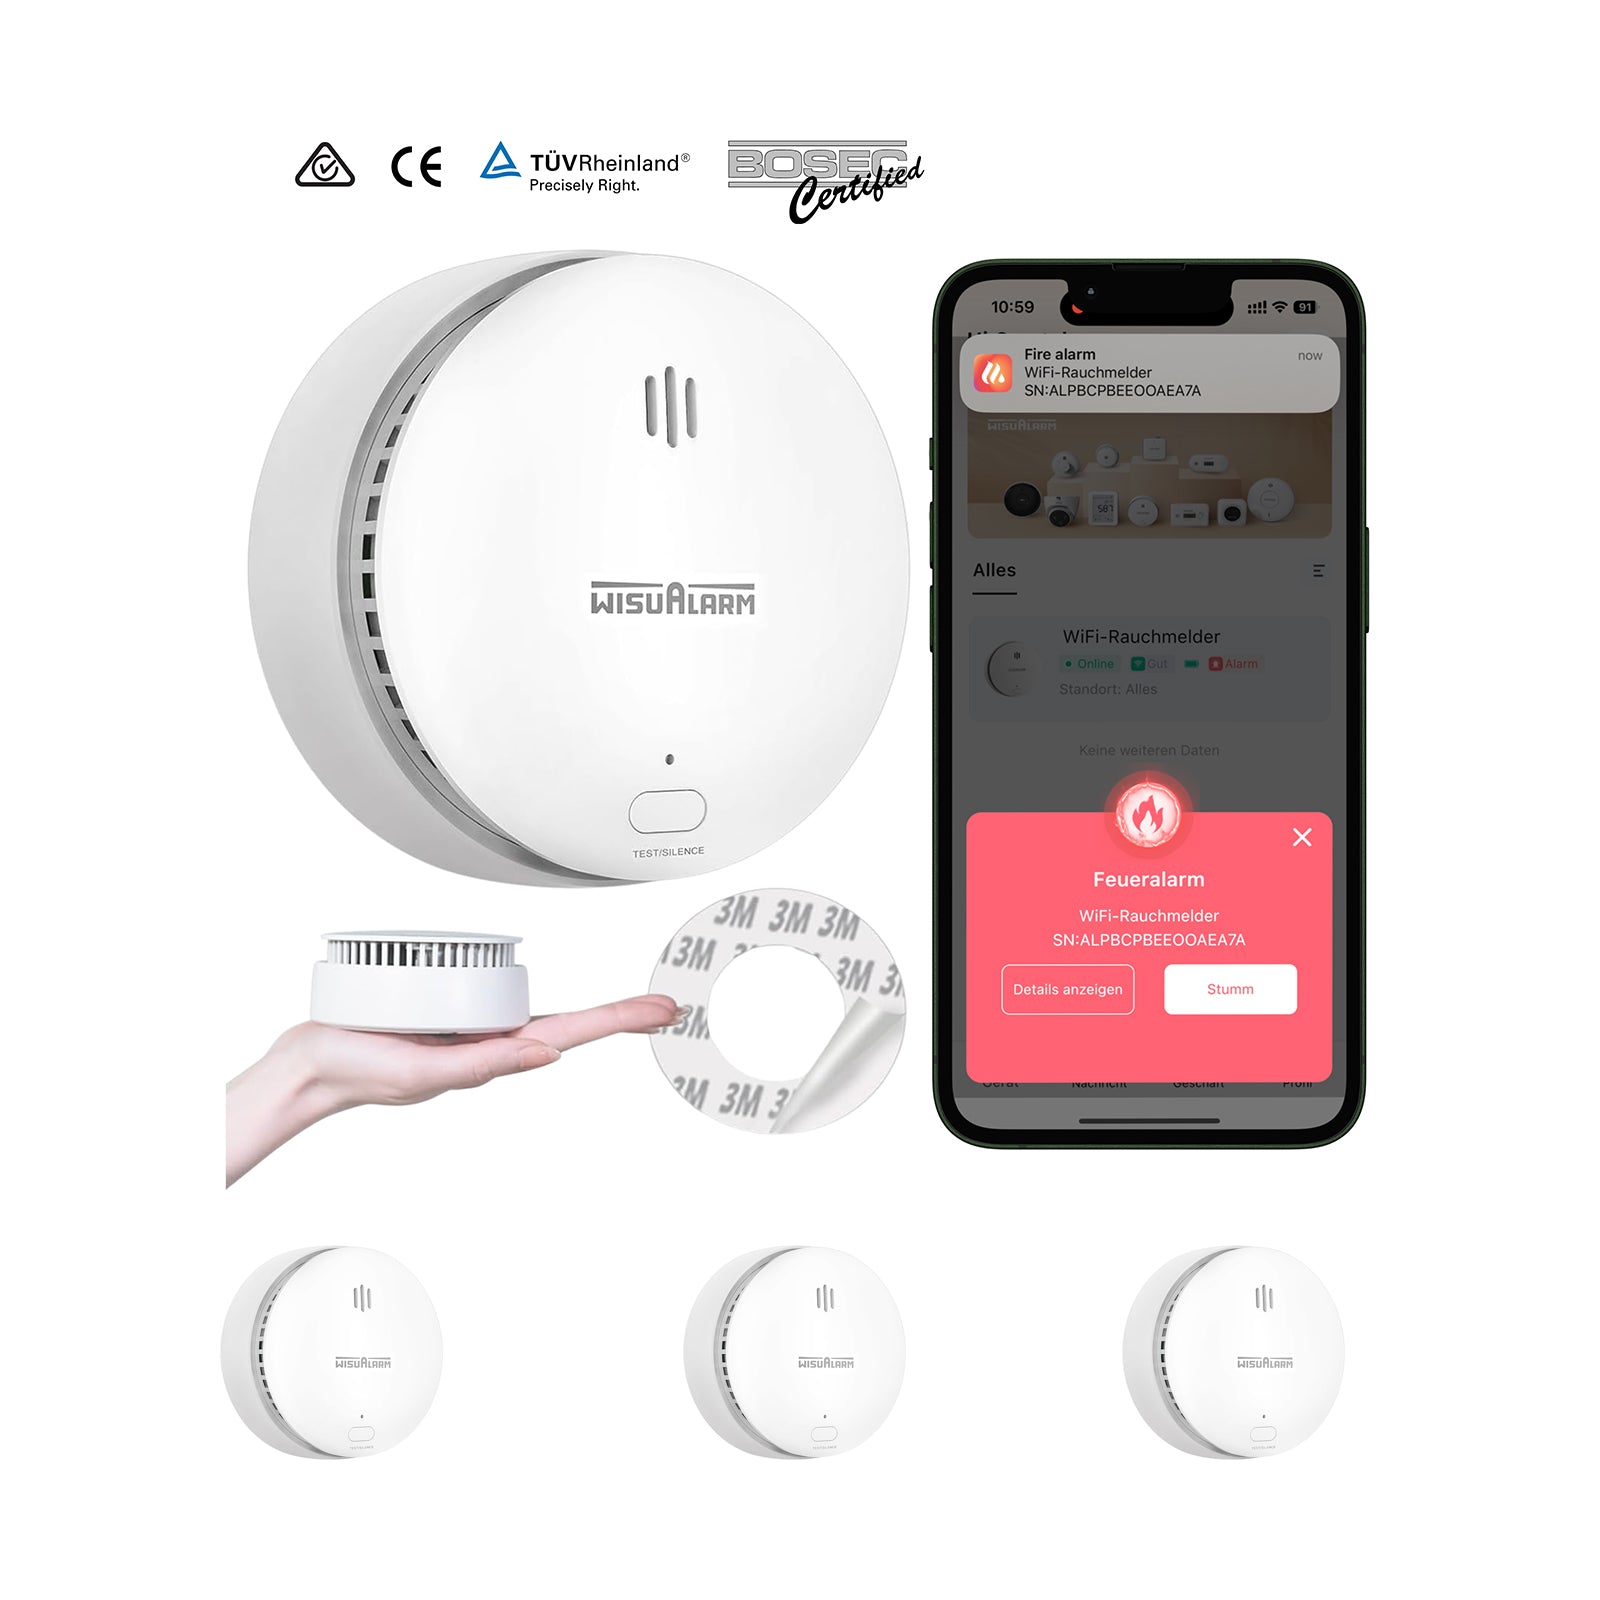
Every Wisualarm smoke alarm is rigorously tested to meet or exceed international standards (including EN 14604 in Europe) They’re certified by leading safety organizations, so you can trust they’ll detect smoke quickly and reliably—giving your family the warning they need.
3. Smart Features for Peace of Mind
Wisualarm’s alarms come with intuitive features like:
-
Low-battery alerts (a gentle chirp reminds you before batteries die).
-
False alarm reduction (advanced sensors distinguish between smoke and cooking fumes/steam).
-
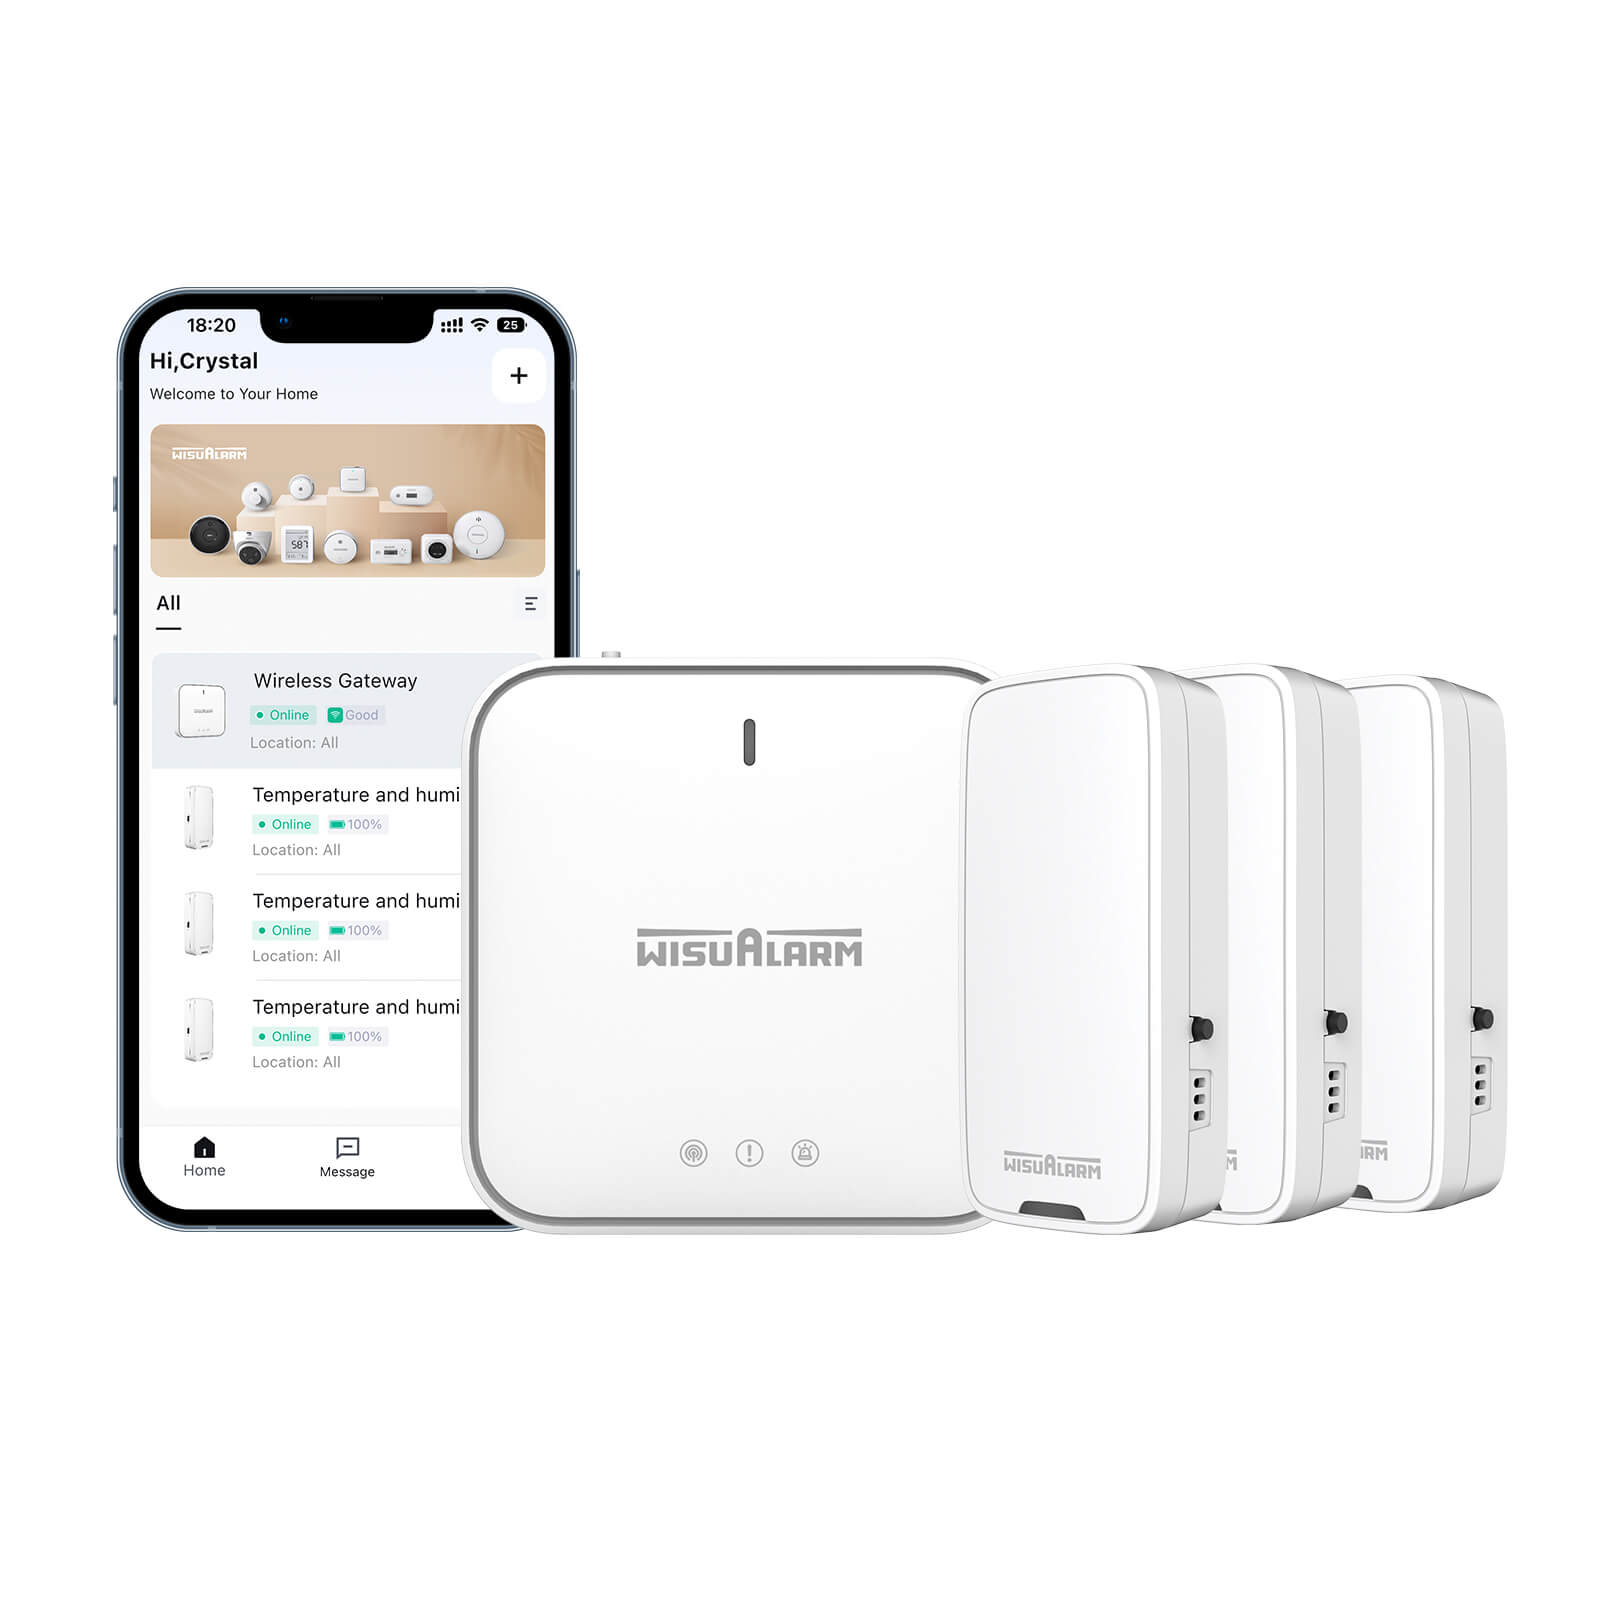
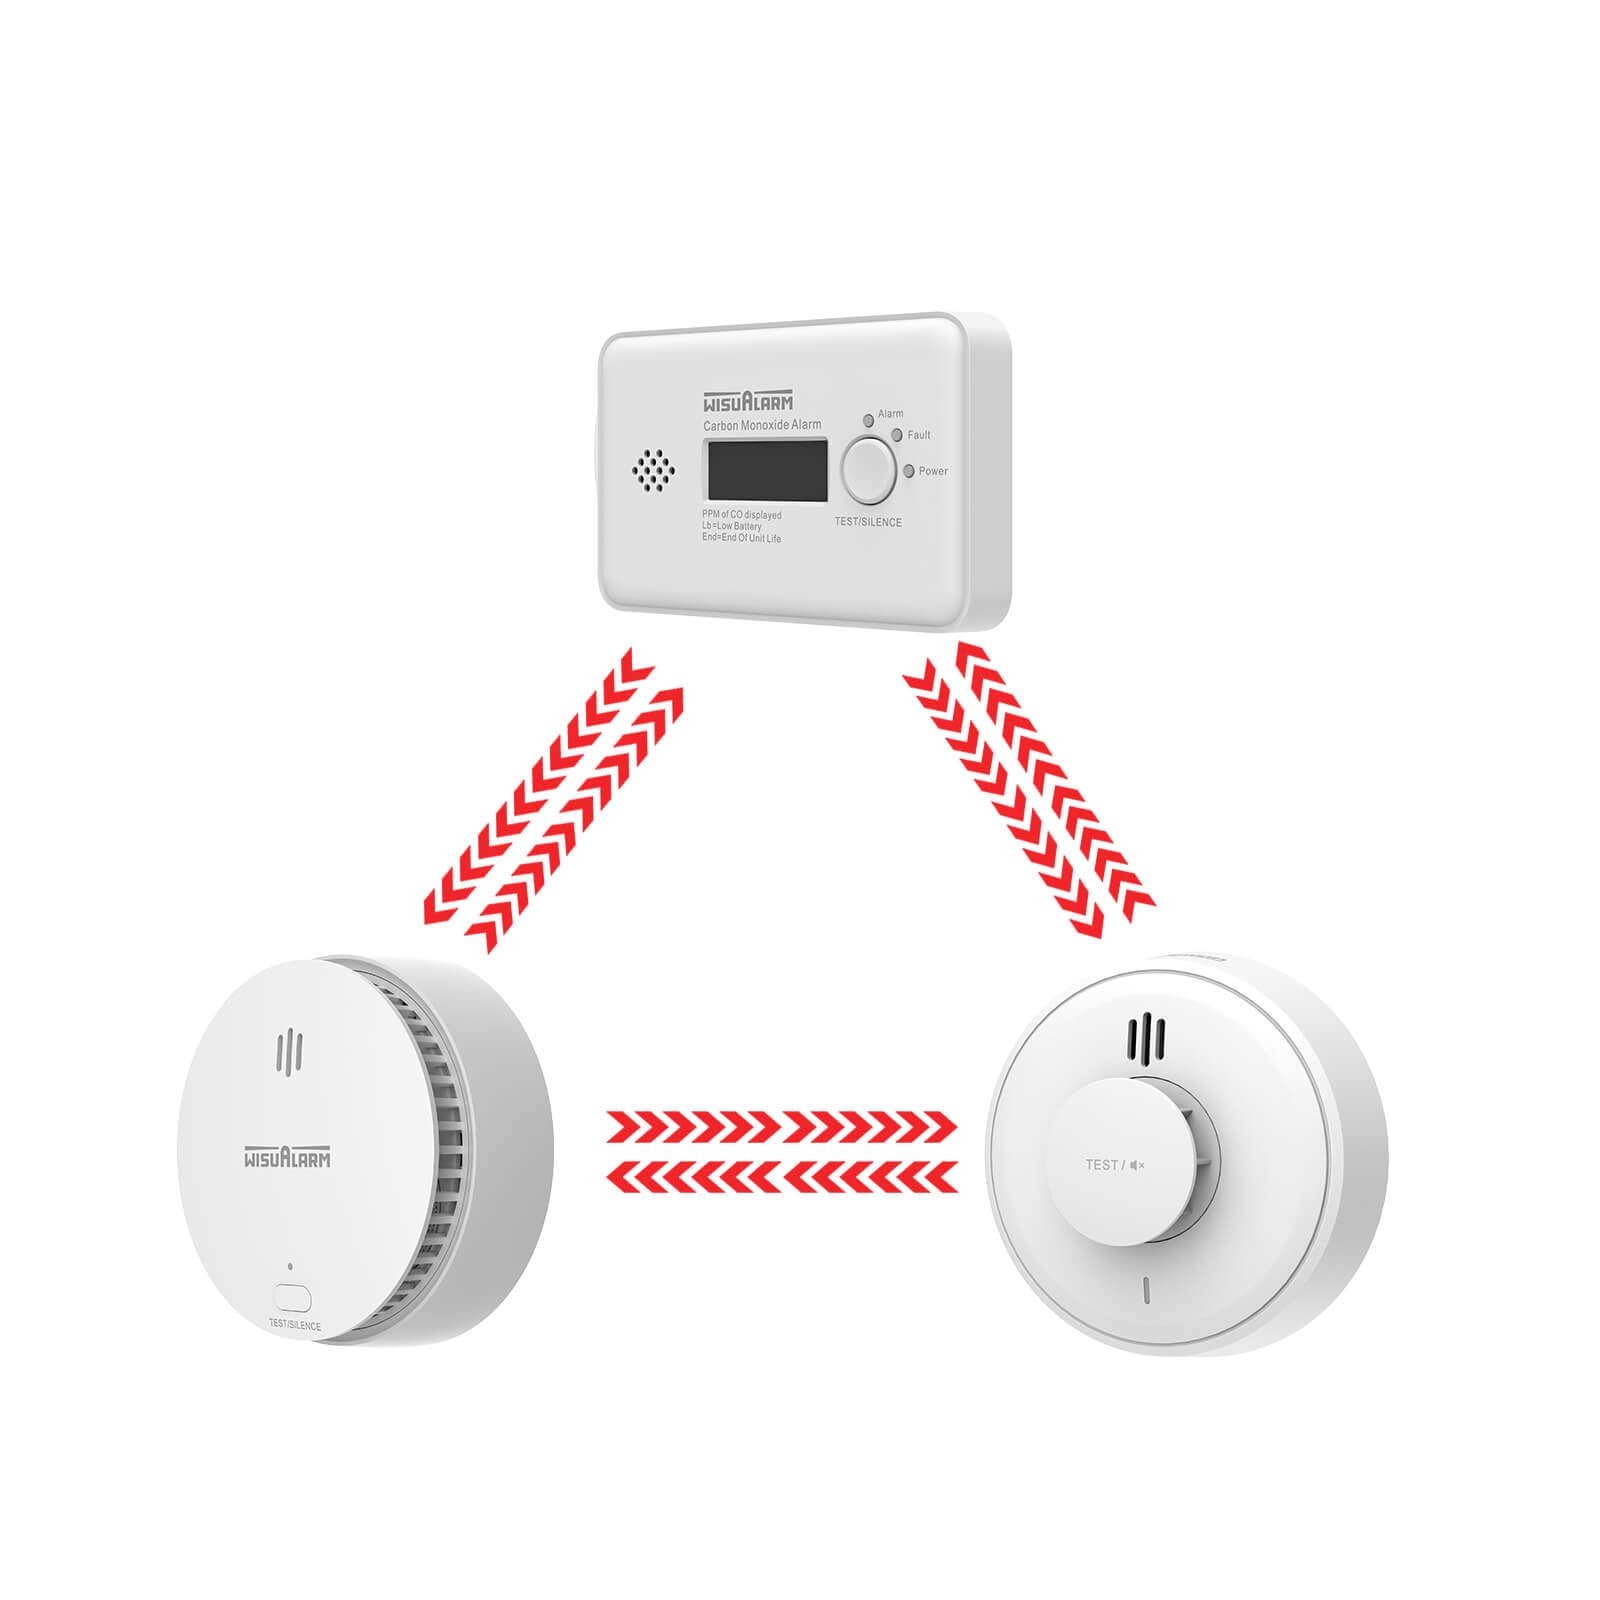
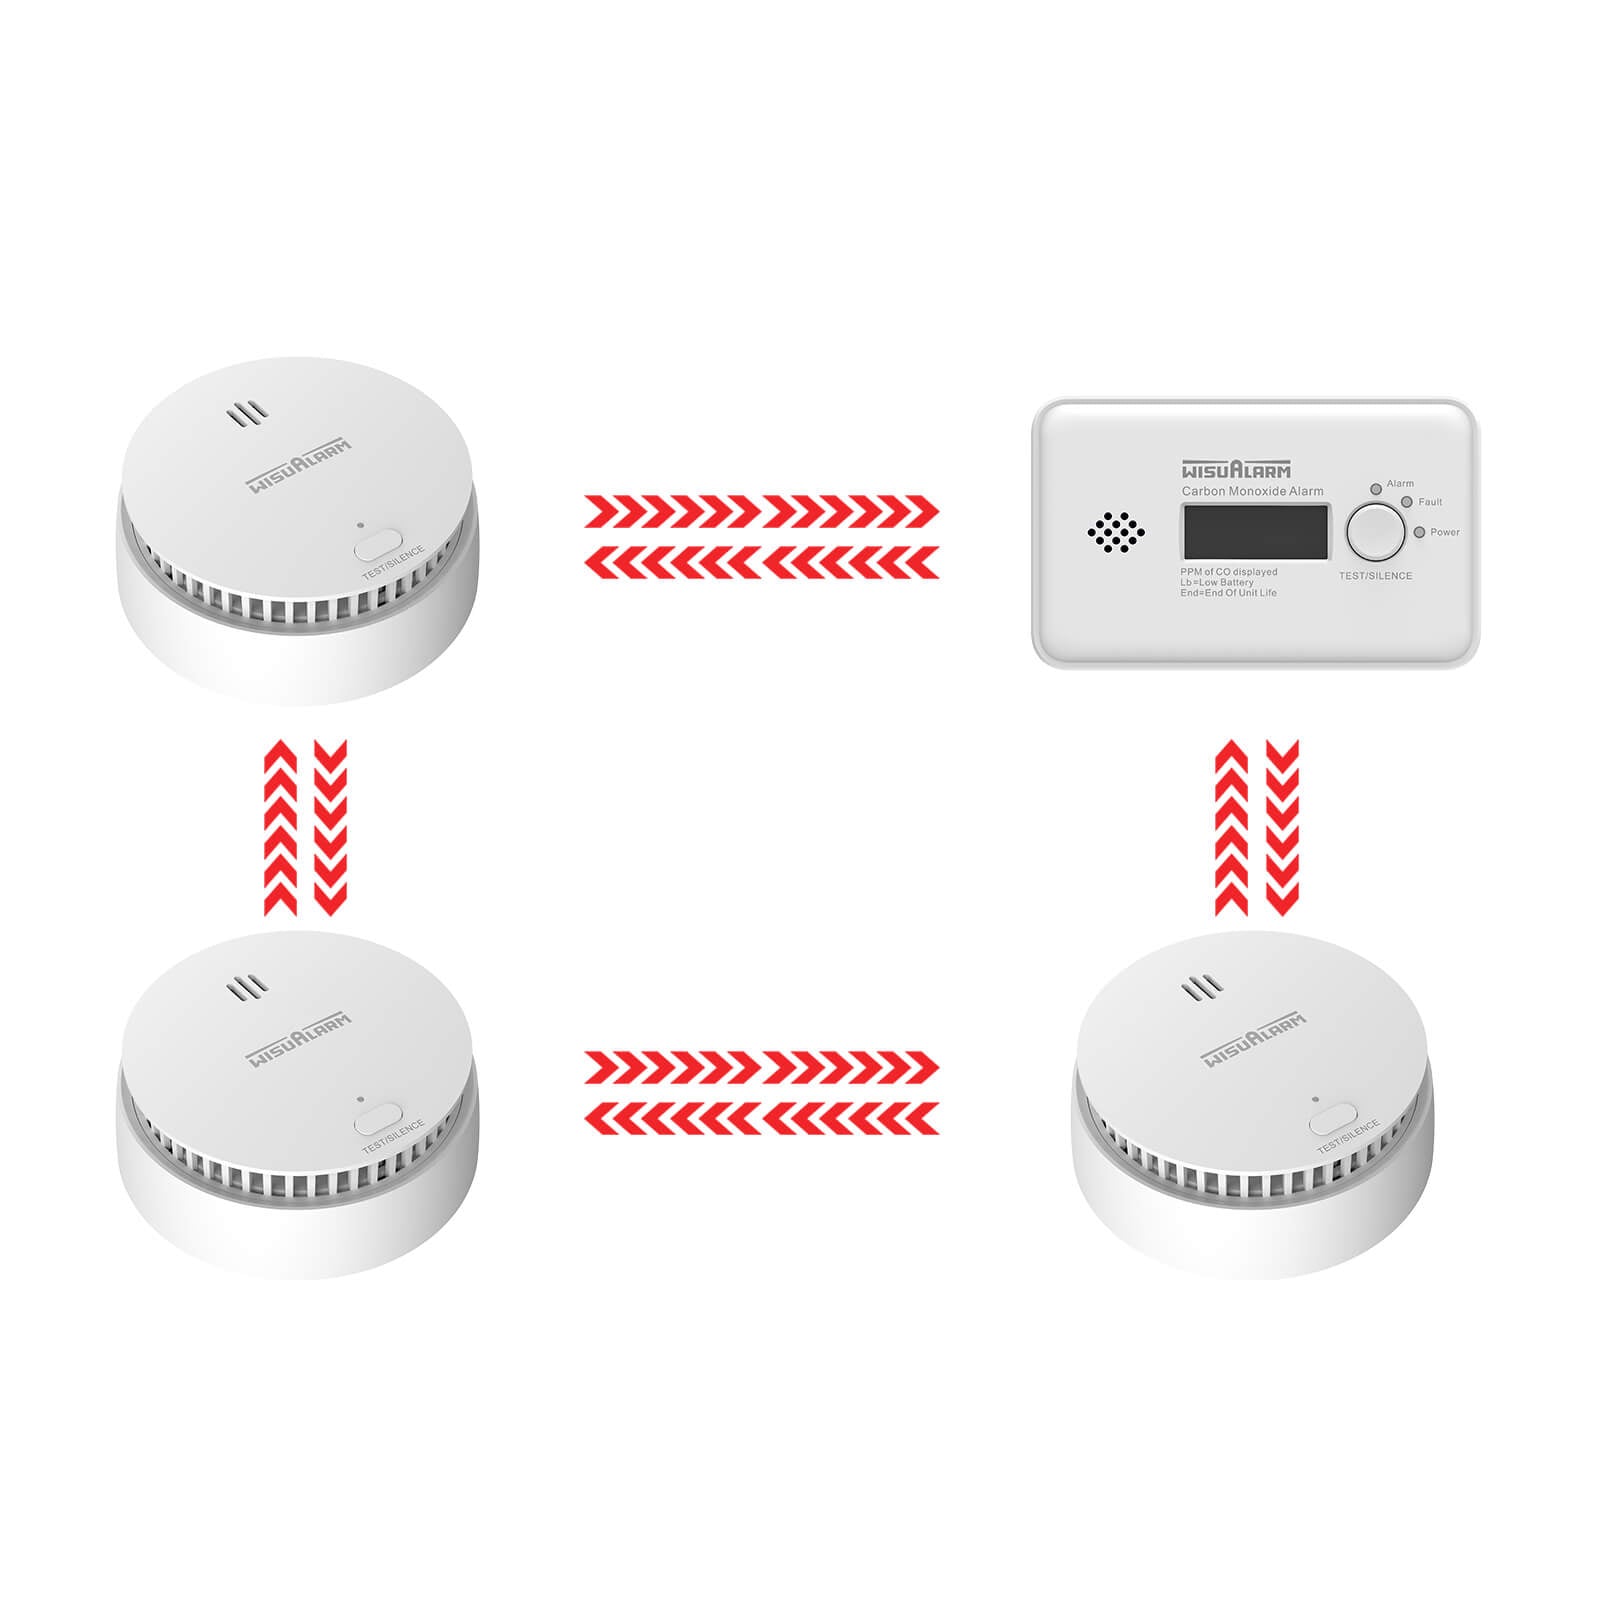
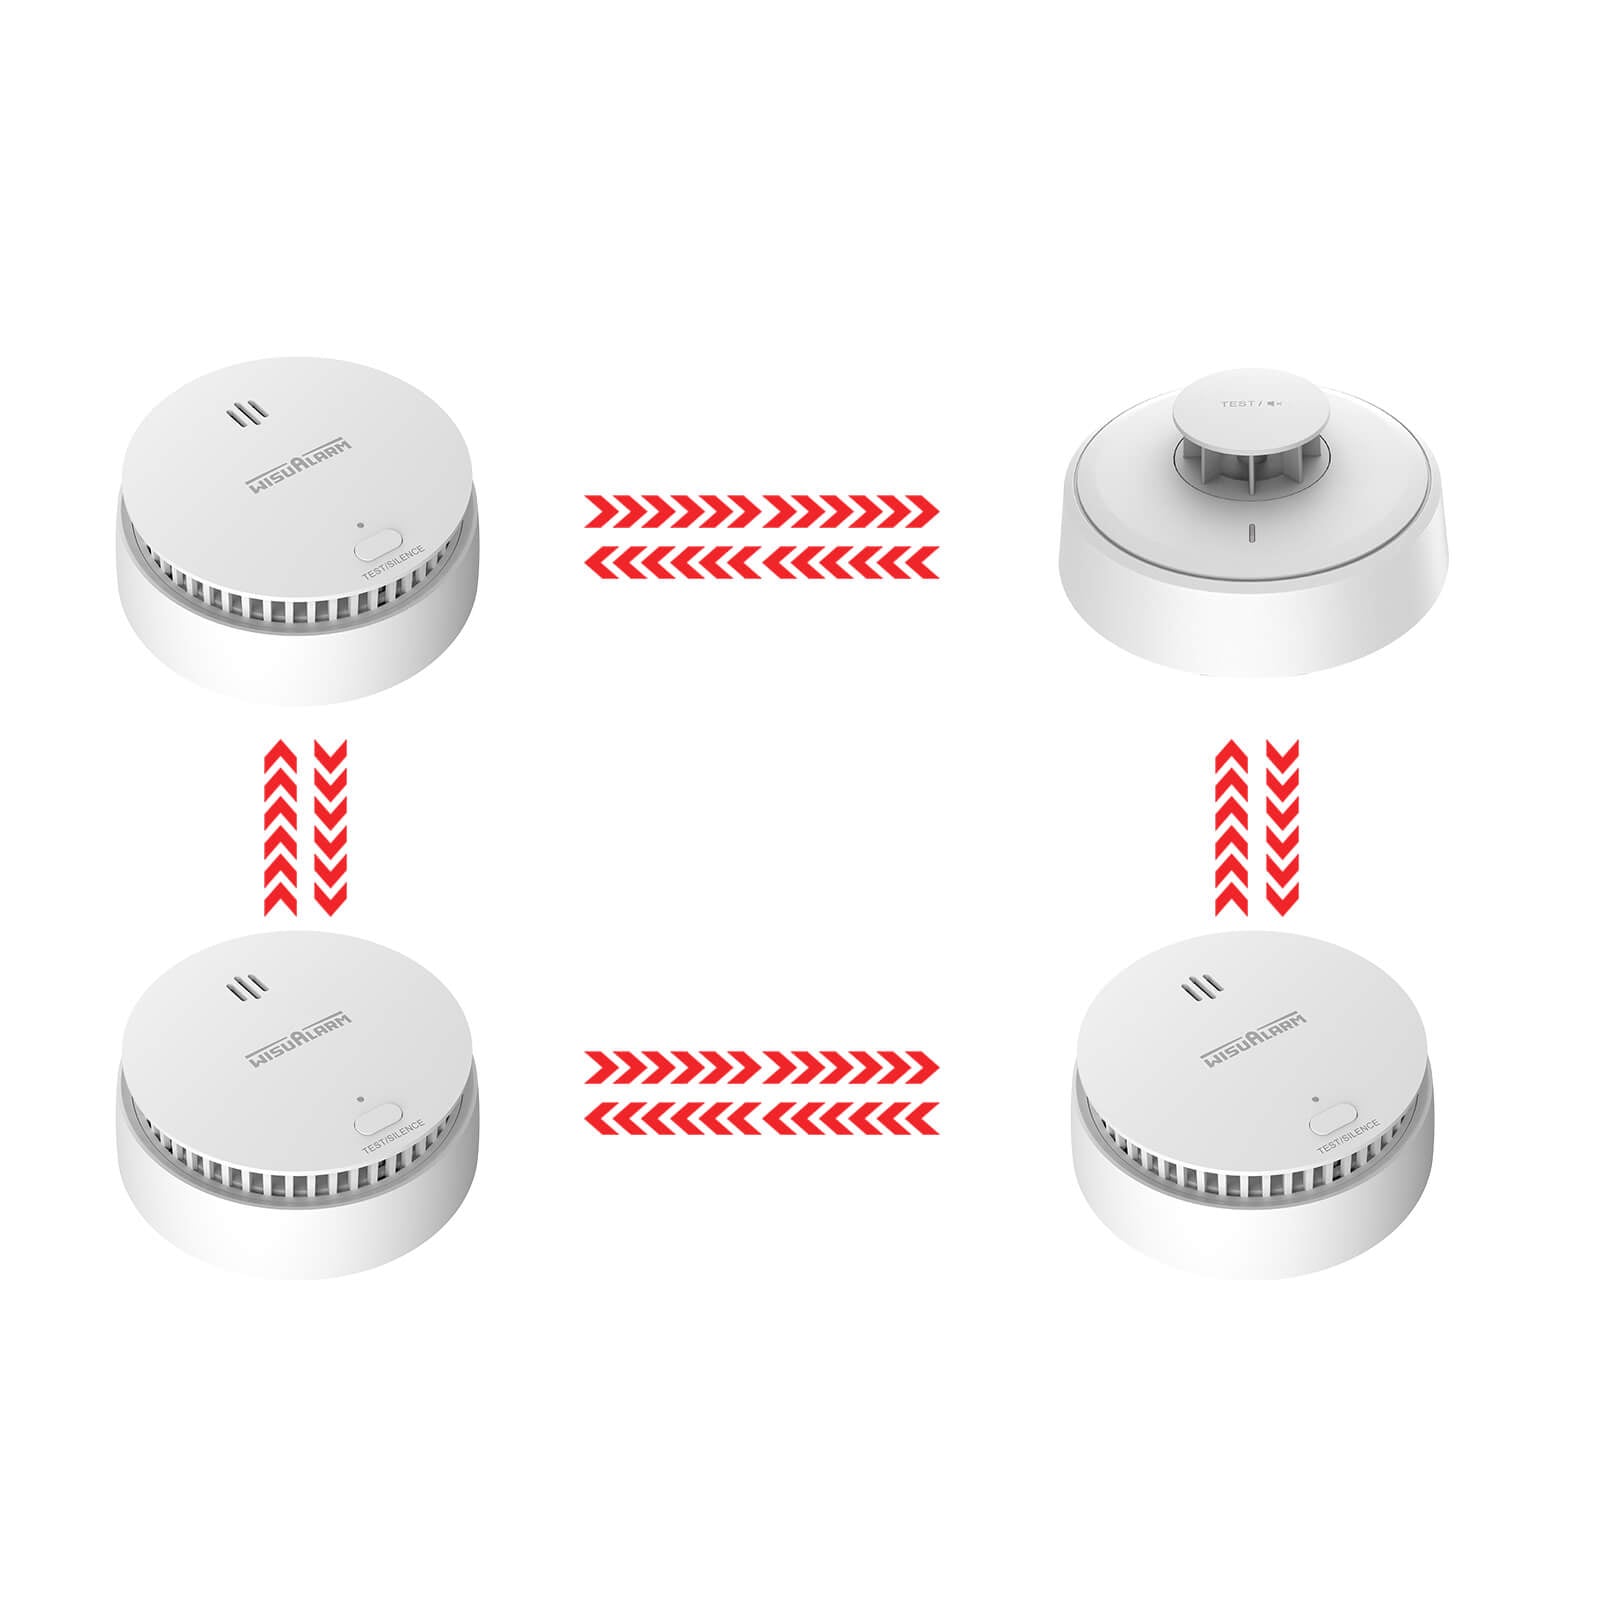
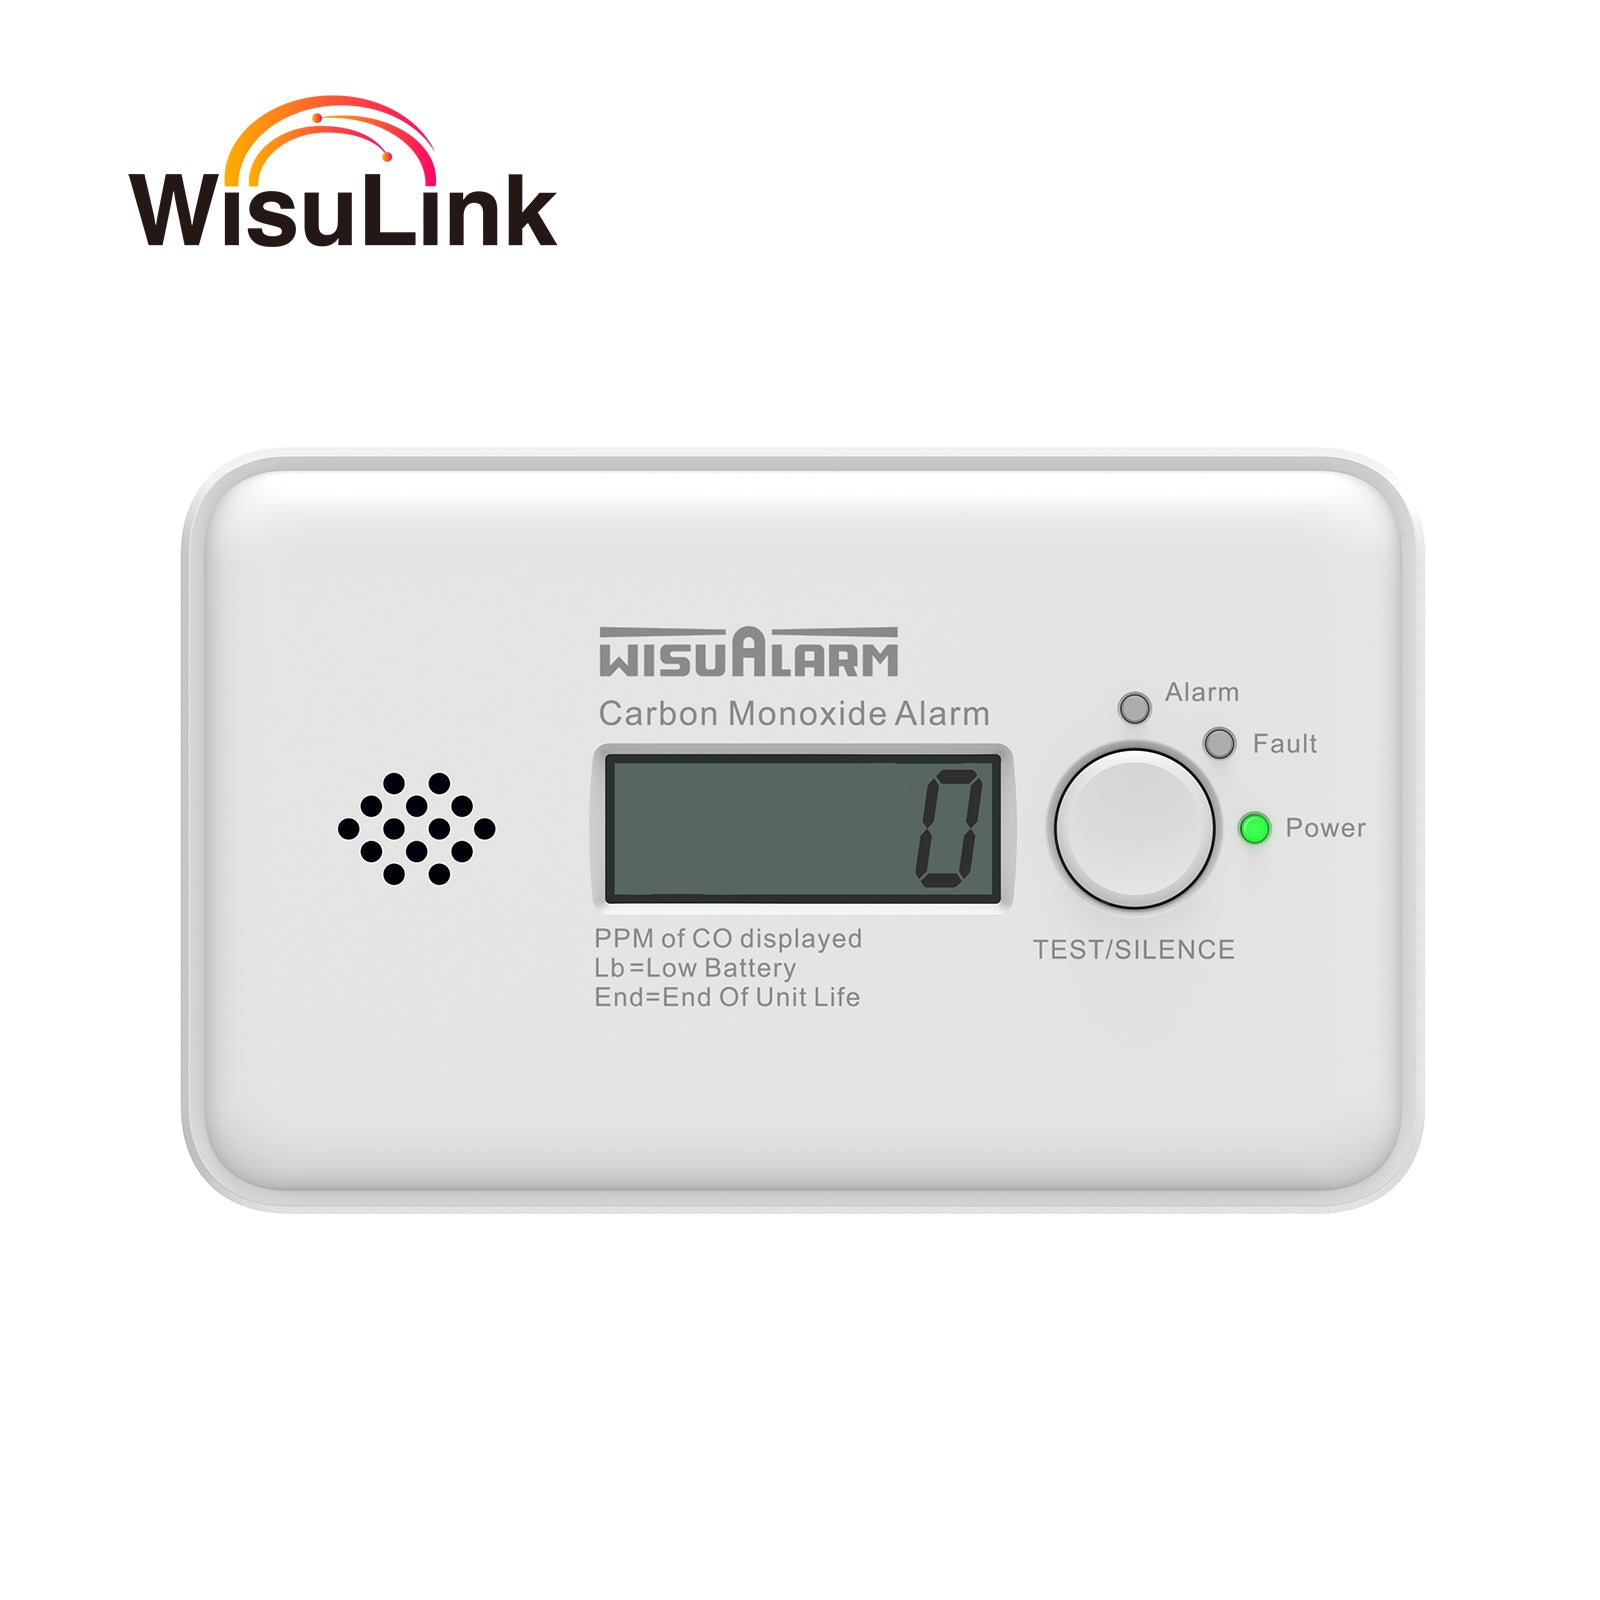
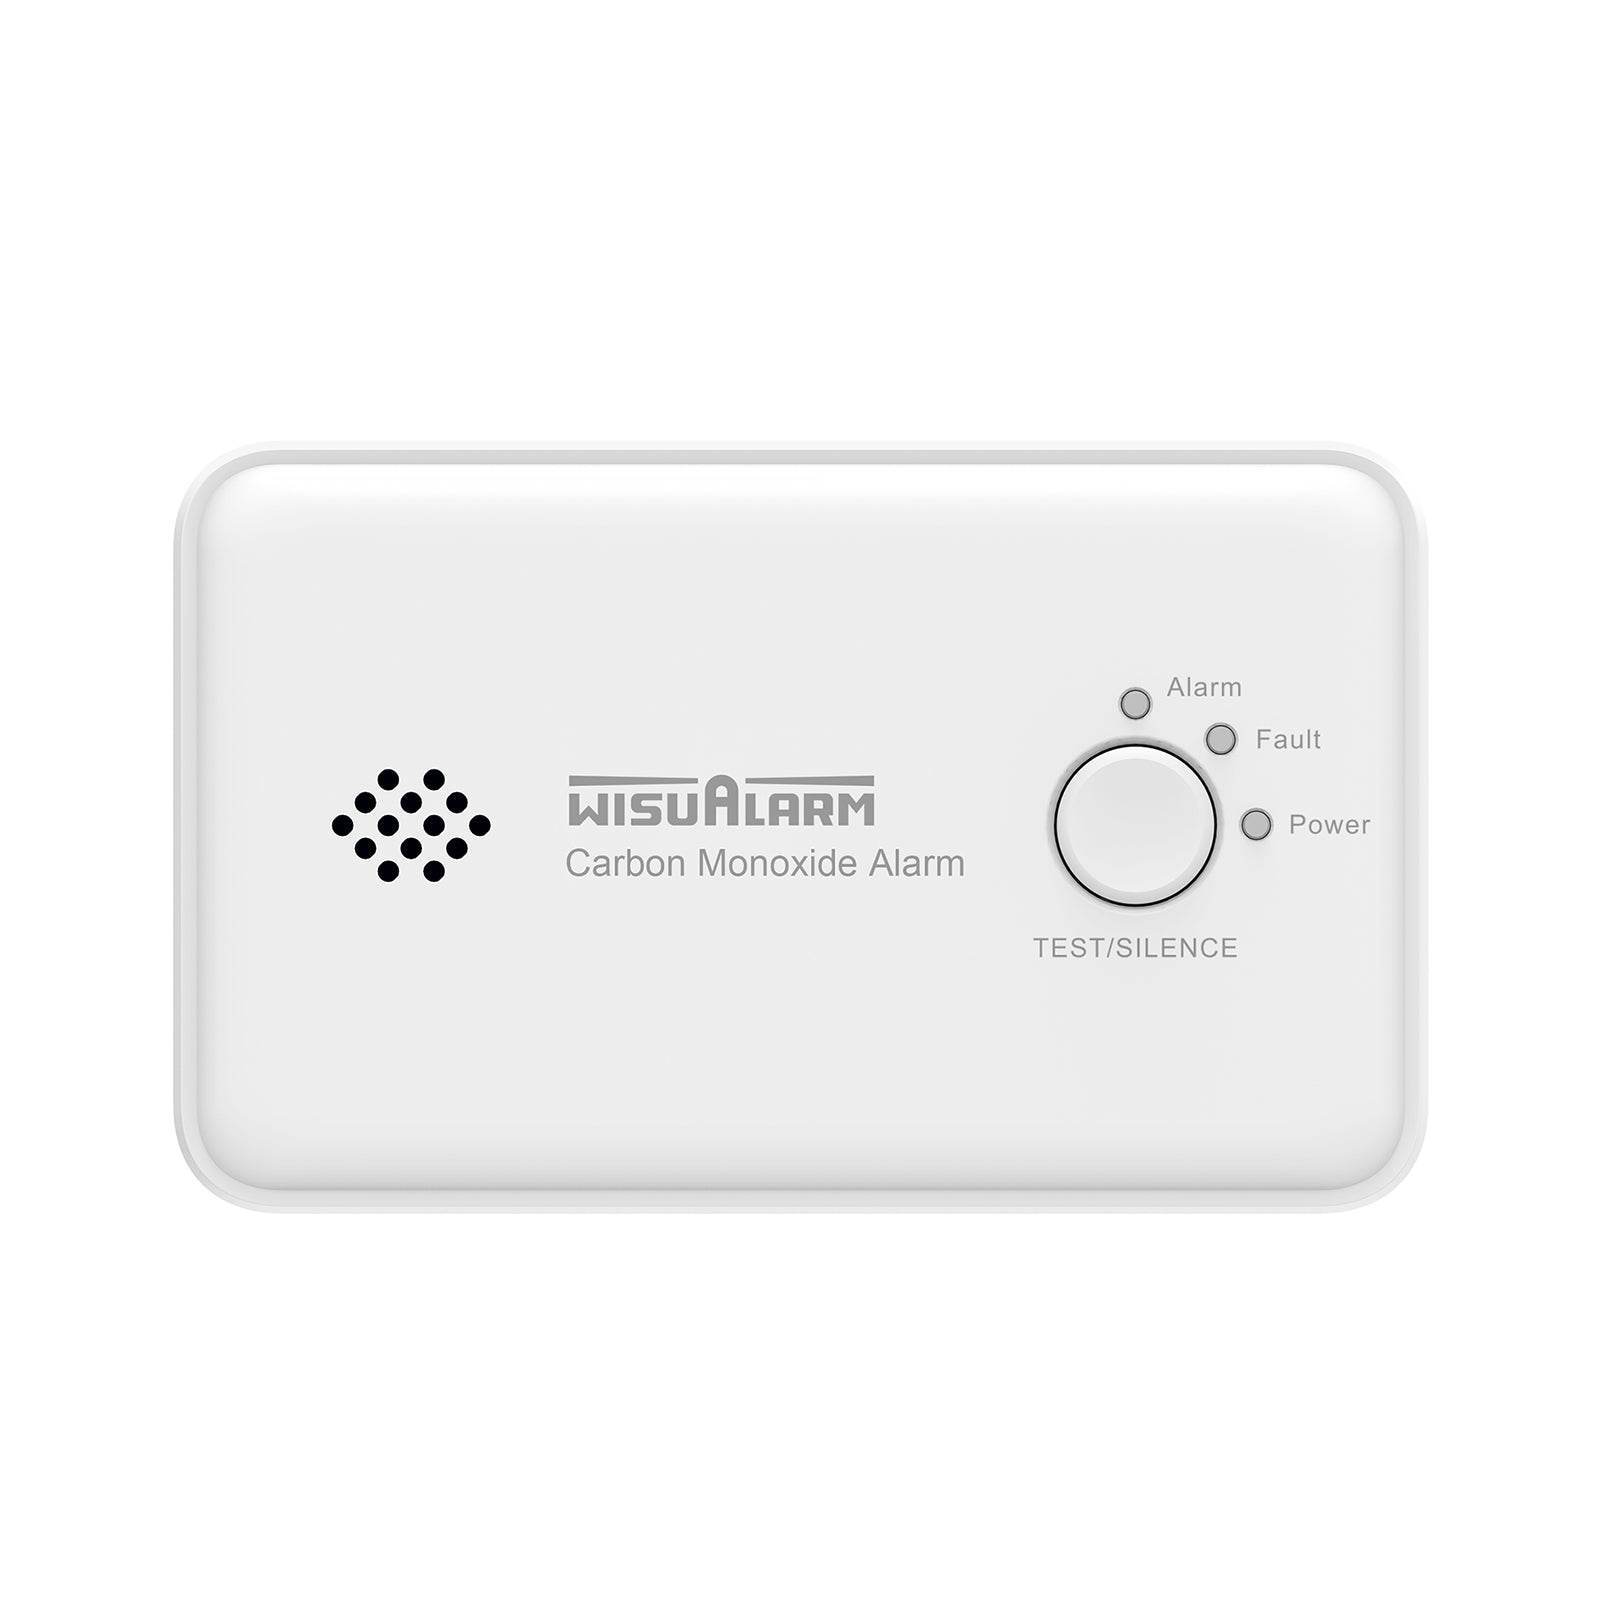
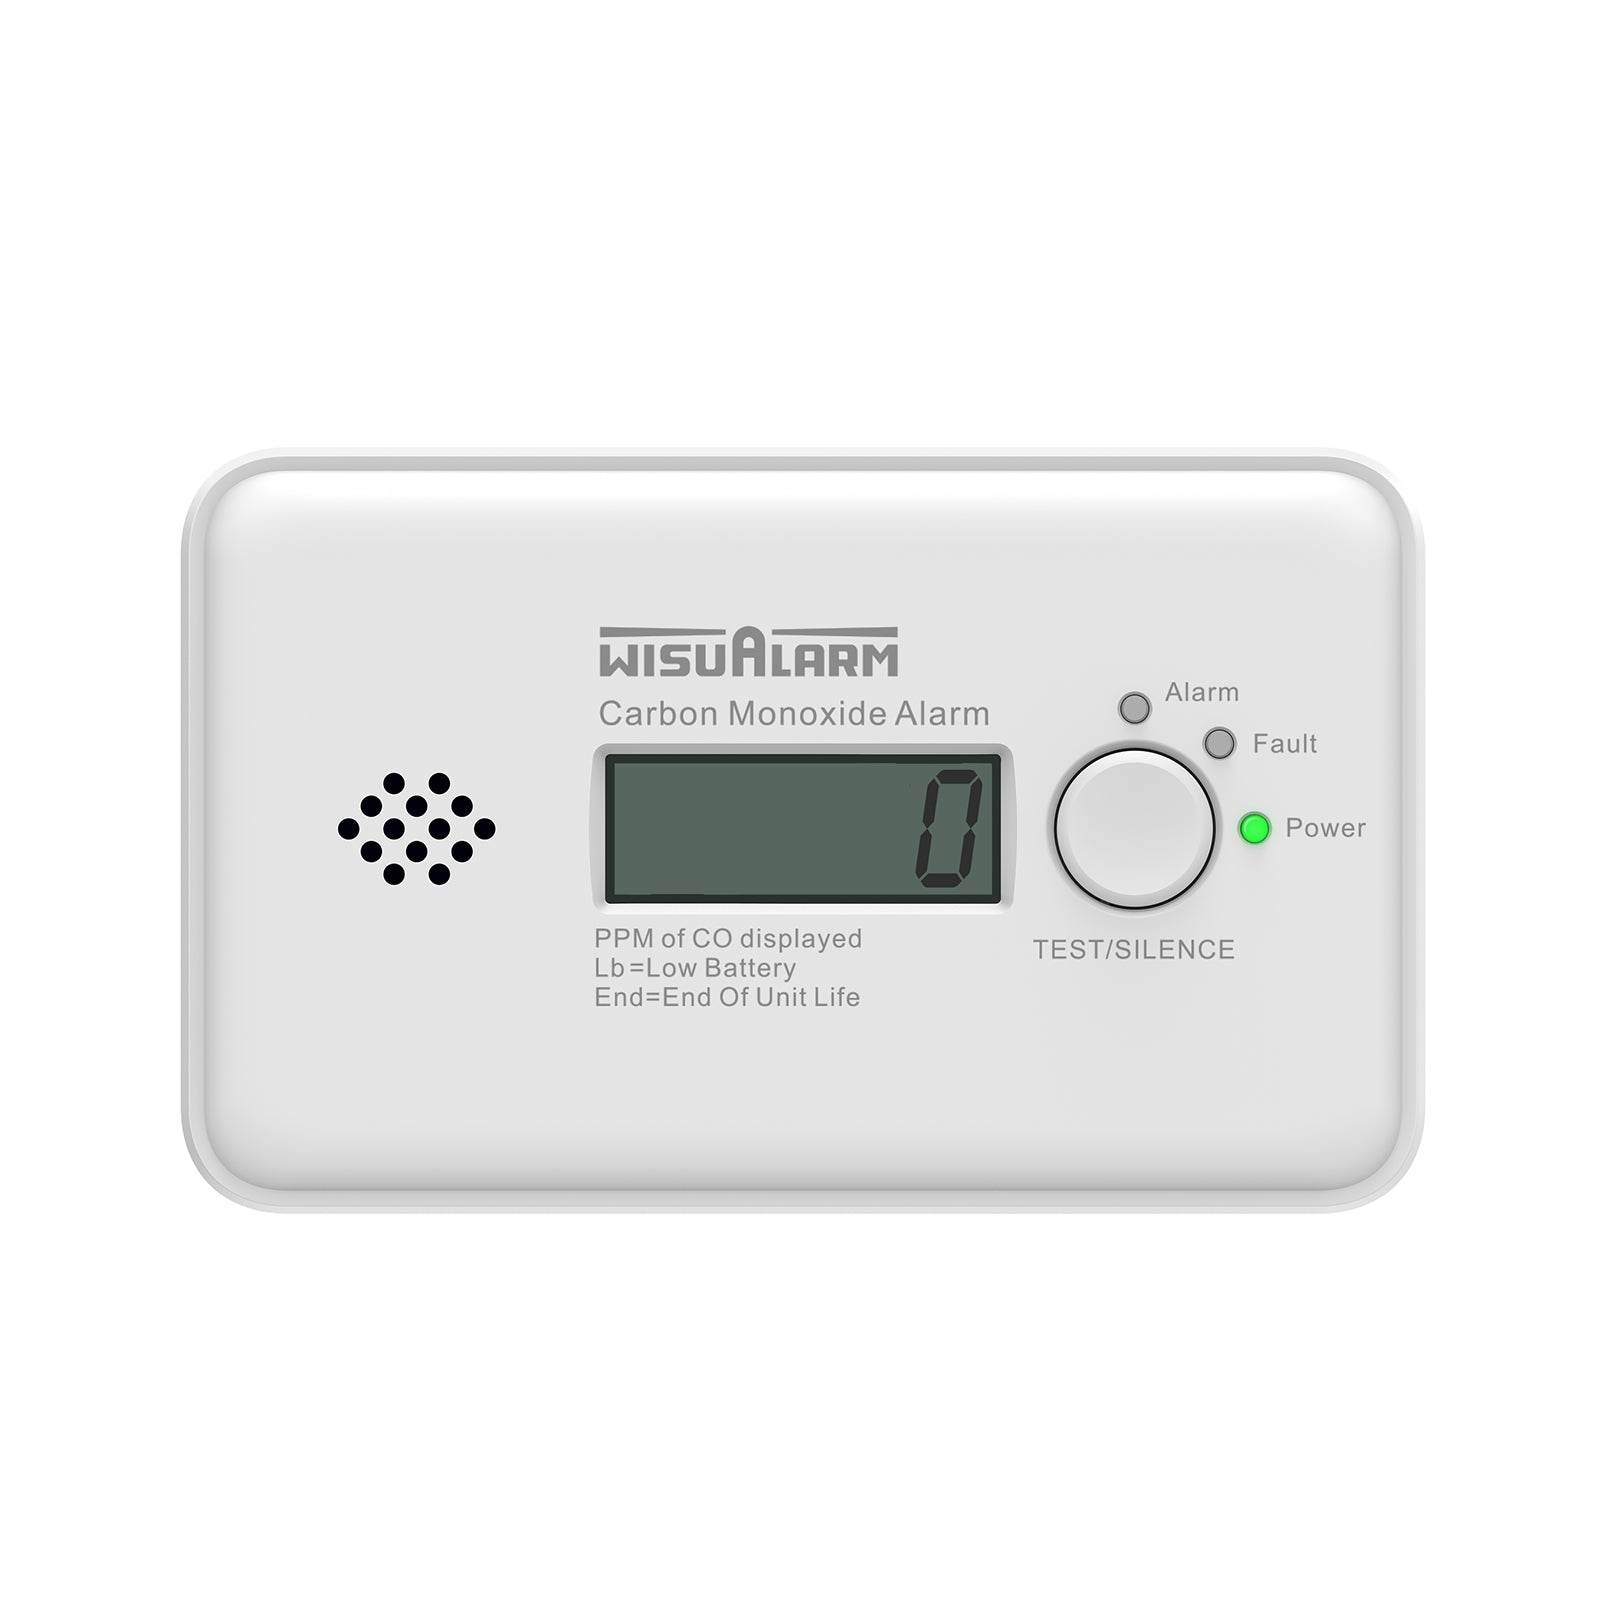
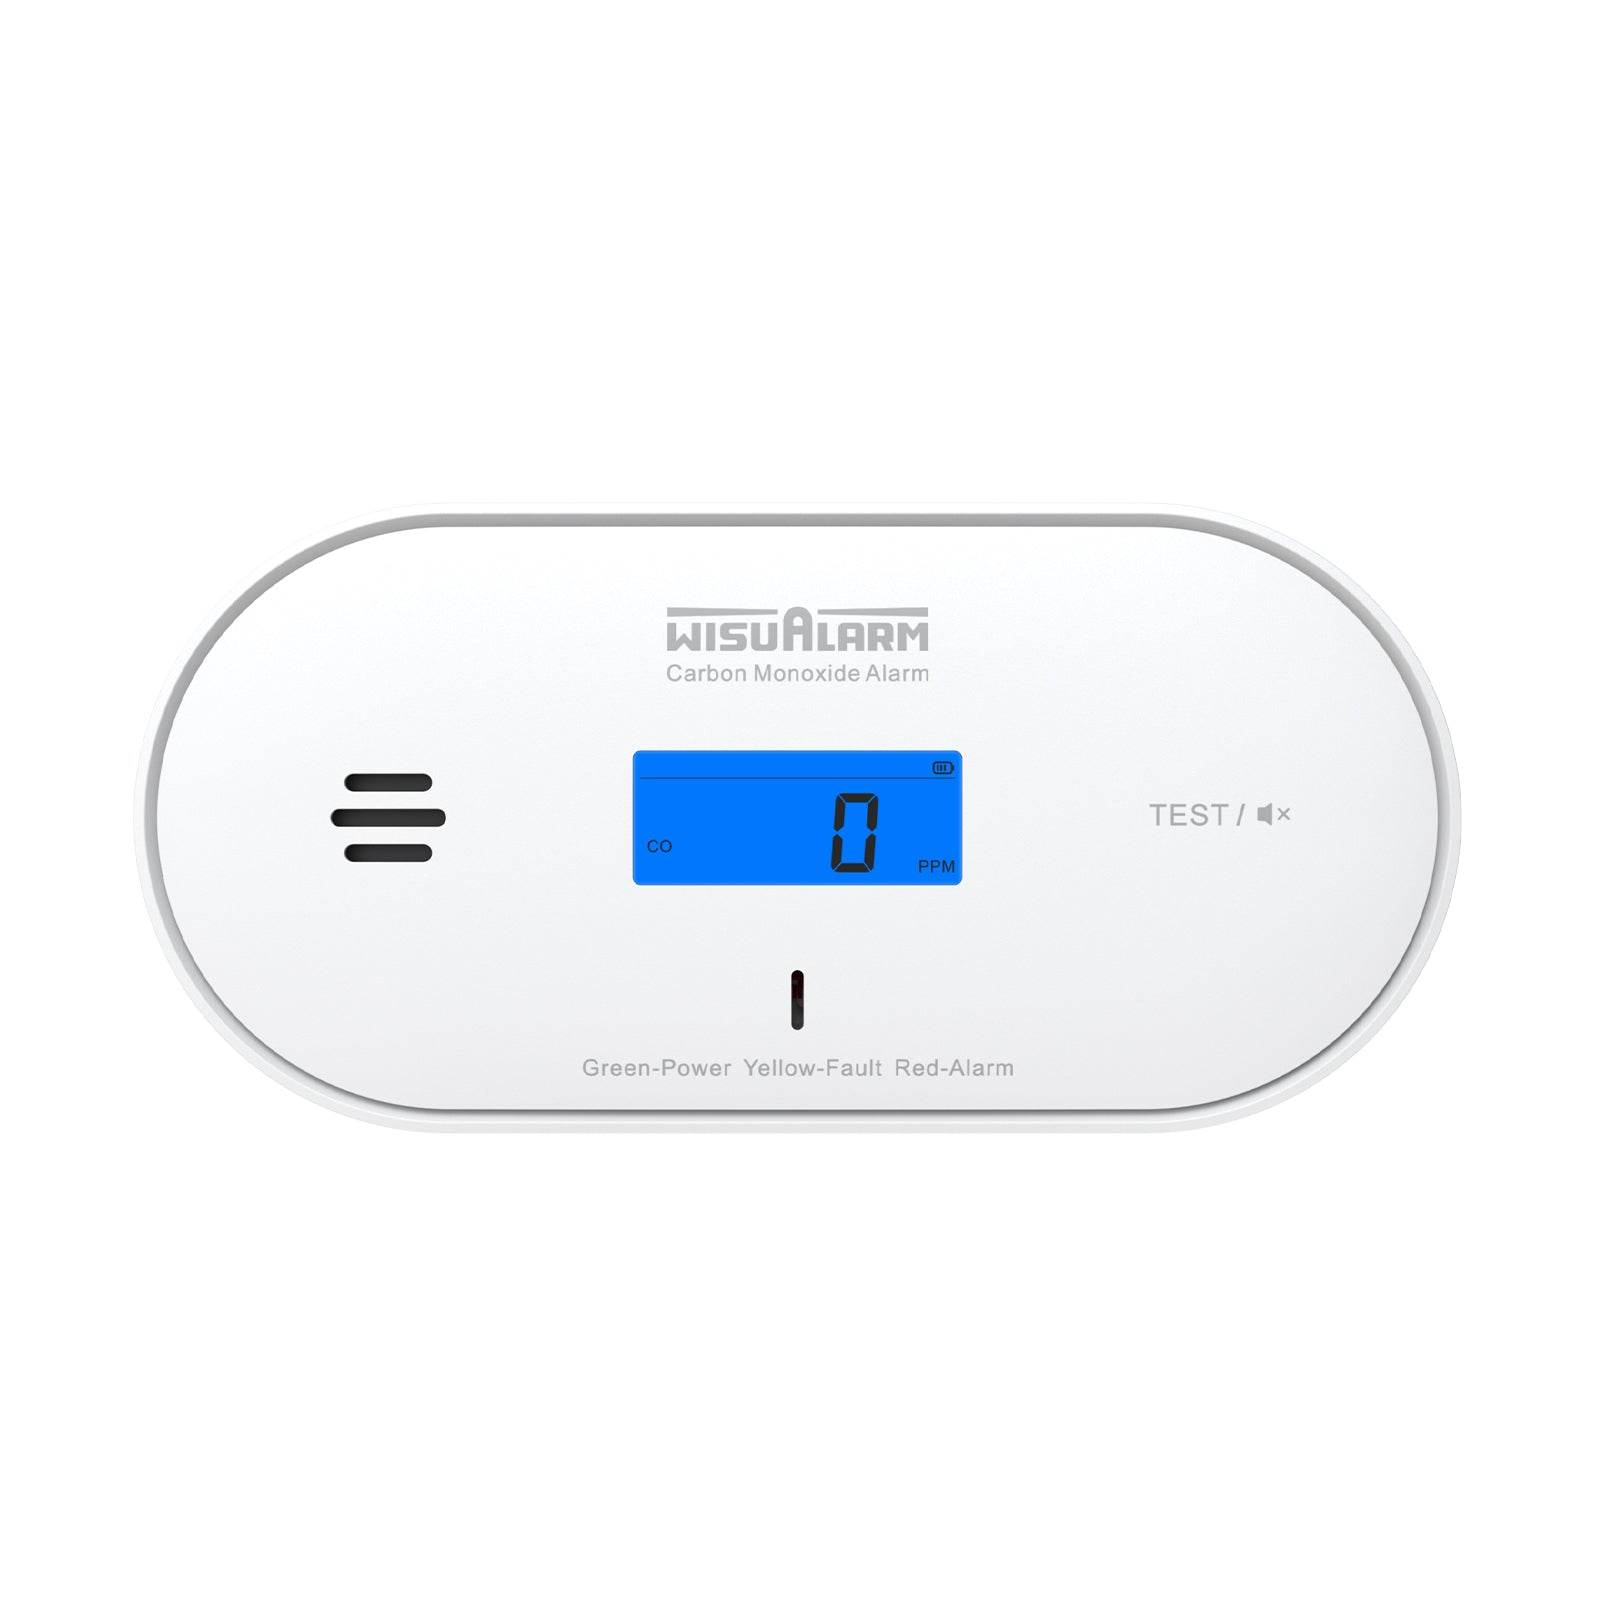
Interlink with other Wisualarm devices (pair with carbon monoxide alarms or heat alarms for full-home protection).
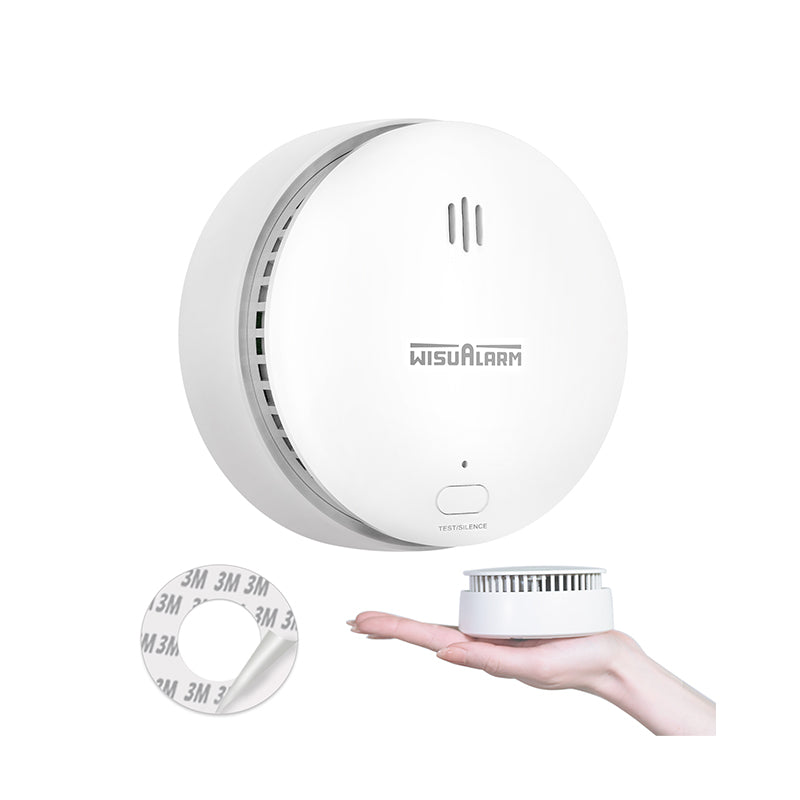
4. DIY-Friendly Design
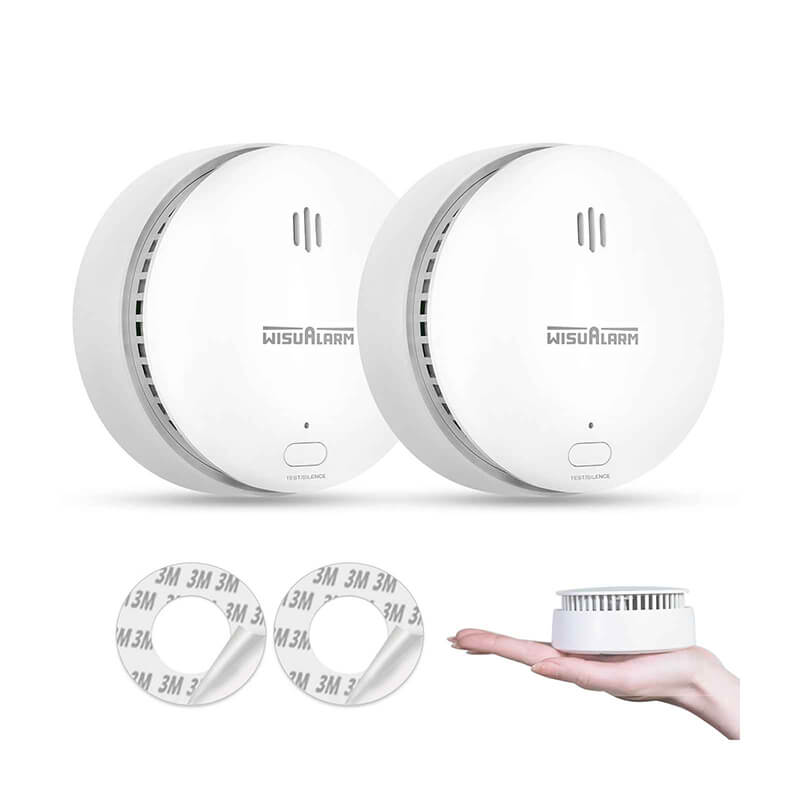
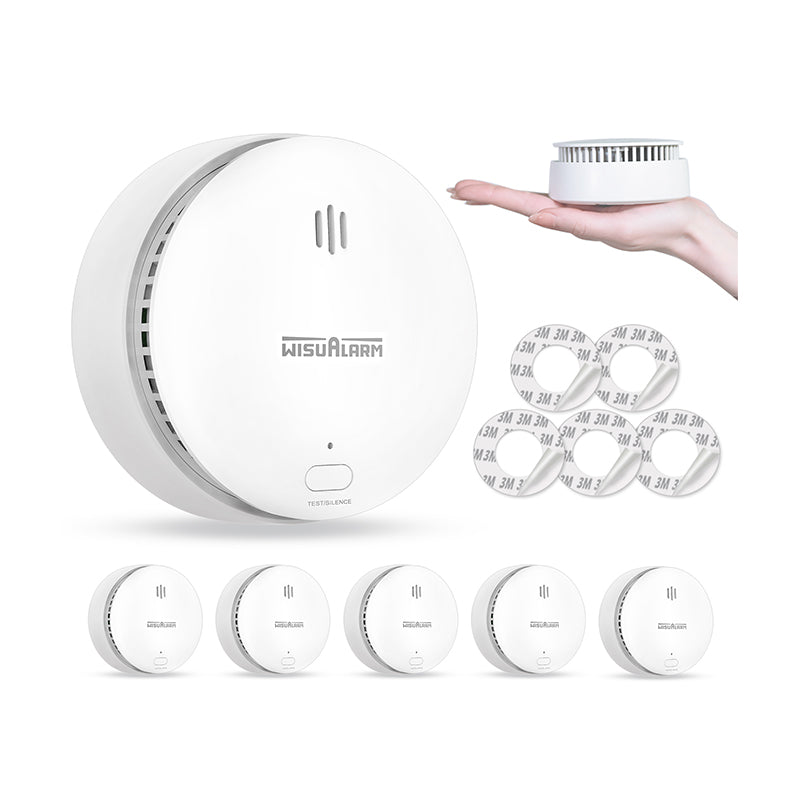
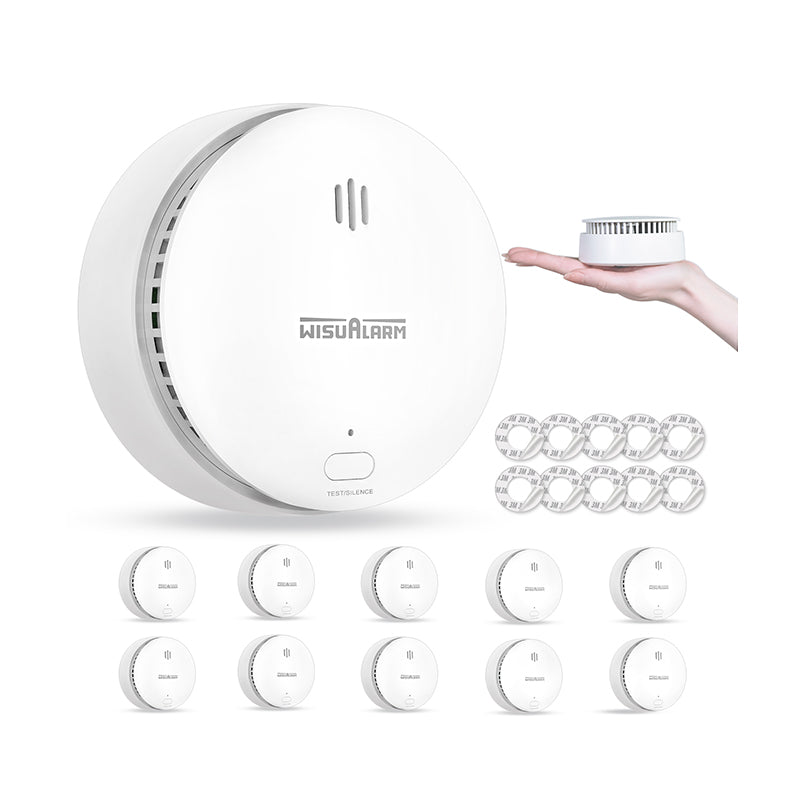
Wisualarm’s alarms are lightweight, compact, and come with everything you need for installation: mounting brackets, screws, and even adhesive pads for no-drill setups. The clear instruction manual walks you through every step, and their customer support team is available to answer questions if you get stuck.
Final Thoughts
Fitting interlinked smoke alarms yourself is not only possible—it’s a responsible way to protect your home and loved ones. With the right wireless system, a few basic tools, and adherence to safety guidelines, you can have a fully functional interlinked network in an afternoon. And when it comes to choosing the best system, Wisualarm takes the guesswork out of the process, offering reliable, easy-to-install alarms that meet the highest safety standards.
Don’t wait until it’s too late—upgrade to Wisualarm’s interlinked smoke alarms today and sleep easier knowing your home is protected. Visit Wisualarm’s website to explore their range of products and find the perfect solution for your home.





Leave a comment